So you’ve just binged three seasons of your favorite show, and now your sweet tooth is screaming for attention, but your energy levels are basically a flatline, huh? Been there, bought the T-shirt. You want something decadent, chocolatey, and impressive, but the thought of spending hours in the kitchen makes you want to crawl back under your blanket. My friend, I have excellent news!
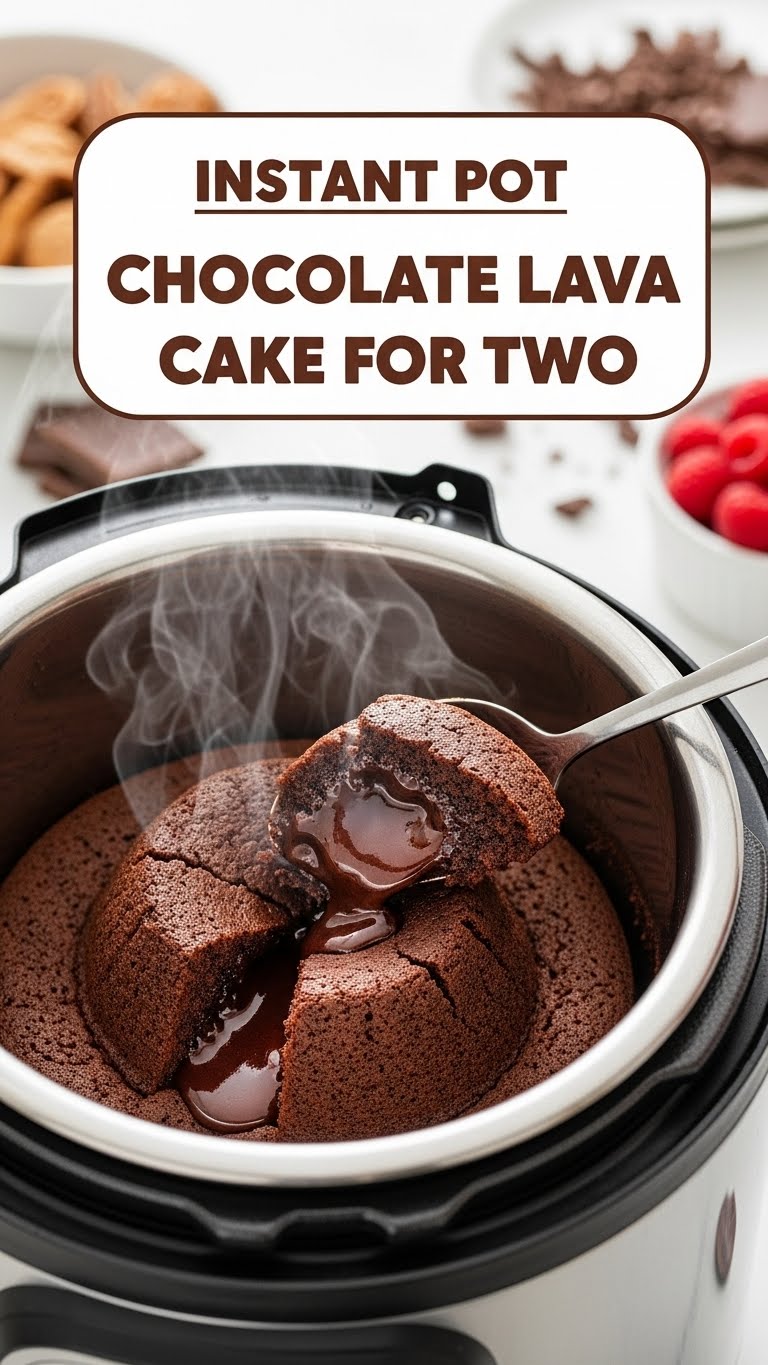
I’ve got the ultimate fix: Instant Pot Chocolate Lava Cake for TWO. Because sharing is caring, but also, sometimes ‘two’ means ‘one for now, one for later’—no judgment. Get ready to impress yourself (and maybe someone else) with minimal effort and maximum deliciousness.
Why This Recipe is Awesome
Why is this better than, say, spontaneously combusting from sugar cravings? Let me count the ways:
- It’s quicker than deciding what to watch next on Netflix. Seriously, we’re talking dessert in under 30 minutes, start to finish.
- It’s almost foolproof. Even if your culinary skills usually involve calling for takeout, you got this. It’s idiot-proof, even I didn’t mess it up!
- That glorious, gooey chocolate center? Pure magic. And you didn’t even have to wrestle with an oven. Your Instant Pot does all the heavy lifting.
- Perfectly sized for you and your significant other, or just you and your insatiable dessert monster. Your call! Because sometimes, you just need two whole cakes to yourself, and that’s okay.
Ingredients You’ll Need
Gather your troops! These are the heroes of our chocolatey tale:
- Unsalted Butter (4 tbsp / 56g): Unsalted, please. We’ll add our own drama (salt) later.
- Good Quality Semi-Sweet Chocolate (3 oz / 85g): This is the star of the show. Like the stuff you hide from your kids/roommates. Chocolate chips or a chopped bar work great.
- Powdered Sugar (¼ cup / 30g): Not granulated! We’re going for silky smooth, not gritty.
- Large Egg (1): Just one! Happy and ready to bind this deliciousness.
- All-Purpose Flour (2 tbsp): The standard stuff. Don’t overthink it, we just need a touch.
- Vanilla Extract (½ tsp): Adds that ‘oomph.’ Don’t skip it!
- Pinch of Salt: To make the chocolate sing! Trust me on this, it enhances the flavor.
- Mini Springform Pans or Ramekins (2 x 4-inch or 6-ounce): Size matters here, folks. These are your cake’s cozy little homes.
- Water (1 cup): For the Instant Pot. Shocking, I know.
- Optional for serving: Powdered sugar for dusting, fresh berries, vanilla ice cream, whipped cream (because why not?).
Step-by-Step Instructions
Alright, let’s get cooking! Follow these simple steps and prepare for gooey glory.
- Prep Your Pans: Grab your two mini springform pans or ramekins. Grease them generously with butter. Then, dust them with a little cocoa powder (or flour, if you’re out of cocoa) to prevent sticking. This is key for a clean release!
- Melt the Good Stuff: In a microwave-safe bowl, combine the butter and chocolate. Microwave in 30-second intervals, stirring after each, until smooth and melted. Alternatively, use a double boiler. Don’t overheat the chocolate!
- Whisk the Wet: In a separate medium bowl, whisk together the powdered sugar, egg, and vanilla extract until light and frothy.
- Combine Forces: Gently fold the melted chocolate mixture into the egg mixture. Don’t be shy, but don’t go crazy with the whisking.
- Add the Dry: Sift in the flour and a pinch of salt. Fold until just combined. The less you mix, the better! Overmixing can lead to a tough cake, and nobody wants that.
- Fill ‘Em Up: Divide the batter evenly between your two prepared pans/ramekins. They should be about ¾ full.
- Instant Pot Time: Pour 1 cup of water into your Instant Pot’s inner pot. Place the trivet inside. Carefully set your ramekins on top of the trivet. Make sure they’re stable!
- Cook to Perfection: Close the lid, set the vent to sealing, and cook on High Pressure for 8-10 minutes. A minute or two can make a big difference here!
- Quick Release!: Once done, immediately do a Quick Release (QR) of the pressure. This is important to stop the cooking and keep that lava flowin’.
- Serve & Enjoy: Carefully remove the ramekins from the Instant Pot. Let them cool for about 2-3 minutes (they’ll be hot!). Run a knife around the edges if using springform pans, then invert onto a plate. Dust with powdered sugar, add some berries or ice cream, and devour!
Common Mistakes to Avoid
Even the pros make mistakes (or, you know, learn from them). Here’s how to avoid rookie errors:
- Overmixing the Batter: This is probably the number one sin. It’s a lava cake, not a hockey puck. Mix gently and only until just combined.
- Forgetting to Grease Your Pans Properly: Unless you enjoy chiseling dessert out with a spoon, butter and cocoa are your BFFs. Don’t skimp!
- Not Using Good Quality Chocolate: Your cake will only be as good as its main star. Skimp here, and you’ll regret it. Splurge a little!
- Ignoring the Quick Release: Letting it naturally release (NR) will continue cooking the cakes, turning your glorious lava into solid mud. Not the vibe we’re going for.
- Not Adjusting Cook Time: Every Instant Pot is a diva in its own way. If your “lava” was too firm, reduce the time next time. Too runny? Add a minute.
Alternatives & Substitutions
Feeling creative? Or just missing an ingredient? No worries, we’ve got options!
- Chocolate Type: Dark chocolate? Go for it, you brave soul! Just be aware it’ll be less sweet. Milk chocolate? A bit too sweet for my IMO, but who am I to judge your sweet tooth?
- Gluten-Free: Swap the all-purpose flour for a 1:1 gluten-free baking blend. Easy peasy!
- Dairy-Free: Use vegan butter and dairy-free chocolate chips. Works like a charm and still tastes amazing.
- Flavor Boosters: A pinch of chili powder for a spicy Mexican chocolate kick? A splash of espresso powder to deepen the chocolate flavor? Mini chocolate chips in the batter? Get wild! A dash of orange zest can also be divine.
FAQ (Frequently Asked Questions)
Got questions? I’ve got answers (mostly humorous, of course).
- Q: Can I make more than two at once?
A: Technically, yes, if your Instant Pot is big enough to hold more ramekins and you can stack them safely on a second trivet. But for two? It’s just perfect, darling. - Q: What if I don’t have mini springform pans?
A: Ramekins (6-ounce) are your next best friend! Just make sure they’re oven-safe (which usually means Instant Pot-safe) and well-greased. - Q: My lava didn’t flow! What happened?
A: Probably overcooked! Next time, reduce the cooking time by a minute. Every Instant Pot is a diva in its own way, so a little experimentation might be needed to find your sweet spot. - Q: Can I prepare the batter ahead of time?
A: You *can*, but I wouldn’t recommend it for peak lava performance. Fresh is best for that perfect gooey center. The flour starts to absorb liquid, making it less fluid. - Q: How do I know when it’s done?
A: The edges should be set, but the center will still look wobbly when you gently shake the ramekin. That wobble is your friend! It means lava awaits. - Q: What should I serve it with?
A: Vanilla bean ice cream is classic. A dollop of fresh whipped cream and some raspberries? Divine! Or, you know, just a spoon. Your call, boss.
Final Thoughts
See? You just whipped up a fancy-pants dessert in an Instant Pot. You’re basically a culinary wizard now! Go forth and impress that special someone, or simply treat yourself to a moment of pure, chocolatey bliss. No judgment here, just encouragement to enjoy every single glorious bite. You earned it!


