So, you’ve got that sweet tooth tingling, but the thought of baking a whole cake for just you (and maybe your favorite person) feels… extra? I totally get it. We’re talking ‘effortless deliciousness’ here, not ‘bake-off contestant’ stress. You want that warm, gooey, pineapple-y goodness without committing to a dessert that’ll sit on your counter judging you for days. Enter: your new best friend.
Why This Recipe is Awesome
Seriously, this isn’t your grandma’s hour-long baking marathon. This Pineapple Upside-Down Cake for Two is basically the culinary equivalent of a high-five. It’s small, so no leftover guilt. It’s quick, because who has time? And it’s practically **idiot-proof**, even if your oven usually hates you (trust me, I’ve been there).
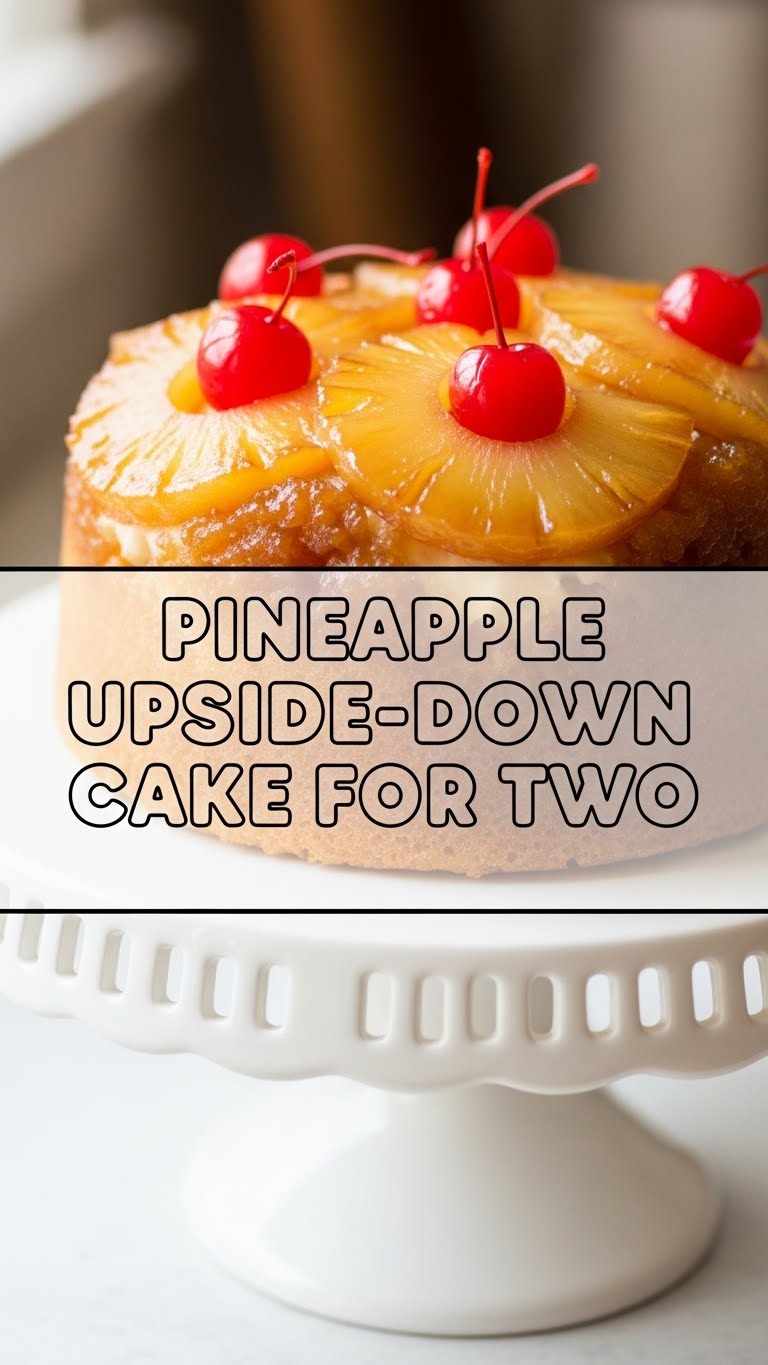
Plus, pineapple upside-down cake just *looks* fancy, even when it takes minimal effort. The caramelised pineapple crown? Pure Instagram gold. You’ll impress someone (even if that someone is just your reflection in the oven door). Win-win, baby!
Ingredients You’ll Need
Gather ’round, butter-fingered friends! Here’s what you need to create this mini masterpiece. Don’t worry, nothing too wild.
- For the Topping (the ‘Upside-Down’ part):
- 1 tbsp unsalted butter: The good stuff, not that spread you *think* is butter.
- 2 tbsp light brown sugar: Gives it that glorious caramel stickiness.
- 2 pineapple rings (canned, in juice, drained): No, you don’t need to wrestle a fresh pineapple for this small-batch magic. Canned is your friend.
- 2 maraschino cherries: For that classic pop of color. Totally optional, but makes it Instagram-ready.
- For the Cake Batter:
- 1/2 cup all-purpose flour: The foundation of all deliciousness.
- 1/4 tsp baking powder: For lift! Don’t skip it unless you like sad, flat cakes.
- Pinch of salt: Enhances all the other flavors. Trust me on this.
- 2 tbsp unsalted butter, softened: Again, the good stuff. Softened, not melted. Big difference!
- 1/4 cup granulated sugar: Sweetness!
- 1/2 an egg (beaten): Yes, half an egg. Whisk one up, then measure out about 2 tablespoons. The rest? Scramble it for breakfast, or toss it, YOLO.
- 2 tbsp milk: Any kind works, but whole milk makes it a bit richer. Your call.
- 1/4 tsp vanilla extract: Smells good, tastes good. Essential.
Step-by-Step Instructions
Alright, apron on! Let’s get this party started. These steps are super simple, even for the culinarily challenged among us.
- Prep It: Preheat your oven to 350°F (175°C). Grab two 4-inch ramekins or a small oven-safe dish (like a 6-inch cast iron skillet). Don’t skip preheating! Your oven isn’t psychic.
- Make the Topping: Melt 1 tbsp butter in a small pan. Stir in the brown sugar until it’s dissolved and looks syrupy. Divide this magical syrup evenly between your ramekins. Place one pineapple ring in each, pressing it down gently. Pop a cherry in the middle if you’re feeling fancy.
- Whisk Dry Ingredients: In a small bowl, whisk together the flour, baking powder, and salt. Set it aside for a sec.
- Cream Wet Ingredients: In another small bowl, cream the softened butter and granulated sugar together until light and fluffy. Add the half egg and vanilla extract; mix until just combined. Don’t overdo it here.
- Combine: Gradually add the dry ingredients to the wet ingredients, alternating with the milk. Start and end with the dry. Mix until just combined. **Do not overmix!** A few lumps are fine, I promise; you don’t want a tough cake.
- Fill ‘Em Up: Spoon the batter evenly over the pineapple rings in your ramekins. Gently smooth the tops.
- Bake Time: Bake for 20-25 minutes, or until a toothpick inserted into the center comes out clean. They should be golden brown and smell absolutely amazing.
- The Flip! Let them cool for about 5 minutes. Then, run a thin knife around the edge of each ramekin to loosen the cake. Place a plate over the top and carefully, confidently, **FLIP IT!** Let it sit for a moment for gravity to do its thing before lifting the ramekin. Ta-da! Instant dessert magician.
Common Mistakes to Avoid
Even the best of us make mistakes. Learn from mine, so your cake turns out fabulous the first time!
- Not preheating the oven: Seriously, your oven isn’t psychic. It needs a warm-up, otherwise your cake won’t rise properly. Rookie mistake!
- Overmixing the batter: You want a tender cake, not a rubbery hockey puck. Mix until just combined. A few lumps are okay, I promise.
- Flipping too soon (or too late): Too soon, and it’s a messy cascade of hot syrup. Too late, and it might stick. Five minutes is the sweet spot. **Patience, young grasshopper!**
- Using cold butter for creaming: Softened butter creams much better with sugar, creating air and a lighter texture. Cold butter leads to a dense cake. You’ve been warned.
Alternatives & Substitutions
Feeling adventurous? Or just out of an ingredient? No worries, we’ve got options.
- Pineapple Swap: No pineapple? Sad, but okay. Try sliced peaches, apple rings, or even pear slices. The world is your fruit bowl!
- Butter Alternatives: You *can* use margarine, but **IMO**, real butter just tastes better. For a dairy-free version, use a good plant-based butter alternative and plant milk.
- Spice It Up: A tiny pinch of cinnamon or nutmeg in the batter can add a lovely warmth, especially if you’re feeling autumnal. Or just wild.
- Single-Serve: Don’t have ramekins? A jumbo muffin tin (fill two cups) or a small, oven-safe bowl works just as well. Get creative!
FAQ (Frequently Asked Questions)
Got questions? I’ve got answers. Mostly.
Can I make this dairy-free? Absolutely! Use plant-based butter and plant-based milk. Easy peasy lemon squeezy.
What if I only have regular sugar, not brown? You *could* use regular sugar for the topping, but brown sugar gives that deep, caramelly flavor that makes this cake sing. It’s worth a quick trip to the store, trust me.
My cake stuck to the ramekin! What gives? Did you grease it properly? Did you flip it too late? Sometimes running a thin knife around the edge right after cooling for 5 minutes really helps. Also, ensure your ramekins are well-buttered and sugared for the topping. That caramel acts as a release agent!
Can I bake this in a regular cake pan? This recipe is for *two*! A regular cake pan would make a very thin, sad cake. If you want a bigger cake, you’ll need to scale up the recipe significantly. Or just make two batches in separate ramekins, no judgment here.
Do I have to use cherries? Nah, they’re just for looks and a little extra sweetness. If you hate ’em, skip ’em. Your cake, your rules!
Final Thoughts
See? I told you it was easy! Now you’ve got two adorable, delicious, and seriously impressive little cakes. Perfect for a cozy night in, a spontaneous dessert craving, or just proving to yourself that you’re a baking wizard. Who knew so much joy could come from so little effort?
Go forth and conquer those cravings. You’ve earned this sweet treat. And maybe a nap. Baking is hard work, *amirite*? Enjoy your little slice of upside-down heaven!


