So you’re craving something tasty but too lazy to spend forever in the kitchen, huh? Same. Like, *same*. And what if I told you we could make something utterly delicious, totally vegan, and stash it away for future ‘too tired to cook’ emergencies? Yeah, I know, my mind was blown too. This isn’t just a recipe; it’s a future-you-loving-present-you strategy. Get ready to impress your future self (and maybe a significant other, if they’re lucky).
Why This Recipe is Awesome
Okay, let’s be real. We’re not just cooking here; we’re performing a magical act of time travel. This “Future-You’s Favorite Chili” (or, you know, just a really good bean stew) is:
- **Future-Proof:** You make it now, and it saves your bacon (vegan bacon, of course!) later. No more sad takeout decisions on a Tuesday night.
- **Idiot-Proof:** Seriously, if you can open a can, you’ve pretty much mastered 70% of this recipe. Even I didn’t mess it up, and my track record involves a few smoke alarms.
- **Vegan Powerhouse:** Packed with good stuff, fiber, and flavor. Your gut will thank you, and so will the planet.
- **Perfect for Two:** No weird, endless leftovers taking up fridge space (unless you want them, then go wild!). It’s designed so you can freeze individual portions easily.
- **Super Flexible:** Got a random zucchini hanging out? Throw it in! Feeling spicy? Amp it up! This dish is your oyster (a vegan oyster, naturally).
Ingredients You’ll Need
Here’s the lowdown for our amazing, freezable bean goodness. We’re aiming for about 4 servings total, so two meals for two people. Or four solo meals. You do you.
- The Usual Suspects:
- 1 large onion, chopped (don’t cry, it’s worth it!)
- 3-4 cloves garlic, minced (because everything is better with garlic)
- 1 tbsp olive oil (or your preferred cooking oil, not motor oil, please)
- Can-Do Crew:
- 1 can (14.5 oz) diced tomatoes (undrained, we want all that tomatoey goodness)
- 1 can (15 oz) black beans, rinsed and drained (give ’em a good rinse, no one likes bean goo)
- 1 can (15 oz) kidney beans, rinsed and drained (or pinto, or cannellini – pick your bean fighter!)
- 1 can (4 oz) green chilies, diced (optional, but gives a nice zing!)
- The Veggie Boosters:
- 1 bell pepper (any color, make it pretty!), chopped
- 1 cup frozen corn (straight from the freezer, no thaw necessary)
- 1 cup veggie broth (or water, but broth is just more fun)
- Spice Rack MVPs:
- 1-2 tbsp chili powder (adjust to your heat preference, don’t be shy!)
- 1 tsp cumin
- ½ tsp dried oregano
- Pinch of smoked paprika (because fancy!)
- Salt and black pepper to taste (the ultimate flavor enhancers)
- The Finisher:
- 1-2 tbsp lime juice (fresh is best, but bottled works in a pinch)
Step-by-Step Instructions
Alright, apron on (or not, I’m not your boss), let’s get cooking! This is so easy, you might wonder if you missed a step. You didn’t.
- Sauté the Stars: Heat the olive oil in a large pot or Dutch oven over medium heat. Toss in your chopped onion and cook until it’s soft and translucent, about 5-7 minutes. Add the minced garlic and cook for another minute until fragrant. Don’t let it burn, that’s a sad smell.
- Veggie Party Time: Throw in your chopped bell pepper and cook for about 3-5 minutes, letting it soften up a bit. You want it tender, not crunchy.
- Dump, Stir, Simmer: Now, the fun part! Add the diced tomatoes (undrained!), rinsed beans, green chilies (if using), veggie broth, and all your lovely spices (chili powder, cumin, oregano, smoked paprika, salt, pepper). Stir everything really well to combine. Bring the mixture to a gentle simmer.
- Let It Mingle: Reduce the heat to low, cover the pot, and let your chili-ish stew simmer for at least 20-30 minutes. This allows all those amazing flavors to get to know each other and become best friends. Stir occasionally to prevent sticking.
- Final Touches: After simmering, stir in the frozen corn and cook for another 5 minutes, or until the corn is heated through. Remove from heat and stir in the lime juice. **Taste and adjust seasonings!** This is crucial. Does it need more salt? More spice? You’re the chef!
- Cool & Freeze: Let the chili cool completely before portioning. Divide it into freezer-safe containers (think small, single-serve or two-person portions). Make sure to leave a little headspace for expansion! Once cool, label those containers with the date and recipe name. Freeze for future deliciousness!
Common Mistakes to Avoid
Nobody’s perfect, but we can avoid these culinary blunders with a little foresight. Don’t say I didn’t warn you!
- **Under-Seasoning (The Bland Blunder):** Thinking salt, pepper, and spices are optional? Rookie mistake. **Taste, taste, taste!** Your chili should burst with flavor, not whisper.
- **Overcooking (The Mushy Mayhem):** While it’s hard to truly “overcook” a chili, simmering it for hours on end can turn veggies into an unidentifiable mush. Stick to the suggested times for optimal texture.
- **Freezing Hot Chili (The Exploding Container Catastrophe):** Seriously, let it cool down first. Putting hot food directly into the freezer can lower the freezer temp, potentially thawing other items, and just isn’t safe for food quality.
- **Not Labeling (The Mystery Meat Meal):** Unless you enjoy freezer roulette, **label those containers!** Trust me, a month from now, you won’t remember if it’s chili, soup, or a science experiment.
Alternatives & Substitutions
This recipe is a choose-your-own-adventure situation. Go wild (within reason, don’t put chocolate in unless it’s a specific chili recipe for that, and even then…).
- Beans, Beans, Beans: Don’t have black and kidney? Use all black beans! Or pinto! Or throw in some chickpeas for extra texture. Any combo works.
- Veggie Medley: Not a fan of bell peppers? Swap them for diced zucchini, shredded carrots, or even some spinach wilted in at the end.
- Spice It Up: If you like heat, add a pinch of cayenne pepper, a dash of your favorite hot sauce, or some finely diced jalapeño along with the garlic.
- Smokey Vibes: A dash of liquid smoke can give it an extra campfire flavor, especially if you’re into that sort of thing.
- Heartier Option: Want more substance? Add 1/2 cup of quinoa or brown rice (cooked separately) when you’re reheating a portion.
FAQ (Frequently Asked Questions)
Got questions? I’ve got (casual and hopefully helpful) answers!
- “Can I make this spicier? My taste buds are basically fireproof.” Absolutely, you daredevil! Add an extra teaspoon of chili powder, a pinch of cayenne, or some finely diced fresh jalapeños (seeds and all, if you’re truly brave) with the bell pepper.
- “How long does this magical chili last in the freezer?” If properly stored in airtight containers, it’ll keep happily for up to 3 months. Beyond that, it’s still safe, but the quality might start to decline a tad.
- “What if I don’t have bell peppers on hand? My fridge is looking sad.” No worries! You can skip them entirely or substitute with other quick-cooking veggies like zucchini or even extra frozen corn.
- “Can I use fresh beans instead of canned ones?” For sure, you culinary superstar! Just make sure to cook them fully before adding them to the pot, as dried beans require a much longer cooking time.
- “What’s the best way to reheat this from frozen?” You’ve got options! You can thaw it in the fridge overnight and then reheat on the stovetop or microwave until piping hot. Or, for a quicker solution, gently reheat from frozen on the stovetop over low heat, stirring frequently and adding a splash of broth if needed.
- “Is this recipe gluten-free?” Yep! As long as your veggie broth and spices are gluten-free (most are, but always double-check labels if it’s a concern for you), this recipe is naturally GF.
- “Can I double or triple this recipe easily?” Totally! This recipe scales beautifully. Just make sure you have a big enough pot for all that deliciousness! FYI, you’ll need more freezer containers.
Final Thoughts
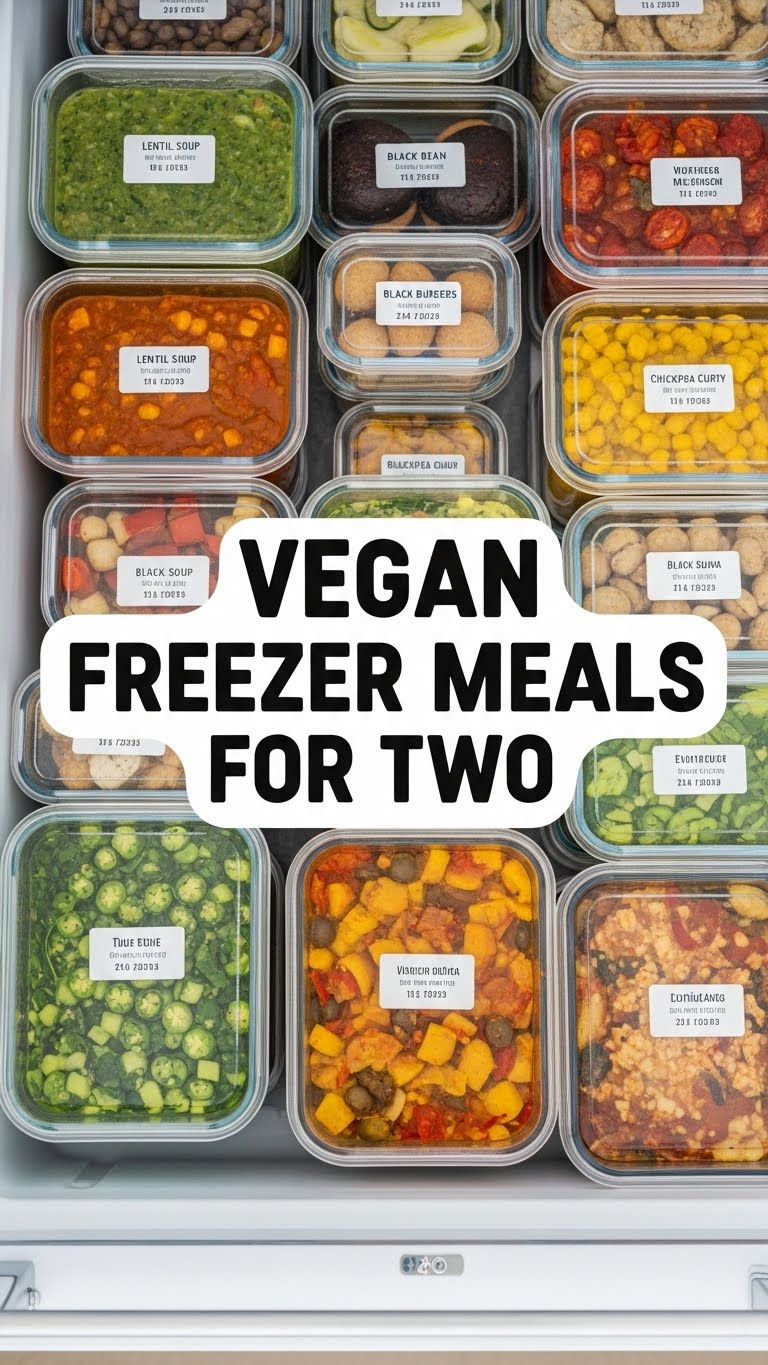
So there you have it, folks! You’ve just mastered the art of making delicious, vegan freezer meals for two. No more stressing about dinner when you’re wiped out. Your future self is already sending you mental high-fives. Now go forth and conquer your kitchen (or just your cravings). You’ve earned it!


