So you’re craving something tasty but too lazy to spend forever in the kitchen, huh? Same. We’ve all been there: that sudden, intense need for something sweet, creamy, and utterly decadent, but the thought of baking a gigantic cheesecake that could feed a small army (and dirty every single dish you own) makes you want to just order takeout. Fear not, my friend! I’ve got your back with a small-batch cheesecake recipe that’s perfect for two. Or, you know, one really enthusiastic individual who believes in self-love. No judgment here.
Why This Recipe is Awesome
Okay, let’s be real. This isn’t just *any* cheesecake recipe. This is THE cheesecake recipe for when you want maximum deliciousness with minimum fuss. Why is it so great? First off, it’s tiny! No giant springform pan nightmares, no mountains of leftovers staring at you from the fridge judging your life choices. Secondly, it’s **idiot-proof**. Seriously, if I can make it without setting off the smoke alarm or accidentally creating a cheesecake soup, so can you. We’re talking no finicky water baths, no hour-long baking times, and frankly, it tastes like a cloud of creamy joy had a baby with a golden graham cracker. Plus, cleanup is a breeze. What’s not to love?
Ingredients You’ll Need
Alright, gather your troops! These are the essentials for our little cheesecake adventure. Don’t skimp on quality, your tastebuds will thank you. And yes, everything should ideally be at room temperature unless specified. Don’t be that person who uses cold cream cheese.
- **For the Crust:**
- **4-5 full graham cracker sheets:** Crushed finely. Get out some aggression while you’re at it!
- **2 tablespoons unsalted butter:** Melted. The good stuff, not that weird yellow spread.
- **1 tablespoon granulated sugar:** Because everything’s better with a little sugar, right?
- **For the Cheesecake Filling:**
- **8 ounces (one block) cream cheese:** Full-fat, room temperature. We’re not doing diet food here, people. Go big or go home.
- **1/4 cup granulated sugar:** Just enough sweetness.
- **1 small egg yolk:** Yes, just the yolk! Gives it that extra richness without making it too eggy. Save the white for an omelet later.
- **1 teaspoon vanilla extract:** Pure vanilla, please. Don’t cheap out on this, it makes a difference.
- **Pinch of salt:** Enhances all the flavors. It’s science!
Step-by-Step Instructions
- **Prep Your Pan(s):** Preheat your oven to **325°F (160°C)**. Grab two 4-inch springform pans or two small oven-safe ramekins (about 6-8 oz capacity). Lightly grease them. If using springform pans, you can line the bottoms with parchment paper for easy removal.
- **Crust Time!** In a small bowl, combine your crushed graham crackers, melted butter, and 1 tablespoon of sugar. Mix it until it looks like wet sand. Divide the mixture evenly between your chosen pans and press it firmly into the bottom. A flat-bottomed glass works wonders for this.
- **Bake the Crust:** Pop the crusts into the preheated oven for **5-7 minutes**. This gives them a nice head start and helps them stay crisp. Remove and let cool slightly while you make the filling.
- **Make the Filling:** In a medium bowl, beat the room-temperature cream cheese with an electric mixer (or a whisk, if you’re feeling ambitious) until it’s smooth and lump-free.
- **Add Sweetness and Flavor:** Stir in the 1/4 cup granulated sugar until just combined. Don’t overmix! Then, add the egg yolk, vanilla extract, and a pinch of salt. Mix on low speed until everything is barely incorporated. **Overmixing is the enemy here, FYI.**
- **Fill ‘er Up:** Pour your creamy cheesecake mixture evenly over the partially baked crusts in your pans. Gently tap the pans on the counter a few times to release any air bubbles.
- **Bake the Cheesecakes:** Place your pans on a baking sheet (just in case of any drips, though it shouldn’t happen). Bake for **20-25 minutes**, or until the edges are set and the center has a slight jiggle. It won’t look completely firm, but that’s okay!
- **Cool Down:** Turn off the oven, crack the door slightly, and let the cheesecakes cool in the oven for about 15 minutes. This helps prevent cracks. Then, remove them from the oven and let them cool completely on a wire rack.
- **Chill Out:** Once fully cooled, cover them loosely with plastic wrap and transfer them to the refrigerator to chill for at least **2-4 hours**, or even better, overnight. This is arguably the hardest part, but **so worth it** for that perfect texture.
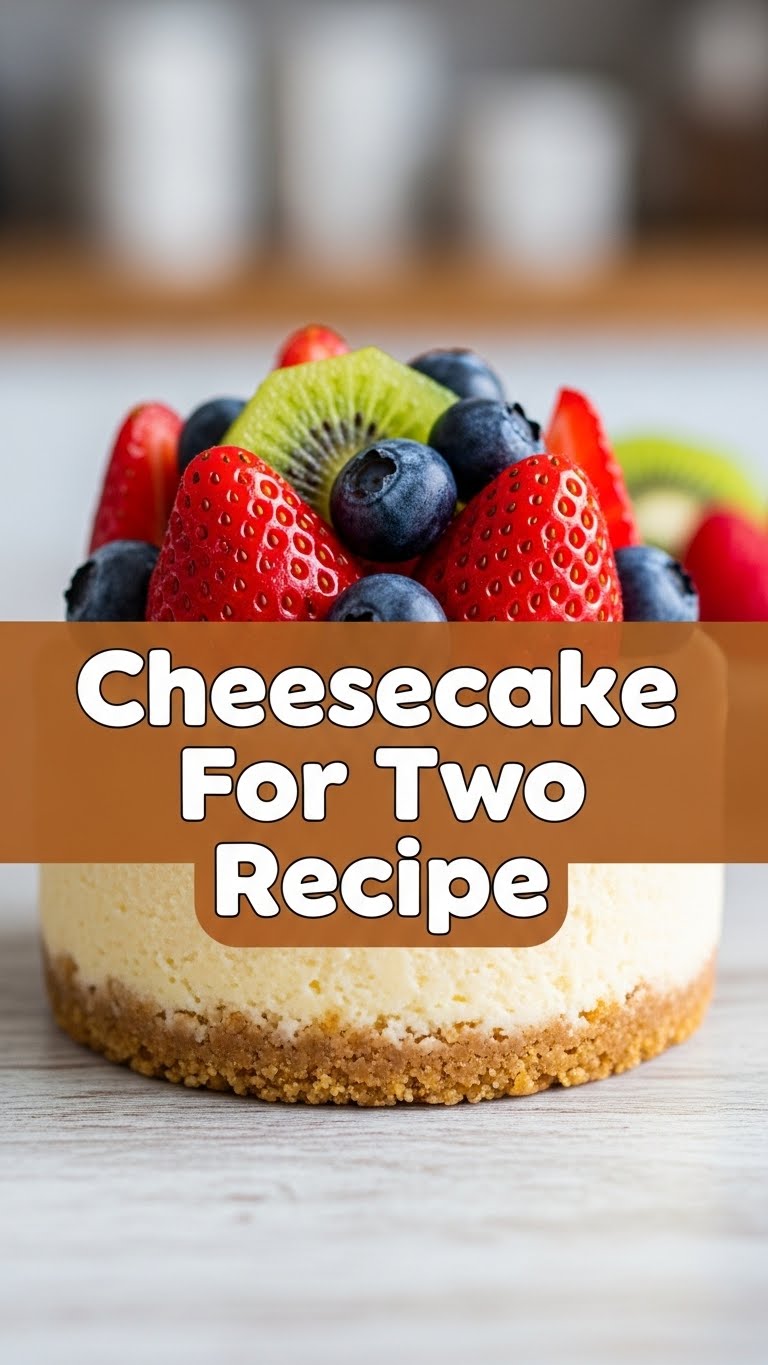
- **Serve and Enjoy!** Once chilled, carefully remove them from their pans. Top with berries, chocolate sauce, whipped cream, or just eat them plain because they’re that good.
Common Mistakes to Avoid
Listen, we all make mistakes. But with these tips, you’ll dodge the most common cheesecake blunders like a pro. Think of me as your culinary guardian angel, whispering wisdom into your ear.
- **Using Cold Ingredients:** Thinking you can just pull that cream cheese straight from the fridge and whip it? Rookie mistake! It’ll be lumpy, clumpy, and generally unpleasant. **Room temperature is key for creamy smooth filling.**
- **Overmixing:** Once you add the egg, stop being so aggressive with your mixer! Overmixing incorporates too much air, which can cause your cheesecake to puff up, then fall and crack. Mix until just combined, then back away slowly.
- **Opening the Oven Door Too Soon:** Resist the urge to peek! Every time you open that oven door, you drop the temperature, which can lead to uneven baking and cracks. Patience, young padawan.
- **Skipping the Chill Time:** You just baked something glorious, and you want to eat it NOW. I get it. But a warm cheesecake is sad and floppy. A properly chilled cheesecake is firm, creamy, and heavenly. **Don’t skip the refrigeration!**
Alternatives & Substitutions
Feeling adventurous? Or just realized you’re missing an ingredient? No worries, we can totally get creative here. This recipe is flexible, like a good yoga instructor.
- **Crust Variations:**
- **Oreo Crust:** Crush about 8-10 Oreo cookies (cream filling included, duh) and mix with 1 tablespoon of melted butter. So good!
- **Nilla Wafer Crust:** Crush 10-12 Nilla Wafers and mix with 1.5 tablespoons melted butter. Gives a slightly different, delicious vanilla flavor.
- **Gluten-Free:** Use your favorite gluten-free graham crackers or a nut-based crust (e.g., almond meal mixed with a little butter).
- **Flavor Boosts for the Filling:**
- **Lemon Zest:** Add 1/2 teaspoon of fresh lemon zest for a bright, tangy kick.
- **Espresso Powder:** A 1/4 teaspoon of instant espresso powder mixed in will deepen the chocolate flavor if you’re adding cocoa, or just add a subtle coffee note.
- **Vanilla Bean Paste:** If you’re feeling fancy, swap the vanilla extract for vanilla bean paste. Those little specks look super gourmet.
- **Toppings Galore:**
- Fresh berries (strawberries, raspberries, blueberries – pick your favorite!), a drizzle of chocolate ganache, caramel sauce, a dollop of whipped cream, or even a sprinkle of toasted nuts. The world is your oyster! Or, you know, your cheesecake.
FAQ (Frequently Asked Questions)
Got questions? I’ve got answers. Probably. Let’s tackle some common queries before you dive in.
- **Can I use low-fat cream cheese?** Well, technically yes, but why hurt your soul like that? Full-fat cream cheese gives you the best, creamiest texture and flavor. Low-fat tends to be less stable and can result in a more rubbery cheesecake. Just embrace the deliciousness!
- **What if I don’t have small springform pans?** Ramekins, my friend! Or even a muffin tin lined with paper liners (you’ll get mini cheesecakes, adjust baking time down slightly). Just make sure whatever you use is oven-safe.
- **How do I know when it’s done?** The edges should be set, and the very center should still have a slight jiggle to it when you gently nudge the pan. It will firm up completely as it cools and chills. **IMO, a little jiggle is perfect.**
- **My cheesecake cracked! What did I do wrong?** Usually, cracks happen from overbaking, sudden temperature changes (like opening the oven door too often), or overmixing. Don’t worry, it still tastes amazing! Just cover it with toppings and pretend you meant to do that.
- **How long does it keep?** Stored in an airtight container in the fridge, these little beauties will last for about 3-4 days. But let’s be honest, they probably won’t last that long.
- **Can I double this recipe?** Absolutely! Just multiply all ingredients by two and use a standard 8 or 9-inch springform pan. You’ll need to increase the baking time too, probably to 45-60 minutes, and make sure to still use the ‘cool in the oven’ trick to prevent cracks.
Final Thoughts
So there you have it! A perfect, petite cheesecake for whenever that craving hits, without all the usual fuss and drama. Whether you’re making it for a romantic evening, a tiny celebration, or just because Tuesday deserves a treat, this recipe is your new go-to. It’s easy, it’s delicious, and it proves that good things definitely come in small packages. Now go impress someone—or yourself—with your new culinary skills. You’ve earned it!


