So you’re craving something warm, gooey, and utterly delicious but are too lazy to spend forever in the kitchen, huh? Same, friend, same. You know, that moment when you want to impress someone (even if that someone is just your hungry self) with a dessert that looks like it took hours, but in reality, it was whipped up in less time than it takes to pick a show on Netflix? Yeah, that moment.
Why This Recipe is Awesome
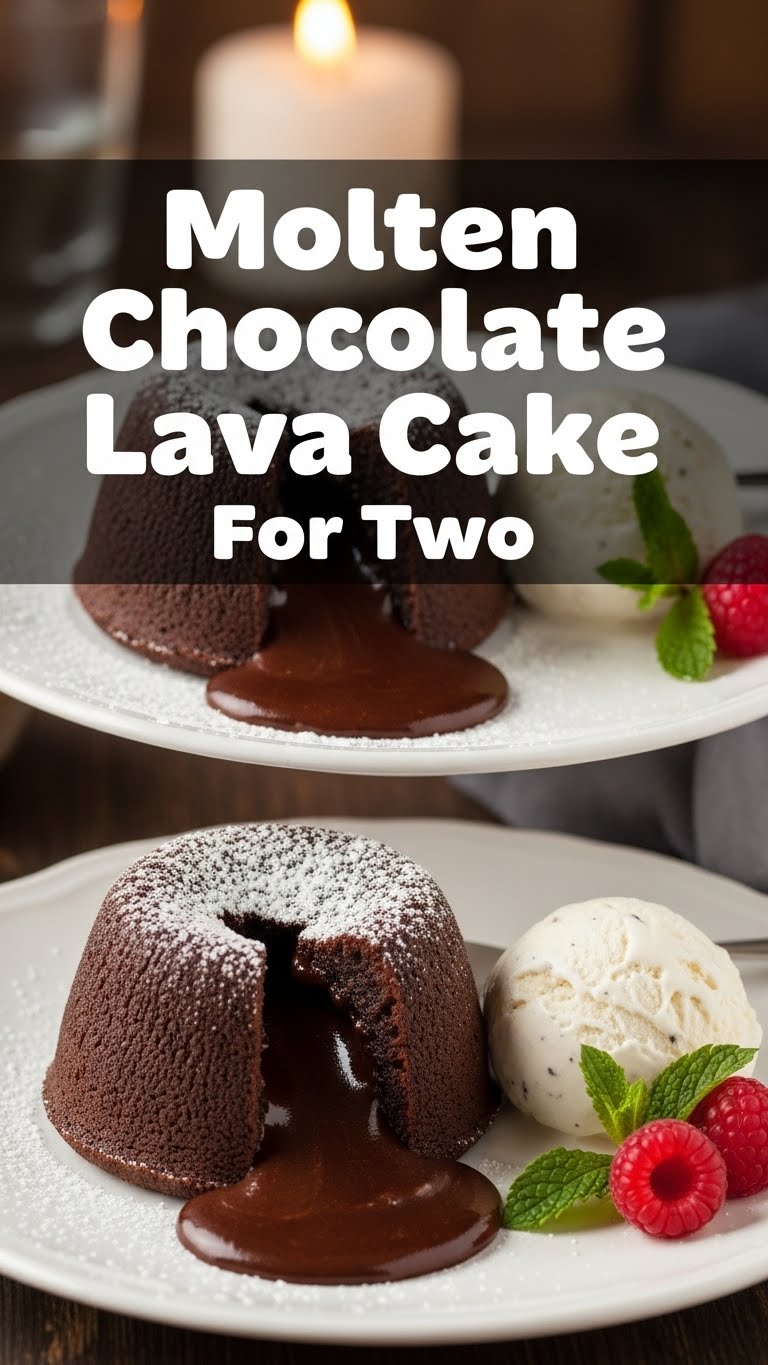
Because it’s practically magic, that’s why! This Molten Chocolate Lava Cake For Two is seriously one of those recipes that makes you feel like a culinary genius without actually having to be one. It’s quick, it’s ridiculously simple, and the payoff? Oh my goodness, the payoff. Imagine: a rich, fudgy exterior giving way to a warm, molten chocolate center that just oozes out. It’s decadent, it’s intimate (hence “for two”), and honestly, it’s pretty much **idiot-proof**. Even I, with my occasional kitchen mishaps, manage to nail this one every single time. Plus, it uses super basic ingredients you probably already have lurking in your pantry. Win-win-win!
Ingredients You’ll Need
Gather ’round, my sweet-toothed companions! Here’s what you’ll need to conjure up this chocolatey dream. Don’t worry, it’s not a long list!
- Unsalted Butter: 1/2 stick (that’s 1/4 cup or 56g). Use the good stuff, not that weird spread. It makes a difference, trust me.
- Good Quality Chocolate: 3 oz (about 85g) of dark or semi-sweet chocolate. Chocolate chips work, but a chopped chocolate bar melts better and tastes richer. Life’s too short for bad chocolate, IMO.
- Large Egg: Just one! It’s the magic binder.
- Granulated Sugar: 1/4 cup (about 50g). Just enough to sweeten without overpowering the chocolate.
- All-Purpose Flour: 2 tablespoons. Not much, just enough to give it a little structure so it doesn’t turn into soup.
- Pinch of Salt: About 1/8 teaspoon. Don’t skip this! It really makes the chocolate flavor pop.
- Vanilla Extract: 1/2 teaspoon (optional, but highly recommended for that extra “oomph”).
Step-by-Step Instructions
Alright, oven-wizard-in-training, let’s get cooking! These steps are short, sweet, and to the point.
- Prep Your Stage: First things first, **preheat your oven to 400°F (200°C)**. Then, grab two 4-6 oz ramekins. Lightly grease them with butter and dust with a little cocoa powder or flour. This ensures your beautiful cakes pop out easily. No stuck cakes allowed!
- Melt & Merge: In a microwave-safe bowl (or a double boiler if you’re feeling fancy), combine the butter and chopped chocolate. Microwave in 30-second bursts, stirring in between, until completely melted and smooth. Be patient! Don’t nuke it into oblivion. Let it cool for a few minutes.
- Whisk Away: In a separate medium bowl, whisk the egg, sugar, and vanilla extract (if using) until light in color and slightly fluffy. This usually takes about 1-2 minutes.
- Combine Forces: Gently fold the slightly cooled chocolate mixture into the egg mixture until just combined. Don’t overmix! Now, carefully fold in the flour and pinch of salt until no streaks of flour remain. Again, don’t go crazy with the mixing.
- Fill ‘Em Up: Divide the batter evenly between your two prepared ramekins. They’ll look small, but they’re mighty!
- Bake to Perfection: Place the ramekins on a baking sheet (just in case of any overflow, which is rare) and bake for 12-14 minutes. You’re looking for edges that are set and a center that still looks a bit wobbly. This wobble is your molten magic!
- The Grand Finale: Carefully remove from the oven. Let them cool for just 1-2 minutes in the ramekins. Then, place a serving plate upside down over each ramekin and carefully invert. Lift the ramekin, and behold! A perfect little lava cake. Serve immediately with whatever your heart desires.
Common Mistakes to Avoid
Listen, we all make mistakes. But with these tips, you won’t have to! Don’t say I didn’t warn ya.
- Forgetting to Grease Your Ramekins: Rookie mistake! You want that cake to slide out gracefully, not put up a fight. Butter and cocoa powder (or flour) are your best friends here.
- Overbaking: This is the cardinal sin of lava cakes! If you bake it too long, you’ll end up with a delicious chocolate brownie (which isn’t bad, but it’s not a lava cake!). Keep an eye on that wobble. **A truly molten center is the goal!**
- Using Low-Quality Chocolate: Remember what I said? Life’s too short. This recipe is all about that rich chocolate flavor, so don’t skimp here.
- Not Preheating the Oven: Baking is a science, not just an art. A properly preheated oven ensures even baking from the start. Trust the process!
- Impatience: Letting the cakes cool for a minute or two before inverting makes a huge difference. It allows them to set slightly and reduces the risk of them breaking apart.
Alternatives & Substitutions
Feeling adventurous? Or maybe you just ran out of something? No worries, I got you.
- Chocolate Varieties: Feel free to experiment! White chocolate lava cake? Milk chocolate for a sweeter profile? Go for it! You could even add a teaspoon of instant espresso powder to the batter for a deeper, mocha-like flavor.
- Flavor Boosters: A pinch of cayenne pepper for a little spicy kick, orange zest for a bright citrus note, or a tablespoon of your favorite liqueur (like Kahlúa or Grand Marnier) can elevate your cake.
- Gluten-Free: Swap out the all-purpose flour for a 1:1 gluten-free baking blend. Easy peasy!
- Serving Suggestions: While perfect on its own, a scoop of vanilla bean ice cream, a dollop of fresh whipped cream, or a handful of fresh berries takes this dessert to the next level.
FAQ (Frequently Asked Questions)
Got questions? I’ve got answers. No judgment here!
Can I make this ahead of time?
Well, technically you could prep the batter and keep it in the fridge for a few hours, but **FYI**, these cakes are truly best fresh out of the oven. The molten center magic starts to solidify as it cools. For maximum ooze, bake just before serving!
What if I don’t have ramekins?
Don’t panic! You can use heat-safe ceramic coffee mugs (make sure they’re oven-safe!) or even a muffin tin. If using a muffin tin, make sure to grease generously and fill only halfway. Baking time might be slightly less, so keep an eye on them!
My lava didn’t flow! What happened?
Ah, a classic tale of overbaking! It means your cake cooked a bit too long and the center set. Next time, aim for that jiggly center and pull them out a minute or two sooner. Still delicious, just more of a fudgy brownie!
Can I use margarine instead of butter?
Technically, yes, you *could*. But why hurt your soul like that? Butter provides a richer flavor and better texture. If you want the best molten chocolate lava cake, stick with butter!
Can I scale this recipe up for more people?
Absolutely! Just multiply the ingredients by how many servings you need and adjust your ramekins and baking time accordingly. More lava cake for more friends? Always a good idea!
How do I store leftovers?
Leftover lava cake (if there even are any!) is best stored in an airtight container at room temperature for a day, or in the fridge for up to 3 days. Reheat gently in the microwave for a few seconds to get a semblance of that molten center back, or just enjoy as a fudgy brownie!
Final Thoughts
So there you have it, your new go-to, impress-everyone-with-minimal-effort dessert! This Molten Chocolate Lava Cake For Two is proof that you don’t need a culinary degree to create something truly spectacular. It’s warm, it’s chocolatey, it’s got that undeniable ooze, and it’s practically begging to be devoured. Now go forth, my friend, preheat that oven, and create some chocolate magic. You’ve earned it!


