So you’re craving something tasty but too lazy to spend forever in the kitchen, huh? Same. We’ve all been there: it’s Tuesday night, you just finished a marathon of your favorite show, and suddenly a tiny voice (or maybe a very loud one) screams, “CHOCOLATE!” But who wants to make a whole 9×13 pan of brownies just for themselves? Or worse, for you and one other lucky soul who deserves this level of deliciousness? Not me, buddy. Not me. That’s why we’re diving headfirst into the glorious world of the **Skillet Brownie For Two**. Get ready for magic. ✨
Why This Recipe is Awesome
Okay, let’s break down why this isn’t just *another* brownie recipe, it’s *the* brownie recipe for when life requires minimal effort and maximum reward. First off, it’s a **single-skillet wonder**. Translation: fewer dishes, which is basically a life hack in itself. Second, it’s portion-controlled. No more guilt-tripping yourself for eating half the pan. This beauty is designed for two, meaning you can share (if you must) or just claim it all for yourself and call it “self-care.”
Plus, it’s practically idiot-proof. Seriously. I’ve been known to burn water, and even I didn’t mess this up. It comes together faster than you can decide what to watch next on Netflix, and bakes into this gooey, crispy-edged, warm hug of chocolate perfection. **It’s quick, it’s easy, and it tastes like a million bucks.** What more could you ask for?
Ingredients You’ll Need
Gather ’round, my sweet-toothed companions! Here’s what you’ll need for your culinary adventure. Most of this stuff is probably already lurking in your pantry, waiting for its moment to shine.
- **3 tablespoons (42g) unsalted butter:** Because butter makes everything better.
- **¼ cup (50g) granulated sugar:** For that classic brownie sweetness.
- **2 tablespoons (25g) packed light brown sugar:** Hello, chewiness!
- **1 large egg yolk:** Just the yolk, baby. It keeps things fudgy without making too much batter. Don’t worry, the white will find its purpose another day.
- **½ teaspoon vanilla extract:** The unsung hero of all baked goods. Don’t skimp!
- **¼ cup (30g) all-purpose flour:** The basic building block.
- **2 tablespoons (10g) unsweetened cocoa powder:** The chocolatey goodness. The darker, the better, IMO.
- **Pinch of salt:** Enhances all those sweet flavors. Don’t forget it!
- **¼ cup (40g) chocolate chips or chopped chocolate:** Semi-sweet, dark, milk, whatever your heart desires. This is where the magic happens.
Step-by-Step Instructions
- **Preheat & Prep:** Go ahead and preheat your oven to **350°F (175°C)**. Grab a small oven-safe skillet (a 6-inch cast iron skillet is perfect!). Give it a light grease with a bit of butter or non-stick spray.
- **Melt the Butter:** In a small microwave-safe bowl (or directly in your skillet if you’re feeling brave and have an induction stovetop), melt the butter. Do it in short bursts to avoid any explosions.
- **Wet Ingredients Party:** Pour the melted butter into a medium bowl (or keep it in the skillet if you’re going one-bowl minimalist). Whisk in both sugars until they’re well combined and look a bit glossy. Stir in the egg yolk and vanilla extract until everything is smooth and happy.
- **Dry Ingredients Unite:** In a separate small bowl, whisk together the flour, cocoa powder, and a tiny pinch of salt. Make sure there are no lumps of cocoa powder; nobody wants a dusty bite!
- **Combine & Conquer:** Add the dry ingredients to the wet ingredients. Mix gently with a spatula or wooden spoon until just combined. **Don’t overmix!** Overmixing is the enemy of fudgy brownies. A few streaks of flour are totally fine.
- **Chocolate Chip Heaven:** Fold in your chocolate chips or chopped chocolate. Because more chocolate is always a good idea, right?
- **Skillet Time:** Scrape the brownie batter into your prepared skillet. Spread it out evenly. Make it look pretty, or don’t. It’s going to be delicious either way.
- **Bake It Up:** Pop that skillet into your preheated oven. Bake for **18-22 minutes**. You’re looking for slightly set edges and a still-gooey center. A toothpick inserted near the edge should come out with moist crumbs, but not raw batter.
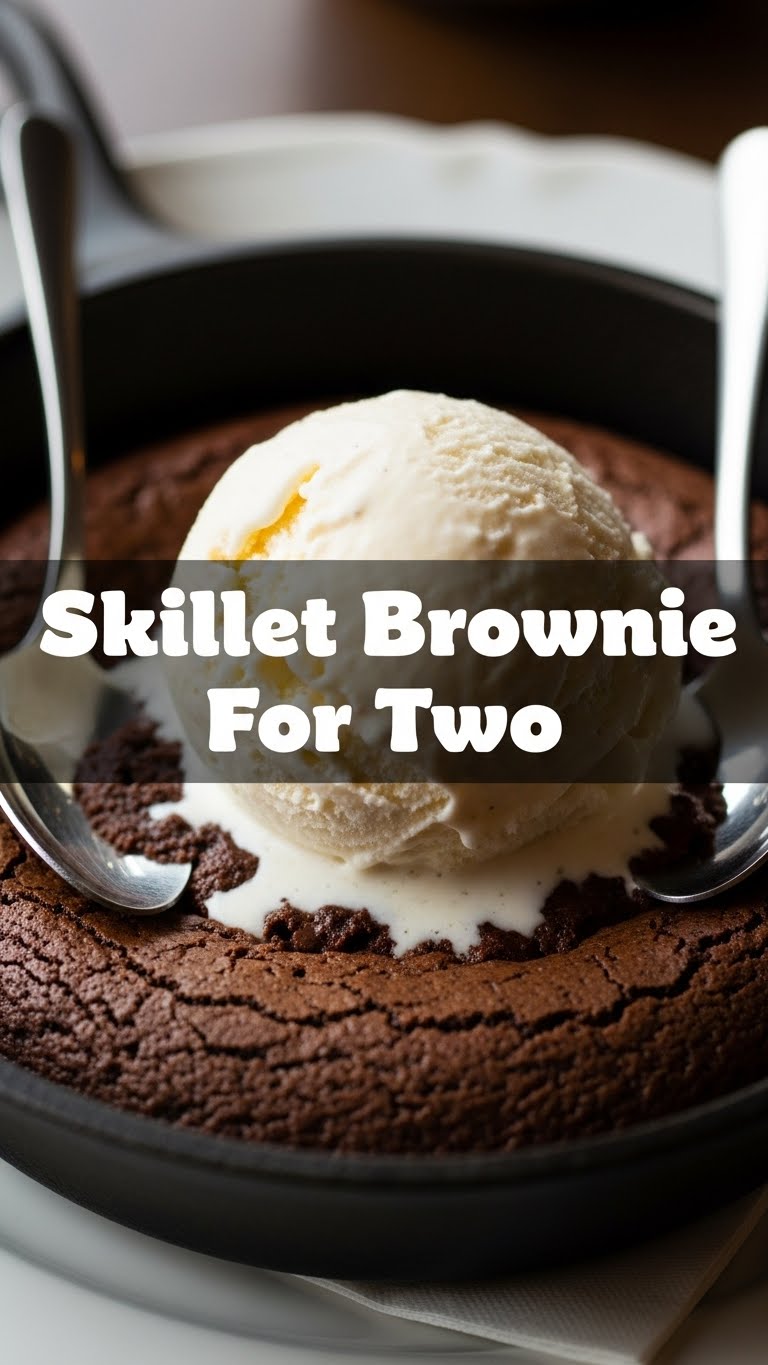
- **Cool (If You Can!):** Take the skillet out of the oven and try (try!) to let it cool for at least 5-10 minutes. This helps it set up a bit. Serve warm with a scoop of ice cream, if you’re feeling extra fancy.
Common Mistakes to Avoid
Even though this recipe is pretty foolproof, there are a few rookie errors that can turn your fudgy dream into a crumbly nightmare. Let’s make sure you don’t fall victim:
- **Overmixing the Batter:** This is probably the biggest sin in brownie making. When you overmix, you develop the gluten in the flour too much, leading to tough, cakey brownies instead of dense, fudgy ones. **Mix until just combined**, and then walk away from that spoon!
- **Overbaking:** Nothing is sadder than a dry brownie. Keep an eye on your oven! Brownies are best when they’re slightly underbaked in the center. Remember, they continue to cook a little bit after they come out of the oven.
- **Forgetting to Grease the Skillet:** Trust me, you do not want your beautiful brownie to be stuck to the bottom of the pan. A quick swipe of butter or spray is all it takes.
- **Not Using Quality Cocoa Powder & Chocolate:** This isn’t the time to skimp. The better your chocolate, the better your brownie. Treat yourself!
Alternatives & Substitutions
Feeling a bit adventurous, or missing an ingredient? No stress! This recipe is pretty forgiving. Here are some fun ways to mix things up:
- **Chocolate Type:** Not a fan of semi-sweet? Go all dark chocolate for an intense cocoa hit, or grab some milk chocolate chips for a sweeter, creamier vibe. White chocolate chips? A swirly combo of white and dark? Your call!
- **Add-ins:** Nuts (walnuts, pecans, chopped almonds) are a classic brownie companion. A sprinkle of sea salt on top before baking really brings out the chocolate flavor (trust me on this one). You could even add a tiny pinch of espresso powder to the batter to deepen the chocolate notes without tasting like coffee.
- **Butter Alternatives:** Unsalted butter is king, but if you’re in a pinch, salted butter works—just omit the extra pinch of salt in the dry ingredients. For a dairy-free option, you *can* use a good quality plant-based butter, but the texture might be slightly different.
- **Extra Flavor:** A splash of almond extract instead of vanilla (or half and half!) gives a lovely marzipan-like nuance. Or a tiny dash of orange zest for a chocolate-orange combo!
FAQ (Frequently Asked Questions)
Got questions? I’ve got answers. Probably. Let’s dig in!
- **Can I make this in a different pan?** Absolutely! A small oven-safe ramekin or an 8×8-inch baking dish for slightly thinner brownies would work. Just keep an eye on the baking time as it might vary.
- **What if I don’t have brown sugar?** You can totally use all granulated sugar, but your brownies might be a tiny bit less chewy. Still delicious, though!
- **Do I really need to use just the egg yolk? What about the white?** The egg yolk adds richness and helps create that super fudgy texture. Using a whole egg might make it a bit more cake-like. As for the white? Freeze it for a future omelet, or make a tiny meringue!
- **Can I make this ahead of time?** You can definitely make the batter a day in advance and store it in the fridge. Just let it come to room temperature for about 15-20 minutes before baking for best results.
- **How do I store leftovers?** Leftovers? What are those? 😉 If by some miracle you have any, cover the skillet tightly with foil or plastic wrap. It’ll stay good at room temperature for a couple of days, or pop it in the fridge for up to a week. Reheat gently in the microwave for that fresh-baked gooeyness.
- **Can I add nuts to this?** You betcha! Walnuts or pecans are classic. Just fold them in with the chocolate chips.
Final Thoughts
There you have it, folks! A ridiculously easy, unbelievably delicious skillet brownie recipe that’s perfect for two (or just one very happy person). This isn’t just baking; it’s a mood enhancer, a stress reliever, and a direct path to chocolate bliss. So go forth, wield your skillet, and make some magic happen. Now go impress someone—or yourself—with your new culinary skills. You’ve earned it!


