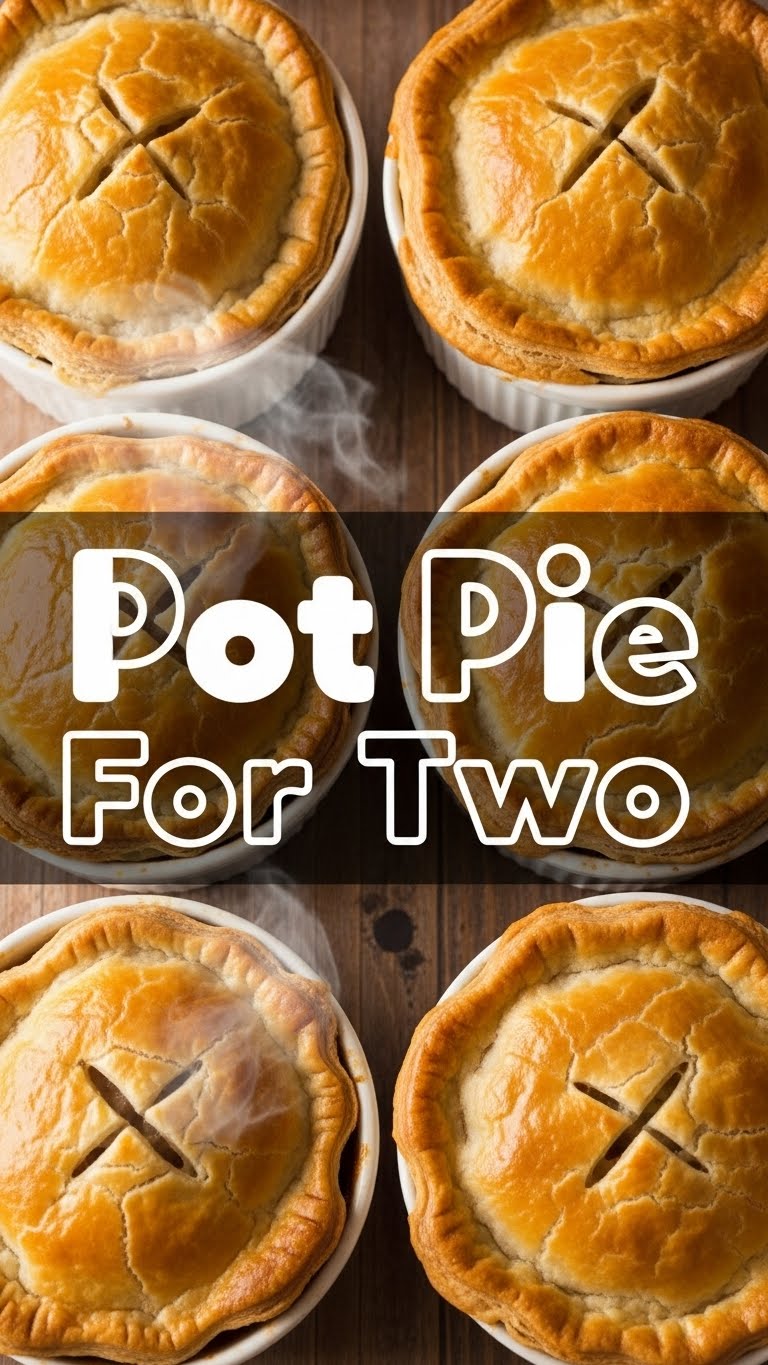
So you’re craving something warm, comforting, and utterly delicious, but the thought of feeding a whole army (or dealing with a week’s worth of leftovers) makes you want to nap? Yeah, me too. Enter: Pot Pie For Two. Because sometimes, ‘two’ is the perfect number of people to share deliciousness with (and not have extra judging you from the fridge). This isn’t your grandma’s all-day pot pie project; this is for when you want maximum cozy vibes with minimal effort. Let’s get cooking, you lazy genius, you!
Why This Recipe is Awesome
Okay, let’s be real. This recipe is practically foolproof. Seriously, if I can make it without setting off the smoke alarm (which is saying something, trust me), you’re golden. It’s:
- Quick to assemble: No marathon cooking sessions here. You’ll be chilling on the couch in no time.
- Perfectly portioned: Two servings! No guilt about overeating, and definitely no sad, forgotten leftovers taking up fridge space.
- The ultimate comfort food: Warm, creamy, flaky – it’s a hug in a bowl, just for you and your chosen partner in crime (or just you, because self-love is important!).
- A magic trick: It makes you look like a domestic god/goddess without actually breaking a sweat. **Winning!**
Ingredients You’ll Need
Gather ’round, my friends. Here’s what you’ll need for your culinary masterpiece. Keep it simple, keep it fun!
- 1 sheet store-bought pie crust: Don’t be a hero. Pre-made is your best friend here. Unless you’re secretly Martha Stewart, then go for it.
- 2 tablespoons unsalted butter: The real stuff, please. None of that questionable spread.
- 1/2 cup frozen mixed vegetables: Peas, carrots, corn – the usual suspects. Straight from the freezer, no judgment.
- 1 cup cooked chicken, shredded or diced: Leftover rotisserie chicken is MVP here. Seriously, it’s a lifesaver.
- 2 tablespoons all-purpose flour: For that perfectly thick, luscious sauce.
- 1/2 cup chicken broth: Low sodium, if you’re trying to be healthy. Or not, who cares? YOLO.
- 1/2 cup milk: Any kind you fancy. Whole milk for richness, skim for… well, less richness.
- 1/2 teaspoon dried thyme (or poultry seasoning): For that classic pot pie flavor. Don’t skip it!
- Salt and freshly ground black pepper: To taste. Be brave, season well!
- 1 egg (optional): Whisked with a splash of water for an egg wash. For that fancy, golden-brown crust. You know, if you’re feeling extra.
Step-by-Step Instructions
Alright, let’s turn these glorious ingredients into edible gold. Follow these steps, and you’ll be a pot pie wizard in no time.
- Get Prepped! Preheat your oven to 400°F (200°C). If you have two small ramekins (about 8-10 oz each) or a small oven-safe dish (like a mini casserole), grab ’em. Unroll your pie crust and let it sit at room temp for a few minutes so it’s easy to work with.
- Melt the Butter: In a small saucepan over medium heat, melt the butter. Let it get all bubbly and happy.
- Sauté the Veggies: Toss in your frozen mixed vegetables. Stir them around for 2-3 minutes until they’re slightly softened and looking vibrant.
- Make a Roux: Sprinkle the flour over the veggies and butter. Stir constantly for about 1 minute. It’ll look a little pasty, but that’s a good thing! This is your flavor base.
- Whisk in Liquids: Gradually whisk in the chicken broth, then the milk. Keep whisking until the sauce starts to thicken and smooth out. This usually takes 3-5 minutes. **No lumps allowed!**
- Add the Goodies & Season: Stir in your cooked chicken, thyme (or poultry seasoning), salt, and pepper. Give it a taste. Does it need more salt? More pepper? Be your own chef!
- Fill ‘Em Up: Divide the delicious, creamy mixture evenly into your two ramekins or small dish. Don’t overfill! Leave about a 1/2 inch space from the top.
- Top with Crust: If using ramekins, cut your pie crust into two circles slightly larger than the tops. If using a small dish, simply drape the crust over. Crimp the edges to seal (make it pretty!). Don’t forget to cut a few small slits in the top of the crust – this is for steam to escape!
- Bake It! If you’re using the egg wash, brush it lightly over the pie crust now. Pop your pot pies onto a baking sheet (to catch any potential bubbly overflows, just in case) and bake for 20-25 minutes, or until the crust is golden brown and the filling is bubbly.
- Cool & Serve: This is the hardest part: let them cool for 5-10 minutes before diving in. Trust me, molten pot pie filling is no joke. Enjoy your masterpiece!
Common Mistakes to Avoid
Nobody’s perfect, but we can avoid some classic blunders. Learn from my past kitchen mishaps (so you don’t have to!).
- Overfilling your ramekins: “Don’t be greedy! Leave some room for bubbly goodness, or you’ll have a lava-pie situation all over your oven. Not fun to clean.”
- Not venting the crust: “Those little slits aren’t just for decoration, people! Steam needs an escape route. Otherwise, your pie might just… explode (dramatically, of course). Rookie mistake!”
- Forgetting to preheat the oven: “That’s like trying to run a marathon without stretching. It just won’t end well. **Always preheat!** Your crust will thank you.”
- Ignoring the cooling time: “I know, I know, it smells amazing. But seriously, wait a few minutes. Your tongue will forgive you.”
Alternatives & Substitutions
Feel free to get creative! This recipe is super flexible. Think of it as a template for your own culinary genius.
- Veggies: Swap in fresh mushrooms, celery, or chopped green beans instead of frozen mixed. Or add some corn! Whatever floats your veggie boat.
- Protein: Not feeling chicken? Use leftover turkey, ham, or even chickpeas for a vegetarian version. Be your own pot pie boss!
- Crust: Puff pastry works brilliantly for an even flakier top. Or skip the bottom crust entirely for a slightly lighter (and even quicker) version.
- Dairy-Free: Use your favorite plant-based milk and butter alternative. Easy peasy lemon squeezy.
- Gluten-Free: Opt for a gluten-free pie crust and use a GF all-purpose flour blend for the roux.
FAQ (Frequently Asked Questions)
Got questions? I’ve got (casual) answers!
- Can I make this ahead of time? Absolutely! Assemble everything, cover the unbaked pies with plastic wrap, and chill for up to 24 hours. Just add 10-15 minutes to your bake time.
- What if I don’t have ramekins? No worries! A small oven-safe dish (like a shallow casserole dish or even a couple of oven-safe soup bowls) works perfectly. Just adjust the crust size accordingly.
- Can I use canned chicken? Well, technically yes, but fresh cooked chicken (especially rotisserie) will give you better flavor and texture. Just sayin’. Canned is fine in a pinch, though!
- My sauce is too thin/thick! Help! Too thin? Simmer a bit longer, it’ll thicken up. Too thick? Whisk in a splash more broth or milk until it’s just right. You got this.
- What’s with the egg wash? Is it necessary? It gives your crust that gorgeous, golden-brown sheen and a slightly crispier finish. Totally optional, but it makes it look extra pro.
- Can I freeze these after baking? You *could*, but honestly, pot pie is best fresh. The crust might get a bit soggy when reheated from frozen. Eat it all now, IMO!
- Can I make it spicy? Oh, heck yeah! Add a pinch of red pepper flakes to your veggies or a dash of hot sauce to the filling. Live a little!
Final Thoughts
See? That wasn’t so hard, was it? You just whipped up a warm, comforting, and utterly delicious pot pie for two without even breaking a sweat. You’re basically a culinary superstar in the making (or at least, for tonight). This dish is perfect for a cozy date night, a treat for yourself, or just because you deserve something truly satisfying.
Now go impress someone—or yourself—with your new culinary skills. You’ve earned those cozy, flaky, bubbly bites. Happy eating!


