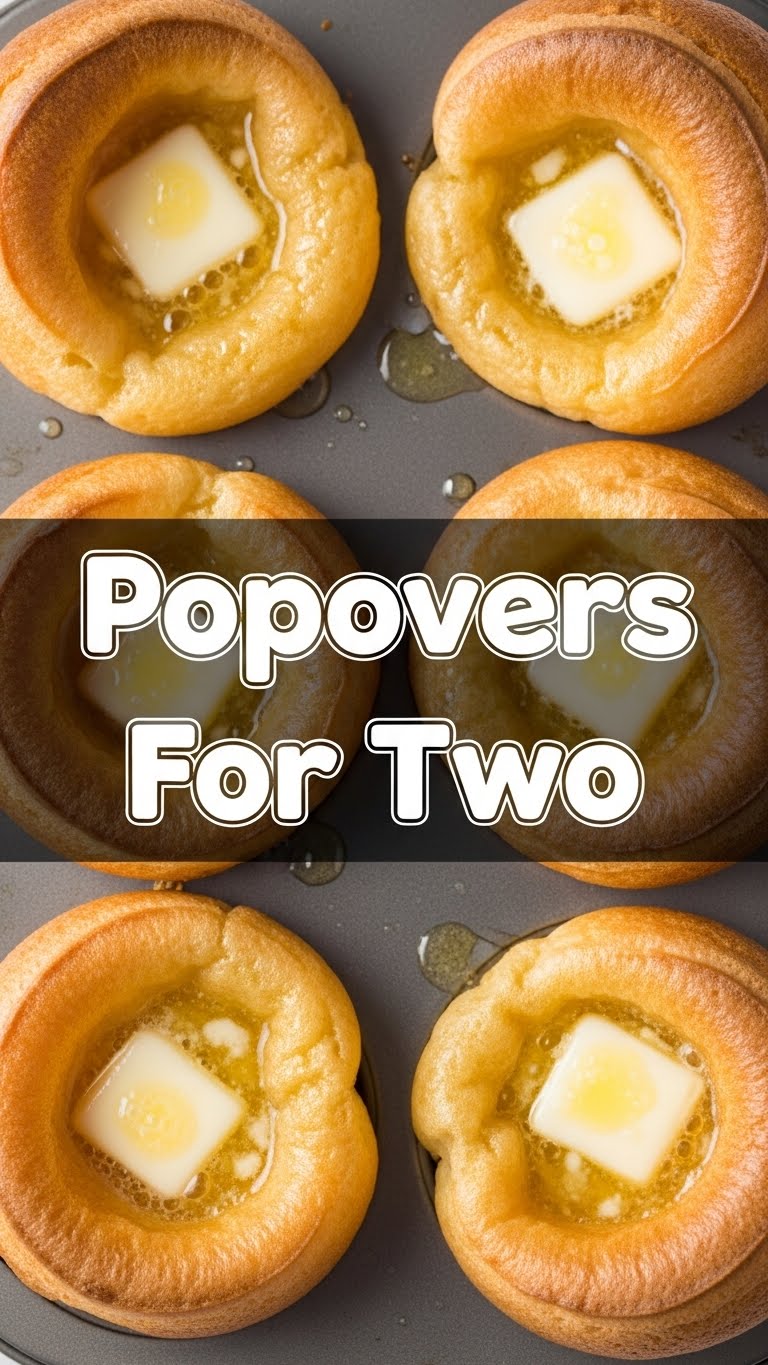
So you’re craving something tasty but too lazy to spend forever in the kitchen, huh? Same. Honestly, who has time for culinary masterpieces on a Tuesday night? But fear not, my friend, because I’ve got a secret weapon: **Popovers For Two**. They look super fancy, taste divine, and trick everyone into thinking you’re a five-star chef, even though you just pulled them together in like, 10 minutes flat. Seriously, they’re the ultimate “effortless impressiveness” food. Let’s get baking!
Why This Recipe is Awesome
Okay, let’s be real. This recipe is awesome because it’s practically idiot-proof. Even I didn’t mess it up, and my kitchen adventures often end in a smoke alarm concert. It’s quick to whip up, uses super basic ingredients you probably already have, and delivers those ridiculously light, airy, golden puffs of joy that are perfect for breakfast, brunch, or even as a surprisingly elegant side with dinner. Plus, making just two means no leftovers to “deal with” (aka forget about in the back of the fridge). It’s the perfect little treat, just for you and your favorite human (or, let’s be honest, two for yourself – no judgment here!).
Ingredients You’ll Need
- 1 large egg: Room temp is best, because science!
- ½ cup milk: Whole milk works wonders here for that rich flavor. Again, room temperature is your friend.
- ½ cup all-purpose flour: Because who has “specialty pastry flour for tiny popovers” lying around? Not me.
- ¼ teaspoon salt: Just a pinch to make everything pop.
- 1 tablespoon unsalted butter: Melted, for greasing the pan and adding a bit of richness to the batter.
Step-by-Step Instructions
- **Preheat like a pro:** Get your oven cranked up to a sizzling **450°F (230°C)**. While it’s heating, put your popover pan (or a two-cup muffin tin) in there to get super hot. This is a crucial step, don’t skip it!
- Butter up: Melt that tablespoon of butter. Use about half of it to generously grease the two cups of your hot popover pan. Swirl it around!
- **Mix the dry stuff:** In a small bowl, whisk together the flour and salt. No lumps allowed!
- Wet work: In a separate bowl (or a liquid measuring cup with a spout, for easy pouring), whisk the egg and milk until well combined and frothy. This is where the magic starts.
- **Combine carefully:** Pour the wet ingredients into the dry ingredients. Whisk *just* until combined. A few small lumps are totally fine – in fact, they’re preferred! **Do NOT overmix**, or your popovers will be tough.
- **Fill ‘er up:** Carefully take the hot pan out of the oven (use oven mitts, obviously!). Divide the batter evenly between the two hot, buttered cups. Pour it directly into the hot butter.
- **Bake time!** Immediately pop the pan back into the oven. Bake for **20 minutes at 450°F (230°C)**.
- **Lower the heat:** Without opening the oven door (this is key!), reduce the temperature to **375°F (190°C)** and bake for another **10-15 minutes**, or until they are deeply golden brown and puffed up like glorious little clouds.
- **Serve immediately:** Seriously, these are best hot out of the oven. Tear them open and let the steam escape.
Common Mistakes to Avoid
- Thinking you don’t need to preheat the pan: Rookie mistake! A super-hot pan is what gives popovers their epic rise. Don’t skip this, or you’ll have flat sadness.
- Using cold ingredients: Room temperature matters, folks! Cold ingredients can seize up your batter and prevent that beautiful puff. Plan ahead.
- **Overmixing the batter:** This is probably the biggest popover killer. If you overmix, you develop too much gluten, and your popovers will be dense and chewy instead of light and airy. Stop whisking when it’s *just* combined.
- Opening the oven door too early: Oh, the temptation! But resist! Opening the door lets out all that precious steam and heat, causing your beautiful popovers to deflate. **IMO**, it’s the ultimate sin in popover making.
Alternatives & Substitutions
Look, I’m all for sticking to the classics, but sometimes you gotta mix it up!
- Milk options: Whole milk gives the best results, but you can totally use 2% or even non-dairy milk like almond or oat. Just know the flavor and texture might be slightly different. Less fat usually means less richness, FYI.
- Butter replacement: While butter is king, you could use a neutral oil like canola or vegetable oil for greasing the pan. For the batter, a tablespoon of melted oil *could* work, but butter really adds to the flavor.
- Sweet or savory? You can totally customize! For a sweet treat, add a teaspoon of sugar and a pinch of cinnamon to your dry ingredients. For savory, try a sprinkle of dried herbs or grated Parmesan cheese (just a little!) in the batter.
FAQ (Frequently Asked Questions)
Got questions? I’ve got (mostly snarky) answers!
- Can I use margarine instead of butter? Well, technically yes, but why hurt your soul like that? Butter tastes better, trust me. Your popovers deserve the best.
- Do I really need a special popover pan? A dedicated popover pan is ideal because the deep, narrow cups encourage maximum rise. But a standard muffin tin with two cups greased will also work in a pinch – they just might not be *as* dramatically tall.
- My popovers deflated! What happened? Did you peek? You peeked, didn’t you? Or maybe your ingredients were cold, or you overmixed. See “Common Mistakes to Avoid” for a full rundown.
- Can I make the batter ahead of time? Nope. This batter is best made and baked immediately. The leavening action starts right away, and waiting too long means less puff. Instant gratification is key here!
- How do I store leftover popovers? Leftovers? What are those? Kidding (mostly). Popovers are best eaten fresh. If you absolutely must, store them in an airtight container at room temp for a day. Reheat in a 350°F (175°C) oven for a few minutes to crisp them up, but honestly, they’ll never be quite the same.
Final Thoughts
And there you have it, my friend! Two absolutely fabulous, ridiculously easy popovers, just for you (and your lucky companion, or just you, again, no judgment). See? Who said baking had to be complicated? Now go impress someone—or yourself—with your new culinary skills. You’ve earned it! Enjoy those crispy, airy delights before they disappear faster than a free sample at Costco. Happy popping!


