So, you’re craving something *tasty* but the thought of actual cooking makes your soul wilt a little? And maybe you want to impress someone (or just treat yourself) without, like, setting off the smoke alarm? Same. My friend, you’re in the right place because today, we’re building the ultimate “Snack Board For Two” – and yes, “building” is the most intense word we’ll use here.
Why This Recipe is Awesome
Okay, “recipe” is a strong word for something that mostly involves unwrapping and artfully placing. But hear me out: this snack board is the unsung hero of lazy nights, impromptu dates, or just when you want to feel fancy without, you know, being fancy *trying too hard*. It’s practically idiot-proof; if I can do it, you absolutely can. No cooking, minimal clean-up, and maximum “OMG, you made this?!” vibes. Plus, it’s totally customizable, so you can tailor it to exactly what you and your snack buddy (or just you, no judgment!) are feeling.
Ingredients You’ll Need
Think of this as a guideline, not a strict rulebook. We’re going for a mix of salty, sweet, crunchy, and creamy. Here’s a starting point:
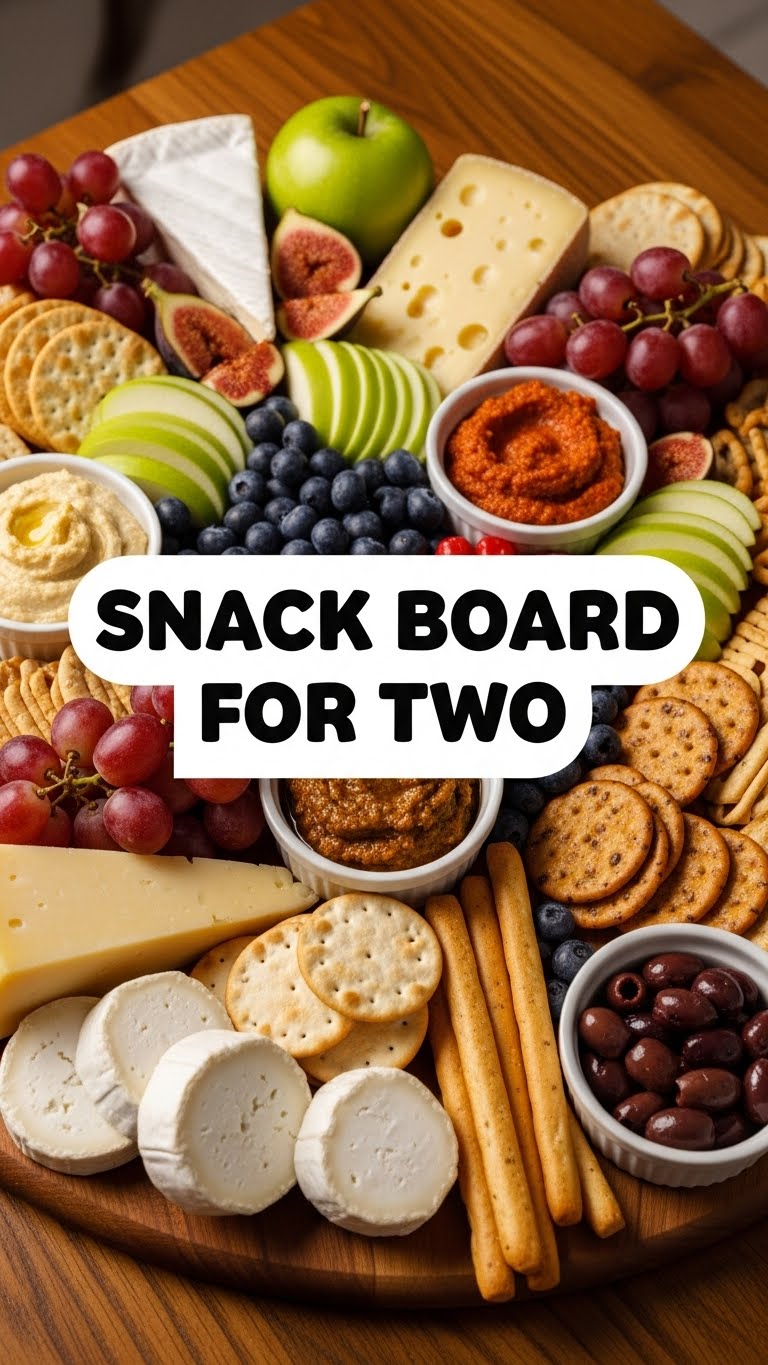
- Two Types of Cheese: One soft (brie, goat cheese, fresh mozzarella) and one hard (aged cheddar, gouda, Manchego). Because variety is the spice of life, and cheese.
- Cured Meats (Optional, but recommended): A few slices of prosciutto, salami, or coppa. Because fancy meat ribbons are always a good idea.
- Crackers or Bread: A small baguette, some fancy water crackers, or even pita bread. Something to get those delicious toppings from board to mouth.
- Fresh Fruit: Grapes, berries, apple slices, or pear slices. Adds a pop of color and a refreshing counterpoint to all that savory goodness.
- Something Briny: Olives, cornichons (those tiny pickles), or pickled onions. Cuts through the richness and makes everything sing.
- Nuts: A small handful of almonds, walnuts, or pistachios. For that satisfying crunch and a touch of elegance.
- A Dip or Spread: Hummus, a nice jam, honey, or a small bowl of pesto. Adds another layer of flavor and texture.
- A Little Greenery (Optional): A sprig of rosemary or some fresh basil leaves. Makes it look like you actually know what you’re doing.
Step-by-Step Instructions
Get ready to become a snack board artist. This is where the magic (and zero cooking) happens!
- Grab Your Board: Pick your serving surface. A cutting board, a platter, or even a large dinner plate will work. Don’t overthink it.
- Anchor Your Cheeses: Place your two cheeses first. These are the main characters of your board. Give them a little space so people can easily cut into them.
- Arrange the Meats: If using, drape your cured meats artfully around the cheeses. Think about making little rosettes or just casually folding them. It adds visual interest.
- Pile the Crackers/Bread: Create a few piles or a fanned-out display of your crackers or bread. Make sure they’re easily accessible without having to dig.
- Dot with Fruit: Scatter your fresh fruit around the empty spaces. Grapes look great in bunches, berries can fill in gaps, and apple slices can be fanned out.
- Add the Briny Bits & Nuts: Place your olives, cornichons, and nuts in small ramekins or directly onto the board in small clusters. These are your flavor bombs.
- Introduce the Dip/Spread: Put your hummus, jam, or honey in a small bowl. This usually goes near the crackers or fruit it pairs best with.
- Garnish and Admire: If you have any fresh herbs, tuck them in here and there for a professional touch. Take a moment to admire your handiwork. You’re basically a chef now.
Common Mistakes to Avoid
Even though this is super easy, there are a few rookie errors to sidestep if you want full snack board glory:
- Overcrowding the Board: You want it to look abundant, not like a hoarder’s pantry exploded. Leave a little breathing room between items, or at least make it look intentional.
- Forgetting Utensils: A small cheese knife for each cheese, a spoon for the dip, and maybe some tiny tongs for olives. Don’t make your guests use their fingers for everything unless that’s your vibe.
- Ignoring Temperature: Take your cheeses out of the fridge about 20-30 minutes before serving. **Room temperature cheese tastes way better**, trust me on this.
- Skipping the Variety: Sticking to just one texture or flavor profile (e.g., all salty, all crunchy) can make the board less exciting. Aim for contrast!
Alternatives & Substitutions
The beauty of this board is its flexibility! Don’t have something? Swap it out!
- For the Cheese Lovers: If you’re dairy-free, there are some surprisingly good plant-based cheeses out there now. Or, lean into more dips like a chunky guacamole or a dairy-free pâté.
- Meat-Free Zone: No problem! Load up on roasted red peppers, sun-dried tomatoes, artfully arranged vegetable sticks, or even some marinated artichoke hearts.
- Cracker Swaps: Gluten-free crackers, rice cakes, or even just some sturdy cucumber slices work wonderfully instead of traditional crackers.
- Sweet Tooth? Add some dark chocolate squares, dried cranberries, or a few candied pecans.
- Got Veggies? Cherry tomatoes, mini bell peppers, or even blanched asparagus spears can be fantastic additions.
FAQ (Frequently Asked Questions)
- Can I make this ahead of time?
Partially! You can pre-slice cheeses and meats, wash fruit, and get your bowls ready. But for peak freshness (and to avoid sad, dried-out crackers), **assemble the board about 15-30 minutes before serving**. You want everything looking its best, IMO.
- What if I hate olives?
Then don’t put them on! Seriously, this is *your* board. Swap them for roasted red peppers, marinated mushrooms, or even just a few extra pickles. No judgment here.
- Do I really need a fancy board?
Nope! A regular cutting board, a pretty platter, or even just a large dinner plate will do the trick. It’s about the deliciousness, not the lumber. Though, a nice board does make for better Instagram pics, FYI.
- Is wine mandatory with a snack board?
Technically no, but why limit your joy? A crisp white wine, a light-bodied red, or even some sparkling cider can elevate the experience. Hydration is important, folks.
- What if I only have regular old cheddar and Ritz crackers?
Embrace it! **The best snack board is the one you actually make and enjoy.** Work with what you’ve got. Presentation still matters, so arrange them nicely!
Final Thoughts
So there you have it – your guide to creating a stunning (and ridiculously easy) snack board for two. Whether you’re trying to impress a date, have a cozy night in with your bestie, or simply treat yourself like the royalty you are, this board has got your back. It’s a low-effort, high-reward situation that always delivers. Now go forth and snack like the culinary genius you’ve become! You’ve earned it!


