So you’re craving something sweet but don’t want to bake a whole cake for just two of you, huh? And let’s be real, you also don’t want to do a gazillion dishes. I get it. We’ve all been there, staring into the fridge like it holds the answers to life’s deepest questions (mostly, “What’s for dessert?”). Well, friend, I’ve got your back with a dessert so ridiculously easy and delicious, you’ll wonder if you accidentally became a pastry chef overnight. Spoiler alert: you didn’t, but you’ll certainly feel like one!
Why This Recipe is Awesome
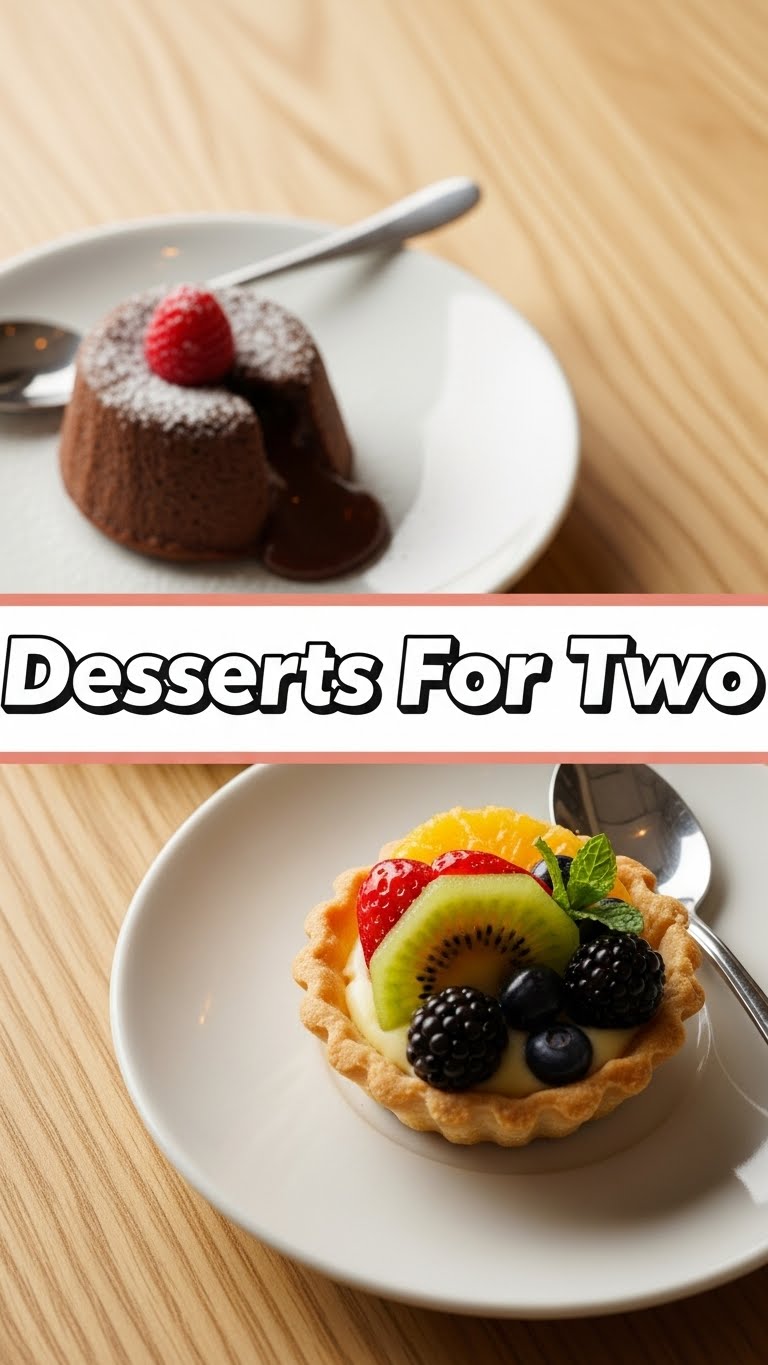
Because who needs a full-blown baking project when you just want a little slice of heaven? This recipe for Molten Chocolate Lava Cakes for Two is a total game-changer. It’s perfectly portioned, so no awkward leftovers tempting you from the fridge at 3 AM. It’s super quick to whip up—we’re talking 20 minutes from start to ooey-gooey finish. Plus, it looks incredibly impressive, tasting like something you’d get at a fancy restaurant, but with minimal effort and even less cleanup. Honestly, **it’s practically idiot-proof.** Even I didn’t mess it up, and that’s saying something!
Ingredients You’ll Need
Gather your gladiators, er, ingredients:
- Unsalted Butter: 2 tablespoons. Get the good stuff. Not that weird, pale spread your grandma insisted on.
- Good Quality Dark Chocolate: 2 ounces (around 60-70% cocoa). Don’t skimp here, folks. This is the star of the show, delivering that deep, rich flavor. No “chocolate-flavored” discs, please.
- Powdered Sugar: 3 tablespoons. Because granulated sugar just isn’t fancy enough for lava.
- Large Egg Yolk & Whole Egg: 1 of each. A dynamic duo for that perfect gooey center.
- All-Purpose Flour: 1 tablespoon. Just a touch, to hold it all together, not make it a brick.
- Vanilla Extract: 1/2 teaspoon. Adds that extra “oomph,” you know?
- Salt: A tiny pinch. To balance the sweet, like your wise friend always telling you to chill.
Step-by-Step Instructions
- Preheat & Prep: Preheat your oven to a blazing 400°F (200°C). Grab two 6-ounce ramekins (those cute little oven-safe dishes) and generously butter and flour them. **Don’t skip this step, or face the wrath of stuck cake!** A little cocoa powder instead of flour works wonders for a darker finish.
- Melt Chocolate & Butter: In a microwave-safe bowl, combine the chocolate and butter. Microwave in 30-second intervals, stirring after each, until completely smooth. Alternatively, use a double boiler. Once melted, let it cool slightly while you move on to the next step.
- Whisk It Up: In a separate, medium-sized bowl, whisk together the powdered sugar, egg yolk, and whole egg until the mixture is light, fluffy, and slightly pale. You’re building structure here!
- Combine Forces: Gently fold the slightly cooled melted chocolate mixture into the egg mixture. Do it slowly, like you’re handling precious jewels. You want everything well combined, but don’t go crazy.
- Add Dry & Flavor: Sift the flour and pinch of salt directly into your chocolate mixture. Add the vanilla extract. Mix until *just* combined. **Overmixing is a sin here, folks!** It’ll make your cakes tough, and nobody wants a tough lava cake.
- Bake: Divide the batter evenly between your two prepared ramekins. Place them on a baking sheet (just in case of any lava overflows, though it’s rare). Bake for 12-14 minutes. The edges should look set, but the center should still be deliciously jiggly. That jiggle is your molten gold!
- Serve Immediately: This is crucial! Carefully remove the ramekins from the oven. Run a thin knife around the edge of each cake, then invert onto serving plates. They should pop right out. Serve immediately with a scoop of vanilla ice cream, fresh berries, or just a spoon. Dig in!
Common Mistakes to Avoid
- Not buttering/flouring ramekins properly: Ever tried to extract a delicate cake from a sticky prison? Not fun, and potentially cake-destroying. Be generous!
- Overbaking: This isn’t a muffin, people! You want lava, not a dry hockey puck. **Keep a vigilant eye on that oven!** If it’s firm to the touch all over, you’ve gone too far.
- Using cheap chocolate: Your taste buds will call for a divorce. Invest in quality; it really makes a difference here.
- Overmixing the batter: You’re aiming for airy deliciousness, not dense disappointment. Mix just until ingredients are incorporated.
Alternatives & Substitutions
Feeling adventurous? Here are some tweaks:
- Chocolate Choices: Milk chocolate works if you’re not a dark chocolate fan, but it’ll be much sweeter. White chocolate? You do you, but it’s a completely different vibe and might need a touch less sugar.
- Flour Power: Gluten-free all-purpose flour blends usually work great here, so go for it if you need to!
- Toppings Galore: Vanilla ice cream is classic, but whipped cream, fresh raspberries, sliced strawberries, or even a dusting of cocoa powder are all excellent choices. For a little extra flair, a sprinkle of sea salt on top right before serving is amazing. **Be your own dessert artist!**
- No Ramekins? No Problem: Small oven-safe mugs work in a pinch! Just be mindful that baking times might vary slightly depending on their shape and thickness.
- Boozy Boost: A teaspoon of Kahlua, Grand Marnier, or even a good quality rum added with the vanilla can give your lava cakes a delightful grown-up kick. Do it!
FAQ (Frequently Asked Questions)
- Can I make these ahead of time? You totally can! Mix the batter, pop it in the fridge for up to a day, then bake when you’re ready to impress. Might need an extra minute or two in the oven, though, since it’ll be chilled.
- What if I don’t have powdered sugar? Granulated sugar works, but the texture might be slightly different. For a super smooth lava, powdered is king, FYI.
- My lava didn’t flow! What happened? Probably overbaked, my friend. Next time, pull it out when the edges are set but the center still looks a bit raw and jiggly. **Trust the jiggle!**
- Is this actually healthy? Hah! You’re making molten chocolate cake, my friend. Let’s just say it’s “soul-healthy” and leave it at that. Everything in moderation, right? IMO, this is well worth it!
- Can I double the recipe? Absolutely! Just double all the ingredients and bake in four ramekins. Perfect for a double date or when you both want seconds (no judgment here!).
Final Thoughts
There you have it, your new go-to fancy-but-not-fussy dessert for two. Whether it’s a cozy date night, a “treat yourself” Tuesday, or just because you deserve something warm and chocolatey, this recipe has you covered. Now go impress someone—or yourself, which is arguably more important—with your new culinary superpowers. You’ve earned that melted chocolate goodness!


