So you’re craving something decadent, chocolatey, and warm, but the thought of baking a whole cake feels like running a marathon? Yeah, been there, bought the T-shirt. Good news: we’re making Lava Cake for ONE. Because sometimes, you just want to treat *yourself* without sharing (or, let’s be real, without having a whole cake staring judgmentally from the counter for days). FYI, this recipe is ridiculously easy, so let’s get you baking!
Why This Recipe is Awesome
This recipe is your new best friend for several reasons. First, it’s ridiculously quick – we’re talking **under 20 minutes from craving to devoured**. Seriously, faster than most delivery apps. Second, it’s pretty much **foolproof**. Even if your culinary skills are limited to boiling water and burning toast, you can nail this. It’s also perfect for those sudden, desperate chocolate emergencies. No need to pretend you’re baking for a party; this baby is all about instant gratification.
Ingredients You’ll Need
Alright, gather your troops. These are your chocolatey heroes:
- 2 tablespoons unsalted butter: The good stuff. Don’t skimp. If you only have salted, just reduce the pinch of salt later.
- 1 ounce good quality dark chocolate: About 2 squares. The better the chocolate, the happier your soul. Think 60-70% cacao for that rich, not-too-sweet vibe.
- 1 large egg yolk: Just the yellow bit. We’re getting fancy.
- 1 tablespoon granulated sugar: Sweetness for your soul.
- 1 teaspoon all-purpose flour: Just a tiny bit to hold it all together. Don’t go crazy, we’re not baking bread here.
- 1/4 teaspoon vanilla extract: A flavor hug.
- Pinch of salt: Because even sweet things need a little balance, right?
Step-by-Step Instructions
Let’s get this molten magic happening!
- **Prep Time!** First things first, **preheat your oven to 400°F (200°C)**. And grab a ramekin (about 4-6 oz). Lightly butter it and dust it with a little cocoa powder or flour. This helps prevent sticking and gives it a nice finish. Don’t skip this, trust me.
- **Melt the Magic.** In a microwave-safe bowl (or a double boiler if you’re feeling extra), combine the butter and chopped dark chocolate. Zap it in 20-second bursts, stirring in between, until it’s smooth and glossy. Alternatively, melt it over simmering water. Set it aside to cool slightly.
- **Whisk It Real Good.** In a separate small bowl, whisk together your egg yolk, granulated sugar, and vanilla extract until it’s light and slightly frothy. You want it pale yellow and dreamy.
- **Combine the Squad.** Pour the slightly cooled chocolate mixture into the egg yolk mixture. Stir gently until just combined. Don’t overmix! We want that delicate texture.
- **Fold in the Flour.** Gently fold in the all-purpose flour and that pinch of salt. Again, mix just until no streaks of flour remain. Overmixing develops gluten, and we’re not making bouncy balls here.
- **Ramekin Time!** Pour your glorious batter into your prepared ramekin.
- **Bake It Up!** Pop that ramekin into the preheated oven. Bake for **10-14 minutes**. The edges should be set, but the center should still be jiggly when you gently shake it. This jiggle means molten goodness!
- **Cool Down (a little).** Remove from the oven and let it cool for about 1-2 minutes. This brief pause helps it set enough to invert without breaking.
- **The Grand Reveal.** Place a plate upside down over the ramekin and, with courage and swiftness, flip them both over. Gently lift the ramekin. Boom! Molten lava cake, all for you. Serve immediately with ice cream, berries, or just a spoon.
Common Mistakes to Avoid
Nobody’s perfect, but we can definitely avoid these rookie blunders:
- **Forgetting to Preheat the Oven:** Big no-no. Baking in a cold oven means uneven cooking and a sad, sad cake.
- **Overbaking:** This is the #1 killer of lava cakes. If it’s firm all the way through, you’ve just made a very small chocolate cake. Still tasty, but not lava! **Watch it like a hawk around the 10-minute mark.**
- **Not Greasing/Flouring the Ramekin:** Unless you *want* to eat your cake straight from the ramekin with a spoon (which, honestly, is also a valid life choice), do the prep. Otherwise, it’ll stick, and you’ll cry.
- **Overmixing the Batter:** This can make your cake tough. We’re aiming for tender, so mix just enough.
- **Using Subpar Chocolate:** Look, you’re making a chocolate cake. If the chocolate isn’t good, the cake won’t be either. **Invest in quality chocolate for maximum deliciousness.**
Alternatives & Substitutions
Feeling adventurous or just missing an ingredient? No stress!
- **Butter Swap:** If you absolutely *must*, you can use a good quality plant-based butter alternative. Just make sure it’s one that melts well. IMO, real butter is king here for flavor and texture.
- **Chocolate Type:** Dark chocolate is classic, but if you prefer, you can use semi-sweet chocolate. Milk chocolate might be a bit too sweet and less “lava-like” in consistency, so proceed with caution. White chocolate… that’s a whole different recipe, my friend.
- **Add-ins:** Feeling fancy? Stir a few chocolate chips, a dash of espresso powder, or a tiny splash of orange extract into the batter for an extra flavor kick.
- **Sugar Substitute:** For a lower-sugar option, you can use a granular sugar substitute like erythritol, but taste and texture might vary slightly.
FAQ (Frequently Asked Questions)
Got questions? I’ve got (casual) answers!
- **Can I use a muffin tin instead of a ramekin?** You can, but you’ll want to use a jumbo muffin tin and adjust baking time. The shape might be a bit different, but the lava core should still be there! Just be sure to really grease and flour those cups.
- **My cake stuck to the ramekin! What went wrong?** Ah, the age-old problem! Most likely, you didn’t butter and flour/cocoa powder your ramekin thoroughly enough. Or you tried to unmold it too soon. **Patience, young grasshopper!**
- **It didn’t have a molten center! Why?** You, my friend, overbaked it. It happens! Next time, take it out when the edges are set but the center still gives a good wobble. Remember, it continues to cook a tiny bit out of the oven.
- **Can I make the batter ahead of time?** You *can* chill the batter for a few hours. If you do, let it come closer to room temp before baking, and you might need an extra minute or two in the oven. But honestly, it’s so quick to make fresh, why bother?
- **Is this recipe actually “for one” or can I share?** Well, technically it’s sized for one. But if you’re feeling generous (or just want a small, satisfying portion), you *could* share. But why? This is your moment. **Treat yo’ self!**
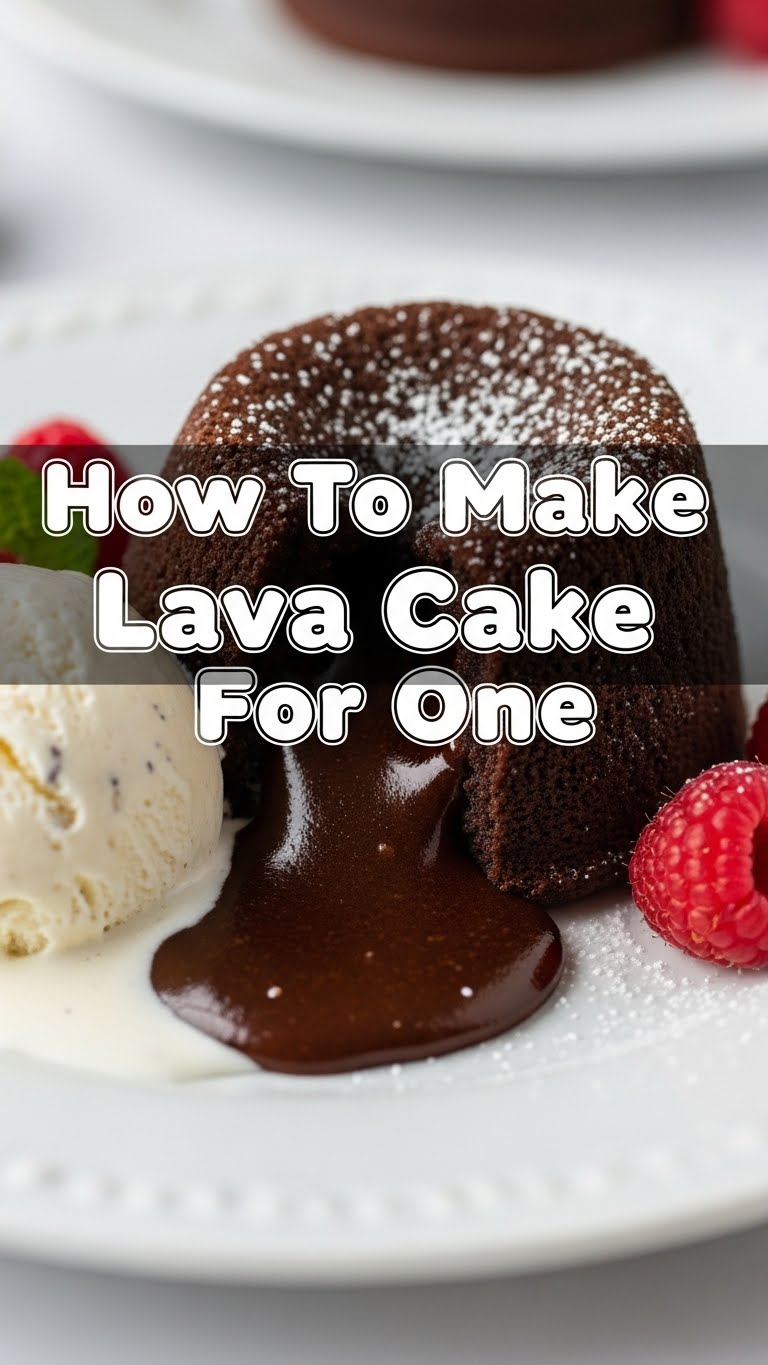
- **What should I serve with it?** Oh, the possibilities! A scoop of vanilla bean ice cream is *chef’s kiss*. Fresh raspberries, a dusting of powdered sugar, or a dollop of whipped cream also work beautifully.
Final Thoughts
See? That wasn’t so scary, was it? You just whipped up a fancy-pants dessert in less time than it takes to decide what to watch on Netflix. Now you’ve got a secret weapon for those spontaneous sweet cravings, or for when you just want to feel like a Michelin-star chef in your own kitchen. Go on, dig in! You’ve earned this deliciously gooey, chocolatey masterpiece. And remember, calories don’t count when it’s this good. 😉


