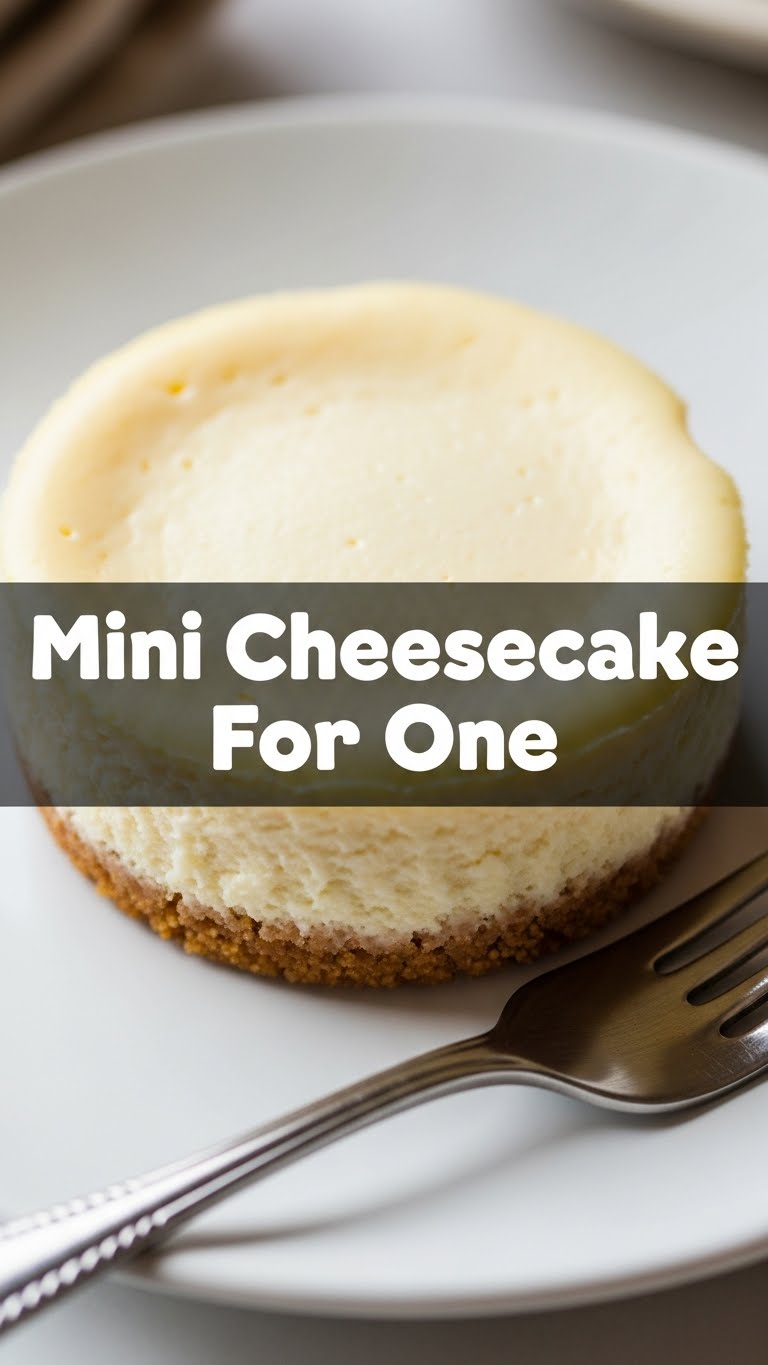
Ever had one of those days where your sweet tooth screams “CHEESECAKE!” but your brain whispers “…but the *whole* cheesecake?” Yeah, I feel you. Who needs the commitment, the sharing, the inevitable self-loathing after devouring half a pie? Not today, friend. Today, we’re making magic – a Mini Cheesecake For One. It’s tiny, it’s mighty, and it’s all for *you*. No judgment, just deliciousness.
Why This Recipe is Awesome
Okay, let’s break it down. Why is this tiny cheesecake going to be your new best friend? First off, it’s a **single serving**. That means no weird leftovers staring at you from the fridge, silently judging your willpower (or lack thereof). Second, it’s ridiculously quick. We’re talking 30 minutes active time, maybe a little more for chilling, but seriously, it’s so fast you won’t even have time to reconsider your life choices. Third, it’s pretty much **idiot-proof**. Even I, a self-proclaimed culinary menace on most days, manage not to mess this one up. It’s practically therapy in dessert form, and honestly, don’t we all deserve a little therapy?
Ingredients You’ll Need
Gather ’round, my sweet-toothed companions. Here’s what you’ll need to make your cheesecake dreams a reality. Most of these are probably already lurking in your pantry, waiting for their moment to shine.
- For the Crust:
- 2 Graham cracker sheets (or 1/4 cup pre-crushed crumbs): Because crunchy goodness is a must.
- 1 Tablespoon melted unsalted butter: For that buttery bliss. Don’t skimp!
- 1/2 Teaspoon granulated sugar (optional, but recommended): Just a pinch to sweeten the deal.
- For the Filling:
- 4 ounces (half a standard block) full-fat cream cheese, softened: Not the light stuff, we’re not dieting today! Seriously, let it soften, it mixes better.
- 2-3 Tablespoons granulated sugar: Adjust to your sweet tooth’s specific demands.
- 1/2 Teaspoon vanilla extract: The soul of all good desserts.
- 1 large egg yolk (save the white for an omelet later, or just toss it, no judgment): Gives it that creamy richness without overdoing it.
- Pinch of salt: Balances all that sweetness. A tiny secret weapon!
- Optional: 1/2 Teaspoon lemon juice or a dollop of sour cream/Greek yogurt: For that classic tangy cheesecake kick. Try it, you might love it!
Step-by-Step Instructions
Alright, apron on (or not, your call), let’s get baking! These steps are super simple, promise.
Preheat & Prep: Crank that oven up to 325°F (160°C). Grab a 4-inch springform pan or a regular ramekin (about 6-8 oz capacity). If you’re using a ramekin, line it with parchment paper for easy removal, or just plan on eating it right out of the dish. No shame in that game.
Crust Time! If you’re using whole graham crackers, crush them finely. You can use a food processor or just put them in a zip-top bag and smash them with a rolling pin (or a heavy mug, no fancy tools needed). Mix the crumbs with the melted butter and optional sugar. Press this glorious mixture firmly into the bottom of your prepared pan. **Pro tip:** Use the bottom of a glass to get a really nice, compact crust. Bake it for about 5-7 minutes until lightly golden. Take it out and let it cool a bit.
Mix the Magic: While your crust is doing its thing, grab a small bowl. Add your softened cream cheese, sugar, vanilla extract, and that tiny pinch of salt. Mix it all up with a spatula or a hand mixer on low speed until it’s super smooth and lump-free. Then, stir in the egg yolk until just combined. If you’re using lemon juice or sour cream, add it now too!
Assemble Your Masterpiece: Pour your creamy filling over the slightly cooled crust. Give the pan a gentle tap on the counter to release any sneaky air bubbles. We want smooth cheesecake, people!
Bake Baby, Bake! Carefully place your mini cheesecake in the preheated oven. Bake for about 20-25 minutes. You’re looking for the edges to be set, but the center should still have a slight jiggle – like a firm custard, not liquid. **Don’t overbake!** A little jiggle is a good thing.
Cool Down: Once baked, turn off the oven, crack the door open slightly, and let your cheesecake chill in there for another 10-15 minutes. This prevents cracking. Then, take it out and let it cool completely on a wire rack. **Seriously, don’t rush this part.**
The Grand Finale (Chill Time): Now for the hardest part: patience. Once cooled to room temperature, cover it (or don’t, if you plan to eat it immediately, no judgment here) and pop it in the fridge for at least 2 hours. **Even better, overnight.** This is where it sets up properly and gets that iconic creamy texture. Top with whatever your heart desires – berries, chocolate sauce, caramel, or just eat it plain!
Common Mistakes to Avoid
Nobody’s perfect, and neither are cheesecakes if you’re not careful. Here are a few common snafus to dodge:
- Using Cold Cream Cheese: Rookie mistake! Cold cream cheese leads to lumpy filling, and nobody wants lumpy cheesecake. **Always soften your cream cheese** to room temp before mixing.
- Overmixing the Batter: When you add the egg yolk, **mix just until combined**. Overmixing incorporates too much air, which can cause your cheesecake to puff up in the oven and then crack as it cools. We’re making cheesecake, not a science experiment with volcanoes.
- Opening the Oven Door Constantly: Resist the urge! Drastic temperature changes are a cheesecake’s nemesis, often leading to cracks. Peek through the glass, but **keep that door shut** until it’s time to cool.
- Skipping the Chill Time: I know, I know, it’s hard to wait. But a warm cheesecake won’t have that firm, creamy texture you crave. **Chilling is essential** for setting and flavor development. Patience, young padawan!
Alternatives & Substitutions
Feeling adventurous? Or maybe you’re just out of graham crackers? No worries, I’ve got you covered with some easy swaps and fun variations:
- Crust Adventures:
- Oreo Crust: Swap graham crackers for crushed Oreos (cream filling included!) for a chocolatey twist. Reduce or omit the added sugar.
- Biscoff Crust: Crush Biscoff cookies for a deliciously spiced base. So good, IMO.
- No-Crust Option: Feeling lazy? Just skip the crust entirely! Pour the filling directly into a greased ramekin. It’ll still be delish.
- Flavor Boosters:
- Lemon Lover: Add 1 teaspoon of lemon zest to the filling for an extra bright flavor.
- Chocolate Swirl: Melt a tablespoon of chocolate chips, drizzle it over the filling, and swirl gently with a toothpick before baking.
- Nutty Notes: Add a tablespoon of finely chopped pecans or walnuts to your graham cracker crust for extra texture.
- Topping Extravaganza:
- Fresh Berries: Strawberries, raspberries, blueberries – they’re all perfect.
- Chocolate Ganache: Melt some chocolate with a tiny bit of cream and drizzle generously.
- Caramel Sauce: A classic for a reason.
- Whipped Cream: A simple dollop of homemade whipped cream is always a winner.
FAQ (Frequently Asked Questions)
Got questions? I’ve got answers. Probably. Let’s see:
- Can I use light cream cheese? Well, technically yes, but why hurt your soul like that? For the best texture and flavor, **full-fat cream cheese is your best bet**. Light cream cheese can sometimes lead to a more watery or less rich filling. Trust me on this.
- I don’t have a springform pan. What else can I use? A regular oven-safe ramekin (6-8 oz capacity) or even a sturdy muffin tin lined with a paper liner (you’ll get a very small, cupcake-sized cheesecake) will work. Just remember to adjust baking time for smaller sizes.
- How do I know when it’s done? Look for the edges to be set, and the center should still have a slight jiggle when you gently shake the pan. **No liquid movement**, just a gentle wobble. It will firm up more as it cools and chills.
- Can I make this a no-bake recipe? While this specific recipe is for baked cheesecake, you could adapt it! Skip the egg yolk, whip the cream cheese mixture with a bit of heavy cream and gelatin (or just more cream cheese if you’re feeling brave) until it’s fluffy, then chill it over the crust until firm. It’ll have a slightly different texture, but still delicious.
- How long does it keep? If you manage to not eat it all in one sitting (impressive!), it’ll keep covered in the fridge for about 3-4 days. But let’s be real, it won’t last that long, FYI.
- My cheesecake cracked! What went wrong? Usually, cracks are caused by overbaking or rapid temperature changes. Make sure you don’t overmix your batter, and let it cool gradually in the oven after baking. But hey, it still tastes amazing, right? Just cover it with berries!
Final Thoughts
So there you have it, folks! Your very own, perfectly portioned, utterly delightful Mini Cheesecake For One. It’s the ideal way to treat yourself after a long day, a small victory, or just because you feel like it. No need to share, no need to justify, just pure, unadulterated cheesecake bliss. Now go impress someone – or yourself, which is arguably more important – with your new culinary skills. You’ve earned it!


