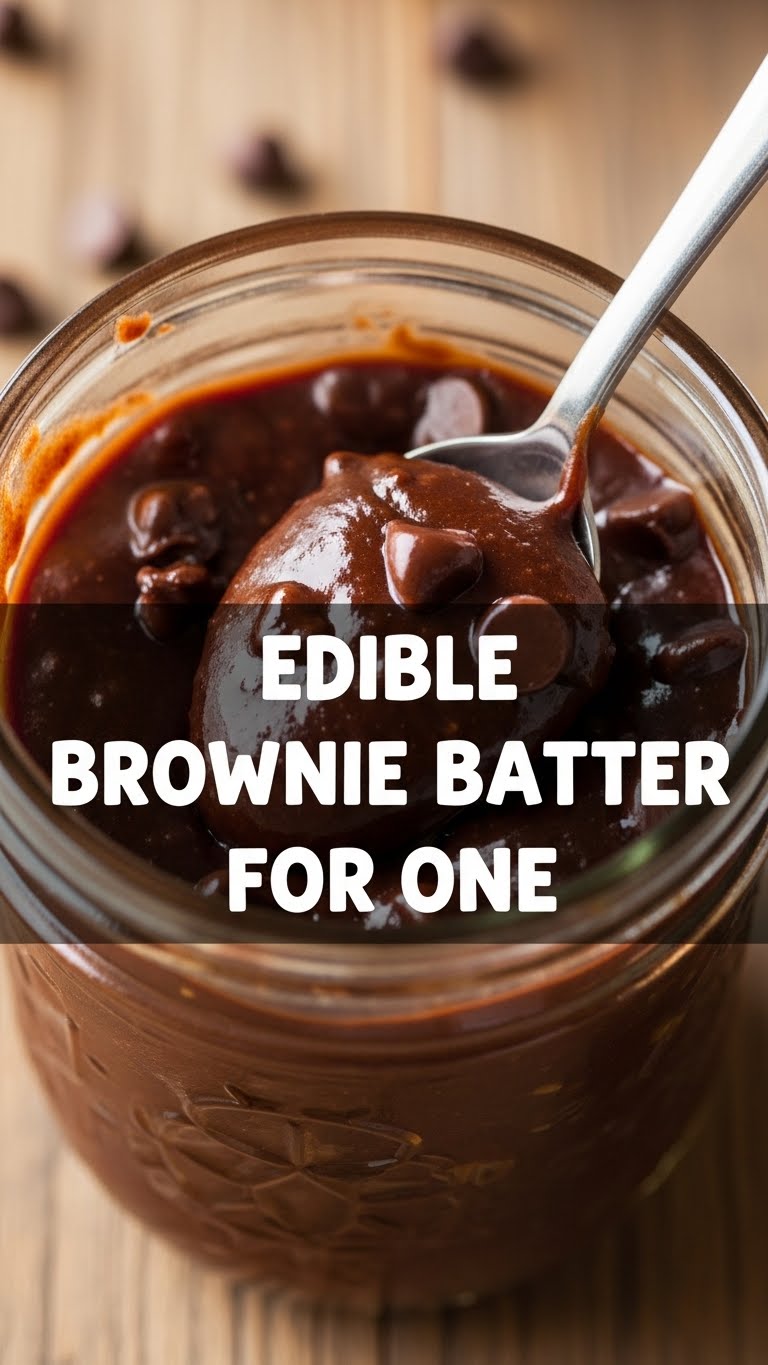
So you’re scrolling endlessly, saw a reel of glorious, uncooked brownie batter, and now your soul won’t rest until you have some? Yep, been there, done that, probably bought the T-shirt (and stained it with chocolate). Don’t worry, friend, I’ve got your back. Forget the whole “preheating the oven” drama and the patience it takes for actual brownies. We’re going straight to the good stuff: **edible brownie batter for one**, ready in minutes. Let’s get sticky!
Why This Recipe is Awesome
Because who needs to bake a whole batch when you *just* want a spoonful (or ten)? This recipe gets you from zero to hero (of your own dessert destiny) in like, five minutes flat. Seriously. Plus, no raw eggs means no salmonella worries! We’re being smart *and* deliciously irresponsible here. It’s so easy, honestly, even your pet goldfish could probably supervise (if they had opposable thumbs, that is). It’s the ultimate lazy-day, midnight-snack, “I-deserve-this” treat.
Ingredients You’ll Need
Gather ’round, my sweet-toothed companions! Here’s what you’ll need to whip up this magic:
- **All-Purpose Flour:** Just your regular, run-of-the-mill hero. But listen up: **you MUST heat treat it first!** Seriously, don’t skip this. Raw flour is no fun.
- **Unsalted Butter:** A tablespoon, softened. Because we’re fancy, and we like to control our salt levels.
- **Granulated Sugar:** About a tablespoon. For that classic sweetness.
- **Brown Sugar:** Another tablespoon. This is the secret for that deep, fudgy flavor and a bit of chewiness.
- **Unsweetened Cocoa Powder:** A tablespoon, give or take. The darker, the better, IMO.
- **Milk:** Any kind! Dairy, almond, oat… whatever your heart (or fridge) desires. Just a tiny splash.
- **Vanilla Extract:** A dash for that ‘mmm’ factor. Don’t skip it!
- **Salt:** Just a tiny pinch. It makes all the sweet flavors sing!
- **Chocolate Chips:** (Optional, but let’s be real, essential) A tablespoon or two. Mini chips work great for a single serving.
Step-by-Step Instructions
Alright, apron on (or not, who cares?), let’s do this!
**Heat Treat Your Flour:** This is the most crucial step, don’t forget it! Pop your flour in a microwave-safe bowl for 60-90 seconds, stirring halfway through. It should reach 160°F (71°C) to kill any potential bacteria. Alternatively, spread it on a baking sheet and bake at 300°F (150°C) for 5-7 minutes. Let it cool completely before moving on. **Safety first, deliciousness immediately after!**
**Cream It Up:** In a small bowl, combine the softened butter, granulated sugar, and brown sugar. Use a fork or a mini whisk to cream them together until they’re light and fluffy. Takes about a minute of enthusiastic stirring.
**Flavor Town Arrival:** Stir in the cocoa powder, vanilla extract, and that tiny pinch of salt. Mix until everything is just combined and smells heavenly.
**Bring it Together:** Gradually add your **cooled, heat-treated flour** and the milk to the butter mixture. Start with a tablespoon of milk and add more, a tiny drop at a time, until a thick, dough-like consistency forms. It shouldn’t be too wet or too dry. You’re aiming for that classic brownie batter texture.
**Chocolate Chip Party (Optional but Highly Recommended):** Fold in your chocolate chips. Or sprinkles. Or chopped nuts. Or whatever your little heart desires. This is *your* moment, shine bright!
**Eat Your Heart Out:** Grab a spoon and go to town. No sharing required, and frankly, no sharing *recommended*. You earned this.
Common Mistakes to Avoid
Even though this recipe is basically idiot-proof, there are a few rookie errors to steer clear of:
**Skipping the Flour Heat Treatment:** Seriously, I said it before, I’ll say it again. Raw flour *can* contain bacteria. A quick zap in the microwave makes it safe to eat. Don’t be a hero, **heat treat your flour**.
**Using Cold Butter:** Softened butter is key for that creamy, smooth texture. Cold butter will result in a lumpy, sad batter, and nobody wants that. Take it out of the fridge a bit before you start, or microwave it for like, 5 seconds (seriously, 5, maybe 10 max!).
**Overmixing:** Once the flour is in, mix *just* until combined. Overmixing can make the batter tough, even if it’s edible. We’re going for luscious, not leathery.
**Eyeballing the Milk:** Start with the smaller amount, then add a tiny bit more if needed. Too much milk and you’ll have soup instead of batter. And while soup is great, brownie batter soup is… questionable.
**Thinking You Have to Share:** This is *edible brownie batter for one*. The “for one” part is crucial. Any attempts to share may result in minor emotional distress (yours, mostly).
Alternatives & Substitutions
Feeling adventurous? Good! This recipe is super flexible:
**Milk:** Any milk works! Almond, oat, soy, good old cow’s milk. They all do the job just fine. Use what you have.
**Mix-ins:** Get wild! Peanut butter chips, white chocolate chunks, sprinkles, chopped walnuts, mini marshmallows, a dollop of Nutella, a crushed cookie. The world is your oyster… or, well, your brownie batter. Personal fav: a swirl of peanut butter at the end!
**Extracts:** Try a hint of peppermint extract for a mint chocolate vibe, or almond extract for something a little different. Cinnamon can also be surprisingly good!
**No Brown Sugar?** You absolute rebel! You *can* use all granulated sugar, but you’ll miss a bit of that chewiness and deep flavor brown sugar brings. Or, if you’re feeling adventurous, mix a tiny bit of molasses with white sugar for a quick brown sugar hack.
FAQ (Frequently Asked Questions)
Got questions? I’ve got (casual) answers!
“Seriously, the flour thing again? Are you a broken record?”
Nope, just looking out for ya! Raw flour *can* carry bacteria like E. coli. A quick heat treatment makes it safe. Better safe than sorry, especially when deliciousness is involved.
“What if I’m feeding… a small army? Or just myself on a really rough day?”
Totally! Just multiply the ingredients. This recipe is super scalable. Go forth and conquer your cravings, however large.
“How long will this magical concoction last in my fridge?”
If you manage to *not* eat it all immediately (which, honestly, is impressive), it’ll stay good in an airtight container in the fridge for about 3-5 days. But good luck keeping it that long!
“Can I just bake this into an actual brownie?”
Ooh, good question! Technically, no. This recipe doesn’t have leavening agents (like baking soda or powder), so it won’t rise or bake into a proper brownie. It’s designed to be delicious *raw*.
“Can I use margarine or oil instead of butter?”
Well, technically yes, but why hurt your soul like that? Butter provides the best flavor and texture, period. If you must use margarine, make sure it’s the stick kind. Oil would make it a bit too greasy, IMO, but if you’re in a pinch, go for it. Just know it might not be *peak* deliciousness.
“Is this recipe vegan-friendly?”
Not as written, but it’s super easy to adapt! Just swap out the dairy milk for a plant-based alternative, use vegan butter, and make sure your chocolate chips are dairy-free. Easy peasy, plant-based squeezy!
Final Thoughts
There you have it! Your ticket to instant gratification and chocolatey bliss. This isn’t just a recipe; it’s a lifestyle choice. Go forth, spoon in hand, and embrace the joy of edible brownie batter. You’ve earned this moment of pure, unadulterated deliciousness. Now go impress someone—or yourself—with your new culinary skills. You’ve earned it!


