So, You’re Craving Something Sweet but Don’t Want a Whole Cake Situation? Same.
Alright, friend, let’s be real. You’ve had one of *those* days. Or maybe it’s just a regular Tuesday, but your sweet tooth is throwing a full-blown tantrum, demanding something warm, fruity, and utterly comforting. But who has the energy to bake a giant cobbler that’ll just sit there, judging you for days? Not me, and probably not you.
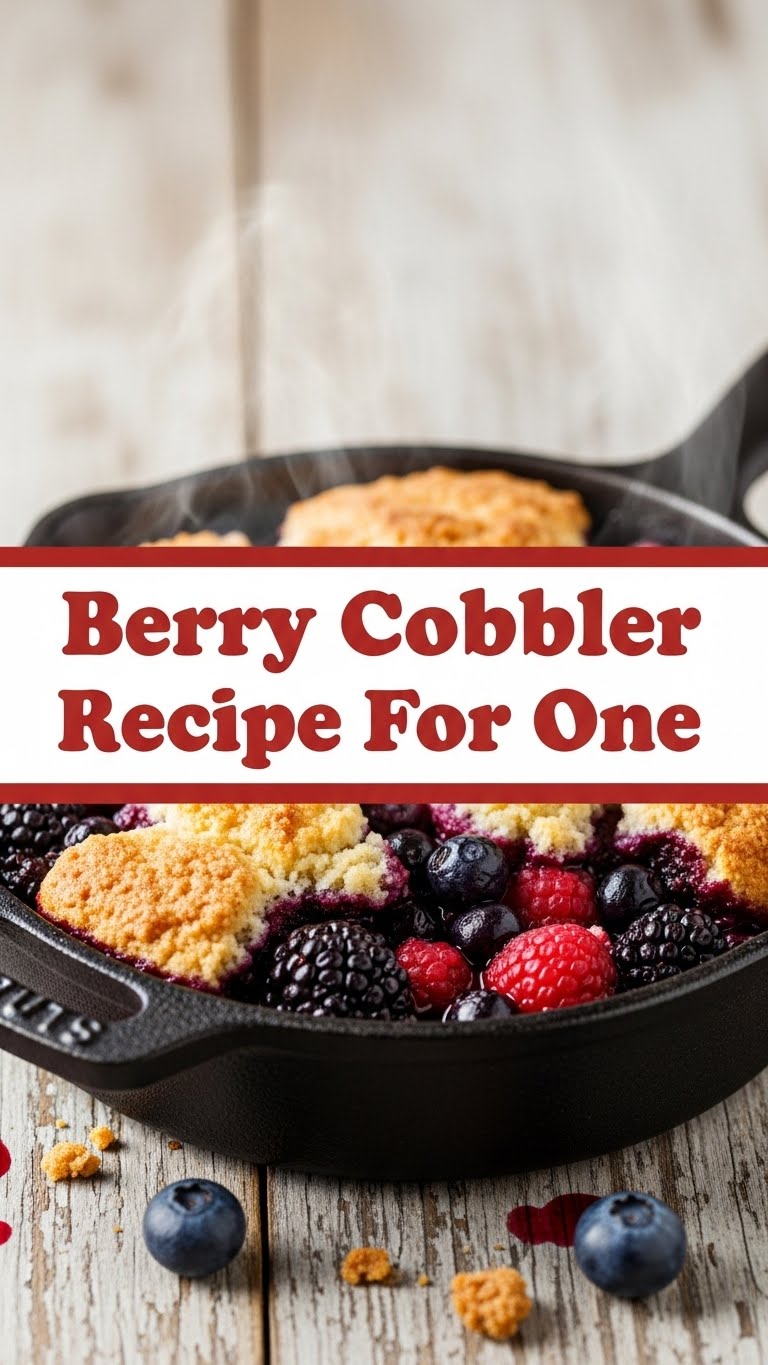
Enter: the Berry Cobbler For One. This isn’t just a recipe; it’s a hug in a mug (or a ramekin, you do you). It’s for those moments when you need a little something-something without committing to a full-on baking marathon or, worse, having leftovers that tempt you from the fridge like a siren song. Let’s get this party started, shall we?
Why This Recipe is Awesome (aka, Why I Love It So Much I Could Marry It)
Okay, so why is this tiny cobbler the MVP of desserts?
- First off, it’s **for one**. No sharing required, no guilt about eating the whole thing (because it *is* the whole thing, duh).
- It’s practically **idiot-proof**. Seriously, if I can nail this without setting off the smoke detector, you’re golden. The steps are super straightforward, making it perfect for beginners or anyone whose brain is already fried from adulting.
- **Quick & Dirty Deliciousness**: From zero to warm, gooey cobbler in under 30 minutes. Yeah, you heard me. It’s faster than deciding what to binge-watch next.
- **Minimal Cleanup**: One small bowl, one ramekin, maybe a spoon or two. Your sink will thank you.
- It feels fancy but requires zero fancy skills. You’ll impress yourself, which, let’s be honest, is the best kind of impression.
Ingredients You’ll Need (The Stuff That Makes Magic Happen)
Gather ’round, fellow snack enthusiasts! Here’s your shopping list for this solo sweet treat. Most of this is probably lurking in your pantry already.
- For the Berry Filling:
- 1 cup mixed berries (fresh or frozen, your call! If frozen, no need to thaw—we’re not that patient).
- 1 tbsp granulated sugar (or more, if your berries are tart and you like to live sweet).
- 1/2 tsp cornstarch (this is our secret weapon for thick, luscious goo, not watery sadness).
- A tiny squeeze of lemon juice (optional, but it brightens everything up like a tiny ray of sunshine).
- For the Topping:
- 1/4 cup all-purpose flour (the backbone of our buttery goodness).
- 2 tbsp granulated sugar (because sweetness is key, obvs).
- 1/2 tsp baking powder (for that fluffy, biscuit-y lift).
- Pinch of salt (don’t skip this! It makes everything taste better, trust me).
- 2 tbsp unsalted butter (cold and cubed, please! This is non-negotiable for tender topping).
- 1 tbsp milk (any kind works, even oat milk if you’re feeling plant-based fancy).
Step-by-Step Instructions (Let’s Bake This Bad Boy!)
Alright, apron on (or not, I won’t tell), let’s make some magic.
- Preheat & Prep: Crank that oven to **375°F (190°C)**. Grab an oven-safe ramekin or small dish (about 8-10 oz capacity). Greasing it isn’t strictly necessary, but a quick spray never hurt anyone.
- Berry Bonanza: In a small bowl, combine your berries, 1 tbsp sugar, cornstarch, and lemon juice (if using). Stir gently until the berries are coated. Pour this deliciousness into your prepared ramekin.
- Topping Time: In the *same* small bowl (told you cleanup was minimal!), whisk together the flour, 2 tbsp sugar, baking powder, and salt.
- Butter It Up: Add the cold, cubed butter to the dry ingredients. Now, here’s the fun part: use your fingers or a pastry blender to cut the butter into the flour mixture until it looks like coarse crumbs with some pea-sized pieces remaining. This is crucial for a flaky topping, **so don’t overmix!**
- Add Milk: Pour in the milk and mix *just* until everything comes together into a shaggy dough. Again, **less mixing is more** for tenderness.
- Top It Off: Dollop spoonfuls of the dough evenly over the berries in your ramekin. It doesn’t need to be perfect; rustic is charming!
- Bake Away: Pop your ramekin onto a small baking sheet (just in case of any juicy overflows) and bake for **20-25 minutes**, or until the topping is golden brown and the berry filling is bubbling invitingly.
- Cool & Devour: Let it cool for a few minutes (it’ll be molten hot, seriously). Then, grab a spoon and dig in! A scoop of vanilla ice cream is highly recommended, but not required for pure bliss.
Common Mistakes to Avoid (So You Don’t Mess Up Like I Did That One Time)
Learn from my past culinary misadventures, my friend.
- **Forgetting to Preheat the Oven**: Rookie mistake! An un-preheated oven means uneven baking and sad, pale cobbler. Don’t be that person.
- **Warm Butter for the Topping**: No, no, no! **Cold butter is key** for that lovely, flaky texture. Warm butter will melt too quickly and give you a dense, cake-like topping.
- **Overmixing the Topping Dough**: Resist the urge! Overmixing develops gluten, making your topping tough instead of tender. Mix *just* until combined.
- **Using a Dish That’s Too Big**: This recipe is for one! If your dish is too wide, your cobbler will be thin and possibly dry. Stick to an 8-10 oz ramekin.
- **Not Letting it Cool (Even for a Minute)**: I know the smell is intoxicating, but trust me, that berry filling is molten lava right out of the oven. A few minutes of cooling lets it set up and saves your tongue from a fiery fate.
Alternatives & Substitutions (Because We’re All About That Flexibility)
Life’s too short for rigid recipes, amirite? Here are some ways to shake things up:
- **Berry Swap**: Not feeling mixed berries? Go for straight blueberries, raspberries, chopped strawberries, or even peaches (if they’re in season and you’re feeling peachy!). Just keep the quantity the same.
- **Sugar Alternatives**: If you’re cutting back on sugar, you can use a sugar substitute (like erythritol or stevia) in similar quantities. For a more rustic vibe, brown sugar works wonderfully in the topping!
- **Dairy-Free**: Use your favorite plant-based milk (almond, soy, oat) and a good quality dairy-free butter alternative in the topping. Easy peasy.
- **Spice It Up**: A pinch of cinnamon, nutmeg, or even a tiny dash of cardamom in the berry filling or topping can take it to the next level. **Cinnamon is my personal fave** with berries.
- **Gluten-Free**: Swap the all-purpose flour for a 1:1 gluten-free baking blend. Results may vary slightly, but it usually works well!
FAQ (Frequently Asked Questions – aka, Things My Friends Ask Me)
Got questions? I’ve got (casual) answers!
- Can I use margarine instead of butter? Well, technically yes, but why hurt your soul like that? Butter just tastes better, IMO, and gives a superior texture. But if margarine is all you’ve got, it’ll work in a pinch.
- How do I know when it’s done? The topping should be beautifully golden brown, and you should see the berry filling bubbling merrily around the edges. If you poke the topping gently, it should feel firm but springy.
- Can I double this recipe for two? Absolutely! Just use a slightly larger dish (like two small ramekins or one wider, shallow one) and keep an eye on the baking time, which might be a few minutes longer.
- What if I don’t have cornstarch? You can skip it, but your berry filling might be a little runnier. A tiny bit of flour (1/2 tsp) could also work, but cornstarch gives that glossy, thick texture we love.
- Can I make this ahead of time? You can assemble the berry filling and even the topping mixture separately and store them in the fridge. But for the best results, **bake it fresh**! It really shines warm from the oven.
- What’s the best thing to serve with it? A scoop of vanilla bean ice cream is a classic for a reason. Whipped cream is also fantastic. Or, you know, just a spoon.
Final Thoughts (Go Forth and Bake!)
See? I told you it was easy! You’ve just whipped up a personal little slice of heaven, all by yourself. No fuss, no drama, just pure, unadulterated berry cobbler bliss.
So next time that sweet craving hits, don’t just stare blankly into the fridge. Grab those berries, preheat that oven, and treat yo’self to this single-serving masterpiece. Now go impress someone—or yourself—with your new culinary skills. You’ve earned it! You’re basically a gourmet chef now. 😉


