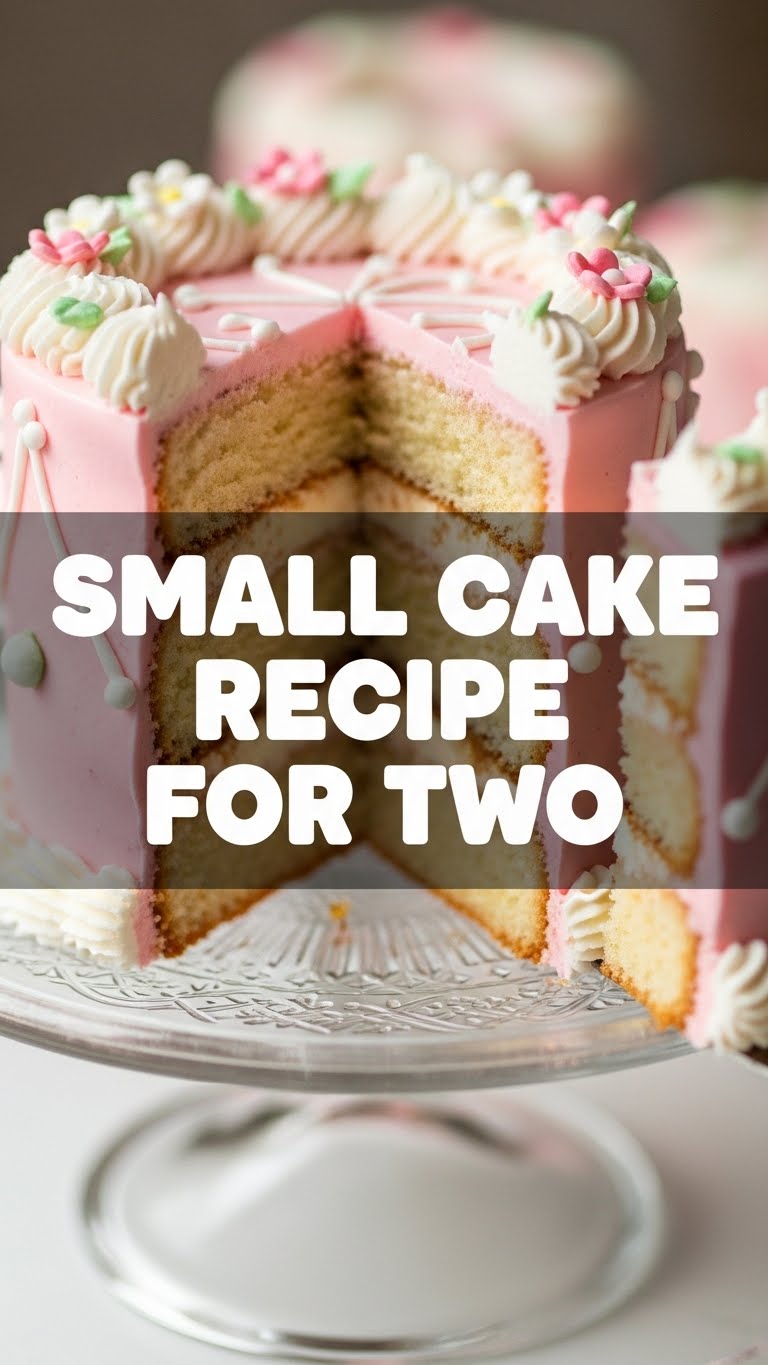
So you’re craving something sweet but don’t want to bake a cake the size of a small car, huh? And sharing? Nah, not really in the mood. You just want a little something for you (and maybe your *very* favorite person). I get it. We’ve all been there: the sudden, intense need for cake, but also the equally intense desire to avoid doing a mountain of dishes or having a giant cake staring at you for a week. Welcome, friend, to your new favorite solution!
Why This Recipe is Awesome
Because who needs a whole 9-inch cake staring at them for a week, judging their life choices? Not us! This recipe is basically your culinary fairy godmother, granting your dessert wish without the commitment of a full-blown baking marathon. It’s **super quick**, **minimal dishes** (hallelujah!), and honestly, it’s so simple, even your pet hamster could probably follow along. **Seriously, idiot-proof.** Plus, it’s perfectly portioned, which means less temptation to eat an entire cake by yourself. Or, you know, more opportunity to eat *both* of these tiny cakes yourself. No judgment here!
Ingredients You’ll Need
Gather your troops, kitchen warrior! Here’s what you’ll need to whip up this little slice of heaven:
- 1/2 cup All-purpose flour: The MVP of baking, duh.
- 1/4 cup Granulated sugar: To make life sweet, obviously.
- 2 tbsp Unsweetened cocoa powder: For that rich, dark magic – or skip if you’re feeling vanilla-y.
- 1/2 tsp Baking powder: Our tiny cake’s personal elevator to fluffy town.
- Pinch of salt: Don’t skip, it makes everything taste *more* like itself.
- 1/4 cup Milk: Any kind, we’re not picky.
- 2 tbsp Vegetable oil or melted unsalted butter: Gives it that ‘moist’ factor, no dry cakes here!
- 1/2 tsp Vanilla extract: Because everything is better with vanilla, IMO.
Step-by-Step Instructions
Let’s get this tiny cake party started!
- First things first, get that oven warmed up to **350°F (175°C)**. Think of it as giving your oven a warm-up stretch before the big game.
- Grab a medium bowl – not your biggest, we’re making a *small* cake, remember? Whisk together your flour, sugar, cocoa (if using), baking powder, and salt. Make sure there are no lumpy bits, unless you like surprise flour bombs in your cake.
- In a separate, smaller bowl, mix your milk, oil/melted butter, and vanilla extract. Give it a good swirl.
- Pour the wet ingredients into the dry. Now, gently mix until *just* combined. **Don’t overmix!** Lumps are okay; tough cake is not. We’re aiming for a tender crumb, not a rubber ball.
- Divide the batter evenly between two small ramekins or oven-safe mugs (about 4-inch diameter is perfect). Don’t fill them to the brim; they’re going to rise, remember? Leave a little room for glory.
- Pop them into your preheated oven. Bake for about **18-22 minutes**, or until a toothpick inserted into the center comes out clean.
- Let them cool for a few minutes before devouring. Or don’t. I’m not your boss. Top with whipped cream, ice cream, or just a spoon. Enjoy!
Common Mistakes to Avoid
Nobody’s perfect, but we can try to avoid these rookie errors, can’t we?
- **Thinking you don’t need to preheat the oven.** Seriously, don’t be that person. A cold oven equals sad, dense cake. Your cakes deserve a warm welcome!
- **Overmixing the batter.** Remember when I said ‘just combined’? I meant it! Overmixing develops the gluten too much, giving you a tough cake instead of a soft, fluffy one. Resist the urge to beat it like it owes you money.
- **Filling your ramekins to the tippy-top.** Your cake needs space to grow, little buddy! Leave at least an inch of room at the top, or prepare for an oven volcano and a messy cleanup.
Alternatives & Substitutions
Feeling adventurous? Or just missing an ingredient? No stress, we’ve got options!
- Feeling more vanilla-y? Skip the cocoa powder and maybe add a tiny bit more vanilla extract. Boom, vanilla cake!
- Dairy-free? Use your favorite plant-based milk (almond, soy, oat – they all work great!) and make sure your butter is plant-based or just stick with oil. Easy peasy.
- No oil/butter? You’re kinda out of luck for a moist cake, but if you absolutely *must*, a tiny bit of applesauce might work, but the texture will be different. Just buy some oil, it’s cheap, FYI.
- Want to get fancy? Stir in a few chocolate chips, sprinkles, or even some chopped nuts before baking. Because why not? It’s your tiny cake party!
FAQ (Frequently Asked Questions)
Got questions? I’ve got (casual) answers!
- Can I use margarine instead of butter? Well, technically yes, you *could*, but why hurt your soul like that? Butter just tastes better, let’s be real. If you must, it’ll work.
- Can I bake this in a regular cake pan? Sure, if you want a ridiculously thin cake that bakes in like 5 minutes. Stick to ramekins or oven-safe mugs for the best ‘cake’ experience.
- What if I don’t have ramekins? Oven-safe mugs are your best friend here! Small ceramic bowls work too, just make sure they can handle oven heat.
- Can I double the recipe? Absolutely! Just use two more ramekins. Math is fun, right?
- How long do these little cakes last? Haha, last? In *your* house? Kidding! They’re best fresh, but if you have leftovers (unlikely), they’ll keep for a day or two in an airtight container at room temp. Microwave for a few seconds to refresh.
- Can I add frosting? Please do! A dollop of whipped cream, a sprinkle of powdered sugar, or even a quick two-ingredient ganache would be divine. Your cake, your rules!
Final Thoughts
And there you have it, folks! A delicious, perfectly portioned cake for two (or one, no judgment here) without the fuss. You’ve just created something yummy with minimal effort, and that’s a win in my book. Now go impress someone—or yourself—with your new culinary skills. You’ve earned it! Maybe even make a second batch… I won’t tell.


