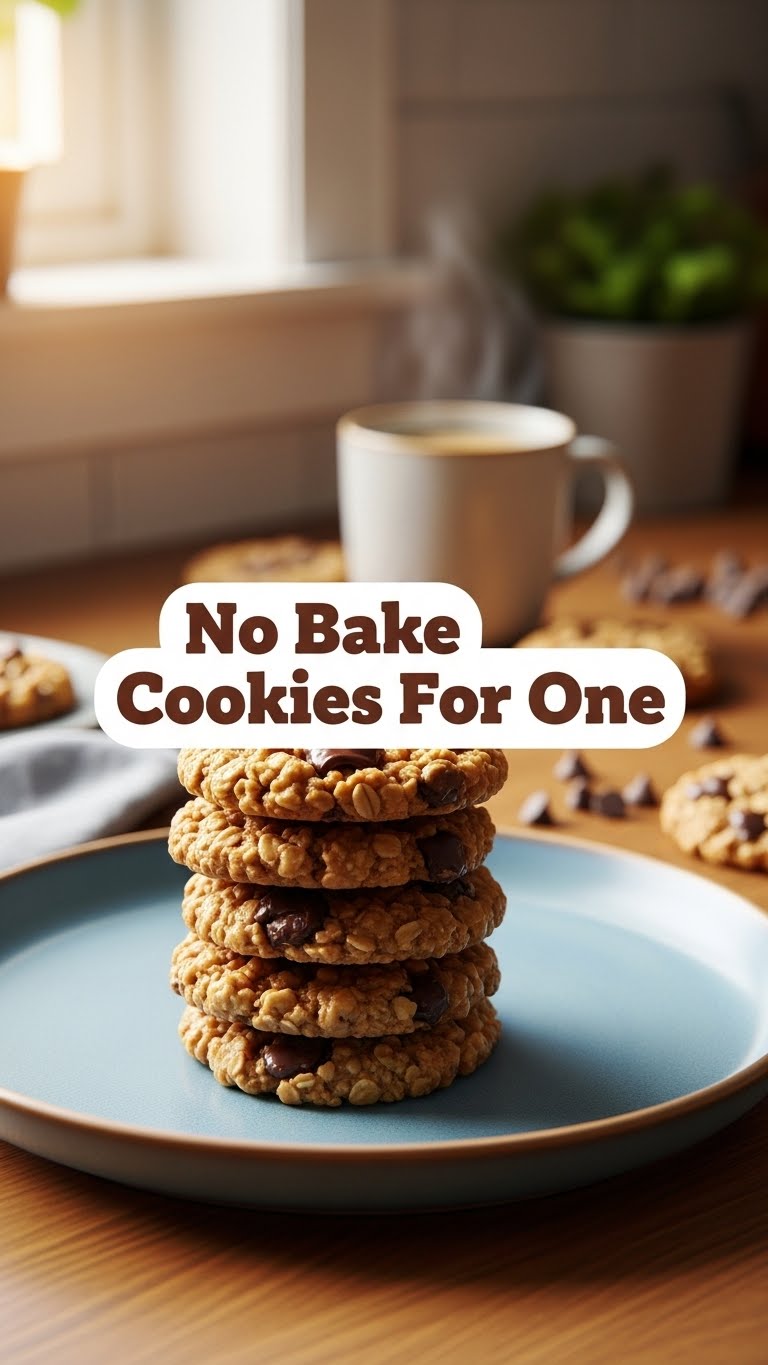
So, you’re looking for a dessert that screams “I’m amazing but also incredibly lazy”? Welcome, friend, you’ve found your people. We’ve all been there: that sudden, intense craving for something sweet, but the thought of pulling out the stand mixer, preheating the oven, and, *gasp*, sharing, just feels like too much effort. Enter: the No-Bake Cookie for One. Your solo sweet tooth’s new best friend. Seriously, prepare for magic.
Why This Recipe is Awesome
Let’s be real, you clicked on this because “no-bake” and “for one” caught your eye. And for good reason! This isn’t just a recipe; it’s a lifestyle choice. Firstly, there’s no oven involved. Zero. Zilch. Your kitchen stays cool, and your energy bill doesn’t weep. Secondly, it’s single-serving perfection. No giant batch tempting you for days, no awkward moments trying to give away extra cookies to neighbors (unless you want to, you generous soul). Plus, it’s so quick, you’ll be satisfying that craving before your favorite TV show even finishes its opening credits. It’s practically idiot-proof; even I, the queen of kitchen mishaps, haven’t managed to mess this up. FYI.
Ingredients You’ll Need
Gather your troops, culinary commander! You probably have most of these lurking in your pantry right now.
- 2 tbsp Unsalted Butter: Because life’s too short for anything less than real butter.
- 1/4 cup Granulated Sugar: Just enough sweetness without going overboard.
- 1 tbsp Milk: Any kind! Dairy, almond, oat—your choice, rebel.
- 2 tbsp Creamy Peanut Butter: Or crunchy if you’re feeling wild! The star of our show.
- 1/4 tsp Vanilla Extract: A tiny splash for that “oomph.”
- 1/2 cup Quick-Cooking Oats: The binder, the texture giver, the unsung hero.
- (Optional) 1 tbsp Cocoa Powder: For when your soul demands chocolate.
Step-by-Step Instructions
Alright, apron on (or not, we don’t judge), let’s make some magic happen!
- Grab a small saucepan. Combine the butter, sugar, and milk. Place it over medium heat.
- Stir constantly until the butter is completely melted and the sugar is dissolved. Bring the mixture to a rolling boil and let it bubble for exactly 1 minute. Set a timer, seriously. This step is crucial for the cookies to set properly.
- Remove the saucepan from the heat. Immediately stir in the peanut butter, vanilla extract, and cocoa powder (if you’re using it). Mix until everything is smooth and fully combined.
- Now, quickly stir in the oats. Keep mixing until all the oats are coated and the mixture thickens slightly.
- Drop the mixture onto a small piece of parchment paper or a lightly greased plate. You can shape it into one big cookie or two smaller ones.
- Pop your cookie (or cookies) into the fridge for at least 15-20 minutes to chill and firm up. Patience, my friend, is a virtue.
- Once firm, peel it off the paper and devour! You earned this.
Common Mistakes to Avoid
Listen, we’ve all made them. Learn from my culinary scars!
- Not boiling long enough: If you don’t boil for the full minute, your cookies might not set. You’ll end up with a delicious, but sad, peanut butter oat puddle.
- Boiling too long: On the flip side, over-boiling will give you rock-hard, crumbly hockey pucks. Stick to that 1-minute timer!
- Walking away from the pot: This isn’t the time to check Instagram. Keep stirring that mixture, especially when it’s boiling, or you’ll get burnt sugar at the bottom.
- Skipping the chill time: You *could* eat it warm, but it’s a sticky, messy affair. The fridge is your friend here; it helps everything firm up into a proper cookie.
- Using low-fat ingredients: You *can* try, but IMO, this recipe thrives on the good stuff. Full-fat butter and peanut butter make all the difference in texture and flavor. Don’t hurt your soul like that.
Alternatives & Substitutions
Feeling adventurous? Or just working with what you’ve got? Here are some simple swaps:
- Nut Butters: Not a peanut butter fan? Almond butter or cashew butter work beautifully. Just make sure they’re creamy and stir well before measuring.
- Milk: Any milk will do the trick! Coconut milk (from a carton, not the can) can add a subtle tropical vibe.
- Sugar: While granulated is classic, you could swap for packed light brown sugar for a chewier, slightly deeper flavor.
- Oats: Quick-cooking oats are best here for texture, but if you only have old-fashioned rolled oats, give them a quick pulse in a food processor first to break them down a bit.
- Mix-ins: Feel free to get creative! A pinch of cinnamon, a tiny sprinkle of mini chocolate chips, or even some shredded coconut can elevate your cookie game.
FAQ (Frequently Asked Questions)
Got questions? I’ve got answers (and opinions, mostly).
- “Can I make more than one serving?” Uh, yeah! Just multiply all the ingredients by however many servings you’re aiming for. Genius, right?
- “How long do these last?” In your house? Probably five minutes. Kidding! They’ll keep in an airtight container in the fridge for 3-5 days. If they last that long.
- “Do I *have* to chill them?” Unless you want a delicious, but formless, warm goo, then yes. Chilling is what gives them their cookie structure.
- “What if I don’t have parchment paper?” Wax paper works too! Or just drop it onto a lightly greased plate. Worst case, eat it straight from the bowl with a spoon. No judgment here.
- “Are these actually good?” My taste buds say “YES!” But hey, don’t take my word for it. Make ’em, then let your happy stomach be the judge!
Final Thoughts
See? No sweat, no stress, just pure cookie bliss designed specifically for your solo sweet cravings. You’ve just whipped up a delightful treat with minimal effort and zero oven fuss. Now go forth and conquer your cravings, you magnificent culinary genius! You deserve this moment of unadulterated, single-serving joy. Go on, impress someone—or more likely, just yourself—with your new no-bake skills. You’ve earned it!


