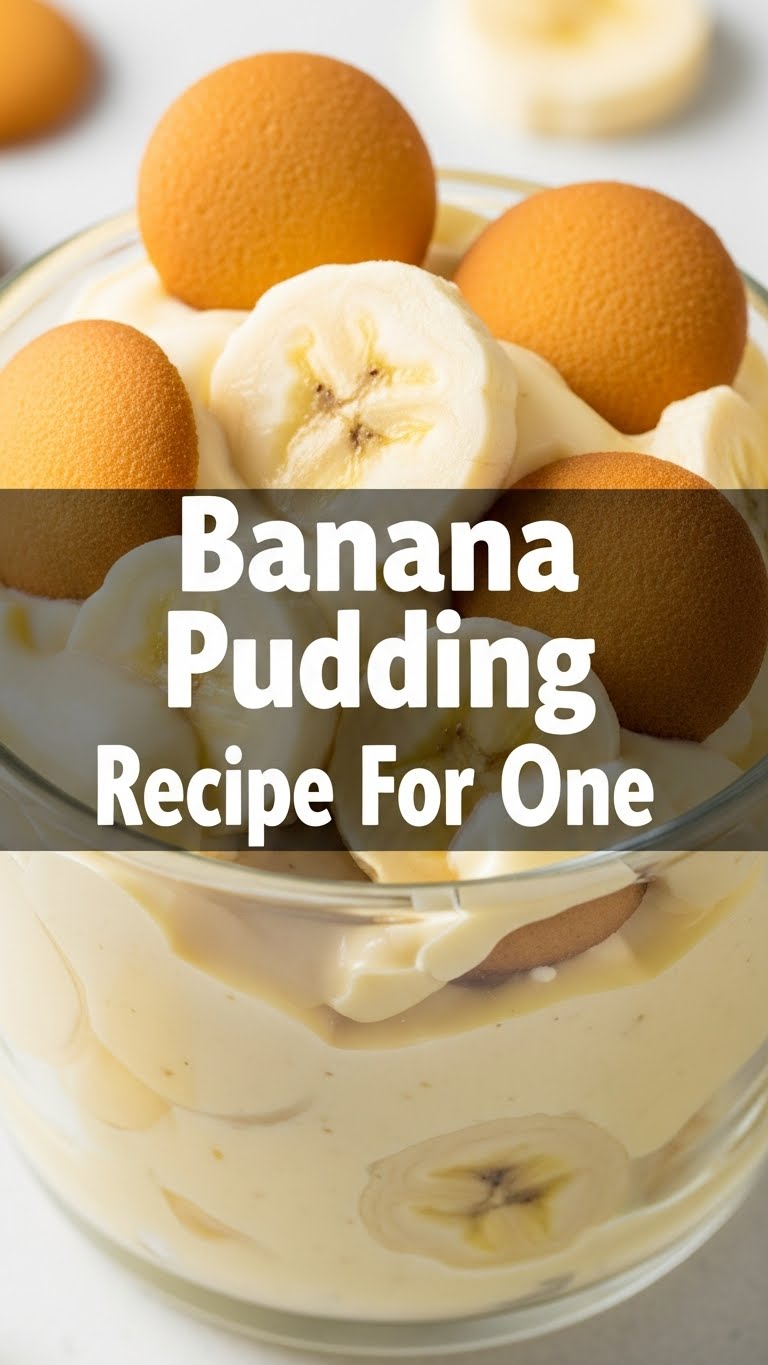
So you’re craving something sinfully delicious, but the thought of baking an entire dessert for just *you* feels… well, frankly, exhausting? And who needs a whole banana pudding staring judgmentally from the fridge for days? Not you, my friend. Not you. Today, we’re making a banana pudding that’s just for one. Because you deserve nice things, and you don’t need an army to enjoy them.
Why This Recipe is Awesome
Let’s be real: this isn’t just a recipe; it’s a declaration of self-love. It’s ridiculously easy, comes together in mere minutes (seriously, less time than it takes to scroll through your ex’s Instagram), and requires zero oven time. Zip, nada, no baking! It’s also incredibly flexible, so you can tweak it to your exact mood. Plus, the portion control is built right in, so you won’t accidentally eat enough for three people. Unless you want to. No judgment here.
Ingredients You’ll Need
Get ready for a super short shopping list. You probably have half this stuff already!
- 1/2 Ripe Banana: The star of the show! Don’t be afraid if it’s got a few brown spots; they mean extra flavor.
- 4-5 Vanilla Wafers: The classic crunch. Accept no substitutes. (Okay, fine, maybe *some* substitutions, but we’ll get to that.)
- 1/4 cup Instant Vanilla Pudding Mix: Just the dry stuff! About a quarter of a standard small box.
- 1/2 cup Cold Milk: Any milk works, but whole milk makes it extra creamy and dreamy.
- 1-2 tbsp Whipped Cream (optional, but highly recommended): The cherry on top, but banana-pudding style. Canned stuff is totally acceptable here.
- A cute little ramekin, jar, or small bowl: Because presentation matters, even when it’s just for you.
Step-by-Step Instructions
- Whisk Your Pudding: In your cute little ramekin or a separate small bowl, combine the 1/4 cup instant vanilla pudding mix with 1/2 cup cold milk. Whisk vigorously for about 2 minutes, until it starts to thicken. Don’t stop too soon, or you’ll have soup, not pudding!
- Prep Your Wafers: While the pudding sets a tiny bit, grab your vanilla wafers. You can leave them whole or crush them lightly. I like a mix for different textures.
- Slice Your Banana: Slice your 1/2 ripe banana into thin rounds. Try to keep them somewhat uniform so they layer nicely.
- Layer Like a Pro: Now for the fun part! Start with a layer of vanilla wafers at the bottom of your serving dish. Then add a layer of banana slices. Spoon about half of your pudding mixture over the bananas and wafers.
- Repeat the Magic: Add another layer of wafers, followed by more banana slices, and top with the remaining pudding.
- Chill Out (Literally): Cover your creation (or don’t, if you can’t wait) and pop it in the fridge for at least 30 minutes. This step is crucial! It allows the wafers to soften and the flavors to meld into pure bliss.
- Serve & Garnish: Once chilled, if you’re feeling fancy (and you totally should be), top with a dollop of whipped cream and maybe an extra wafer or a tiny banana slice. Enjoy your personal masterpiece!
Common Mistakes to Avoid
- Skipping the Chill Time: This isn’t an “instant gratification” recipe if you want the full experience. The magic truly happens when those wafers soften. Patience, young grasshopper!
- Using Under-ripe Bananas: Green bananas taste bland and have a weird texture. Let them get nice and ripe for optimal sweetness and aroma.
- Not Whisking Enough: If your pudding is runny, it means you didn’t whisk it long enough. Keep going! It’ll get there.
- Overloading on Wafers: A few wafers provide texture. Too many, and it becomes a dry, crumbly mess. Stick to 4-5 for a single serving.
Alternatives & Substitutions
Feeling adventurous? Or maybe you’re just out of something. No worries!
- Different Cookies: While vanilla wafers are classic, you could totally use shortbread cookies, ginger snaps (for a spicy kick!), or even crushed graham crackers. Just don’t tell the purists I said that.
- Pudding Flavors: Not a vanilla fan? Chocolate, butterscotch, or even banana cream instant pudding would be amazing. DIY your dream combo!
- Milk Options: Almond, soy, oat, whatever floats your boat. Just make sure it’s cold for proper pudding setting.
- Add-ins: A sprinkle of cinnamon, a drizzle of caramel, a few chocolate chips, or a tiny bit of shredded coconut? Go wild!
FAQ (Frequently Asked Questions)
- Can I make this ahead of time? Absolutely! It’s actually better if it sits for a few hours (or even overnight) to let the flavors deepen and the wafers get perfectly tender. Just don’t make it *too* far ahead, or the bananas might get mushy.
- My bananas turned brown! Is it ruined? Nope! That’s just oxidation, totally natural. It won’t affect the taste, just the aesthetics. If it bothers you, a tiny squeeze of lemon juice on the banana slices before layering can slow it down, but IMO, it’s not worth the extra step for a quick treat.
- What if I don’t have instant pudding mix? This recipe relies on instant pudding for its speed and simplicity. If you only have cooked pudding mix, you’ll need to prepare it according to package directions and let it cool completely before using. Definitely adds more steps!
- Can I use real whipped cream instead of canned? Heck yes! If you’re feeling fancy, a dollop of freshly whipped cream will elevate this to restaurant-dessert status. Just remember to whip it right before serving.
- My pudding is too thick/thin. What did I do wrong? Too thick? You probably used too little milk or too much mix. Too thin? Not enough whisking or too much milk. For instant pudding, following the exact milk-to-mix ratio is key.
Final Thoughts
See? You just whipped up a gourmet-level dessert for one, without breaking a sweat or dirtying a whole kitchen. You’re basically a culinary wizard now. Go on, pat yourself on the back, and then dive into that glorious banana pudding. You’ve earned every single spoonful. Now go impress someone—or yourself, which is arguably more important—with your new culinary skills. Until next time, happy eating!


