So you’re craving that warm, crusty bread smell wafting through your kitchen, but the thought of baking a gigantic loaf for just *you* feels… excessive? And honestly, who has the time to knead for an hour? Not me, friend, not me. You want instant gratification, a tiny triumph, a personal bread hug. Well, buckle up, buttercup, because I’ve got just the thing: Bread For One Person. It’s tiny, it’s mighty, and it’s basically a love letter to your stomach.
Why This Recipe is Awesome
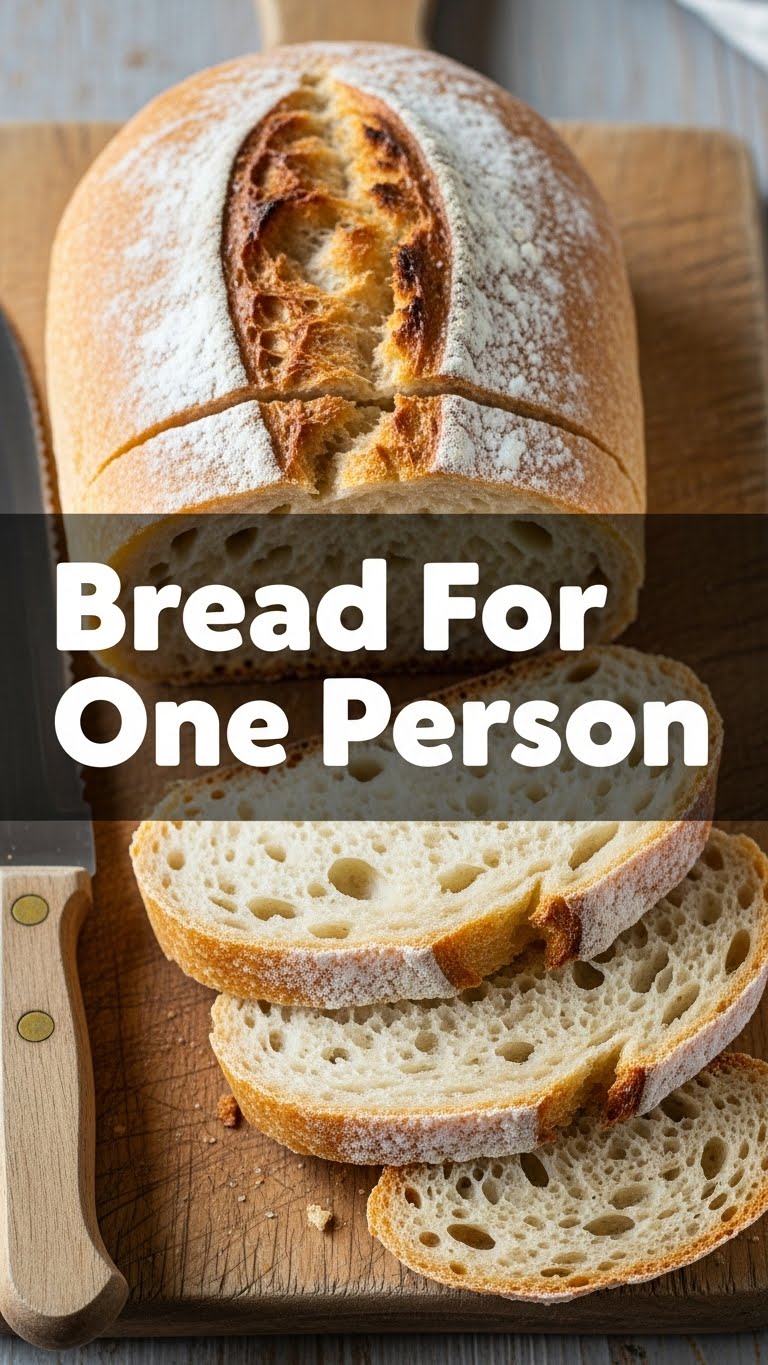
Okay, let’s be real. Most bread recipes are like, “Feed a small village!” when all you want is a little something-something for your midnight sandwich or your solo soup session. This recipe? It’s designed for *you*. It’s tiny, it’s fast, and it requires zero fancy equipment. Seriously, if you can stir, you can make this. It’s so idiot-proof, even my perpetually-distracted self managed to pull off a perfect mini-loaf. Plus, **no wasted bread**, which is basically a superpower when you live alone, right?
Ingredients You’ll Need
- 1/2 cup All-Purpose Flour: Yeah, just half a cup! No need to bust out the industrial-sized bag.
- 1/4 tsp Instant Yeast: The tiny heroes of our bread journey. Make sure it’s instant, unless you *like* waiting.
- 1/4 tsp Salt: Don’t skimp. Salt gives bread its soul, IMO.
- 1/4 tsp Sugar: Just a pinch to wake up that yeast and give a nice golden crust.
- 1/4 cup Warm Water: Think bathwater warm, not lava hot. Too hot kills the yeast, and nobody wants dead yeast.
- 1 tsp Olive Oil (or any oil you have): For a little extra flavor and tenderness. Plus, it helps with that glorious crust.
Step-by-Step Instructions
- Get Yeasty: In a small bowl, whisk together the warm water, sugar, and yeast. Let it sit for about 5-10 minutes until it looks bubbly and foamy. That’s your yeast waking up and saying “Hey, let’s make some bread!”
- Mix Dry & Wet: In a separate bowl, combine your flour and salt. Once your yeast is foamy, pour it into the flour mixture along with the olive oil.
- Stir It Up: Grab a spoon or spatula and mix everything until it forms a shaggy, sticky dough. Don’t overmix; just get it combined.
- First Rise (The Chill Part): Cover the bowl with plastic wrap or a damp towel and let it sit in a warm spot for about 45 minutes to an hour. It should roughly double in size. This is where the magic happens, so be patient!
- Shape It Up: Lightly flour your hands and gently punch down the dough. Form it into a small round or an oblong shape – whatever feels right for your tiny loaf.
- Second Rise (Almost There!): Place your shaped dough on a small, parchment-lined baking sheet or in a tiny oven-safe dish. Cover it again and let it rise for another 20-30 minutes. Meanwhile, **preheat your oven to 400°F (200°C)**.
- Bake Your Masterpiece: Pop your tiny loaf into the preheated oven. Bake for 15-20 minutes, or until it’s beautifully golden brown and sounds hollow when you tap the bottom.
- Cool Down (If You Can Wait): Let it cool on a wire rack for a few minutes before slicing. Good luck with that, though, because the smell will be irresistible.
Common Mistakes to Avoid
- Water Too Hot (or Cold): As mentioned, scalding water kills the yeast. Icy water sends it into hibernation. Aim for warm bath vibes, like 105-115°F (40-46°C).
- Not Enough Rise Time: Patience, young padawan! If you rush the rise, your bread will be dense and sad. Let it do its thing.
- Over-Kneading (or Under-Kneading): For this no-knead-ish recipe, don’t go crazy. Just mix until combined. Too much fuss, and you develop too much gluten, making it tough. Too little, and it won’t hold shape.
- Forgetting to Preheat the Oven: Rookie mistake! A cold oven means your bread won’t get that initial burst of heat it needs for a good rise and crust. **Always preheat your oven.**
- Cutting It Too Soon: I know, I know, the smell is intoxicating. But slicing hot bread can make it gummy inside. Give it a few minutes to set up.
Alternatives & Substitutions
Feeling frisky? Want to customize your personal bread hug? Go for it!
- Flour Power: You can swap a tablespoon or two of the all-purpose flour for whole wheat flour for a nuttier flavor. Don’t go all whole wheat, though, or it might get a bit too dense for this small batch.
- Herbalicious: Add a pinch of dried herbs like rosemary or thyme to the dry ingredients for an aromatic loaf. Garlic powder works wonders too!
- Cheesy Goodness: Mix in a tablespoon of grated Parmesan or cheddar when you add the flour. Instant flavor boost! FYI, cheese bread is always a good idea.
- Sweet Touch: Instead of savory, make it slightly sweet by adding a tiny sprinkle of cinnamon and a few raisins or dried cranberries to the dough. Great for breakfast toast!
FAQ (Frequently Asked Questions)
- Can I use active dry yeast instead of instant? Technically, yes, but you’ll need to activate it first in the warm water and sugar (like step 1, but make sure it foams even more before adding to dry ingredients). Instant is just, well, instant – less faff, more bread.
- My dough isn’t rising, what gives? Uh oh, yeast emergency! Most likely, your water was too hot or too cold, or your yeast is past its prime. Next time, check the water temp carefully and make sure your yeast isn’t expired.
- Do I really need to use oil? You *can* skip it, but the oil helps with the texture, moisture, and that lovely golden crust. Think of it as a tiny spa treatment for your bread.
- Can I double this recipe for two people? Absolutely! Just double all the ingredients. You might need a slightly longer baking time, so keep an eye on it.
- What if I don’t have a small baking sheet? No worries! A small oven-safe ramekin or even forming it free-form directly on a larger baking sheet (parchment paper is your friend!) will work. It might just spread a little more if it’s free-form.
- How long does this tiny loaf last? Honestly, it probably won’t last long enough to worry about! But if by some miracle you have leftovers, store it in an airtight container at room temp for a day, or toast it up the next morning.
Final Thoughts
So there you have it, my friend! Your very own personal loaf of warm, homemade bread. No giant commitments, no complicated techniques, just pure, unadulterated bread bliss, perfectly sized for *you*. You’ve just unlocked a new level of kitchen wizardry, and frankly, I’m impressed. Now go impress someone—or just yourself—with your new culinary skills. You’ve earned it! Go on, get baking!


