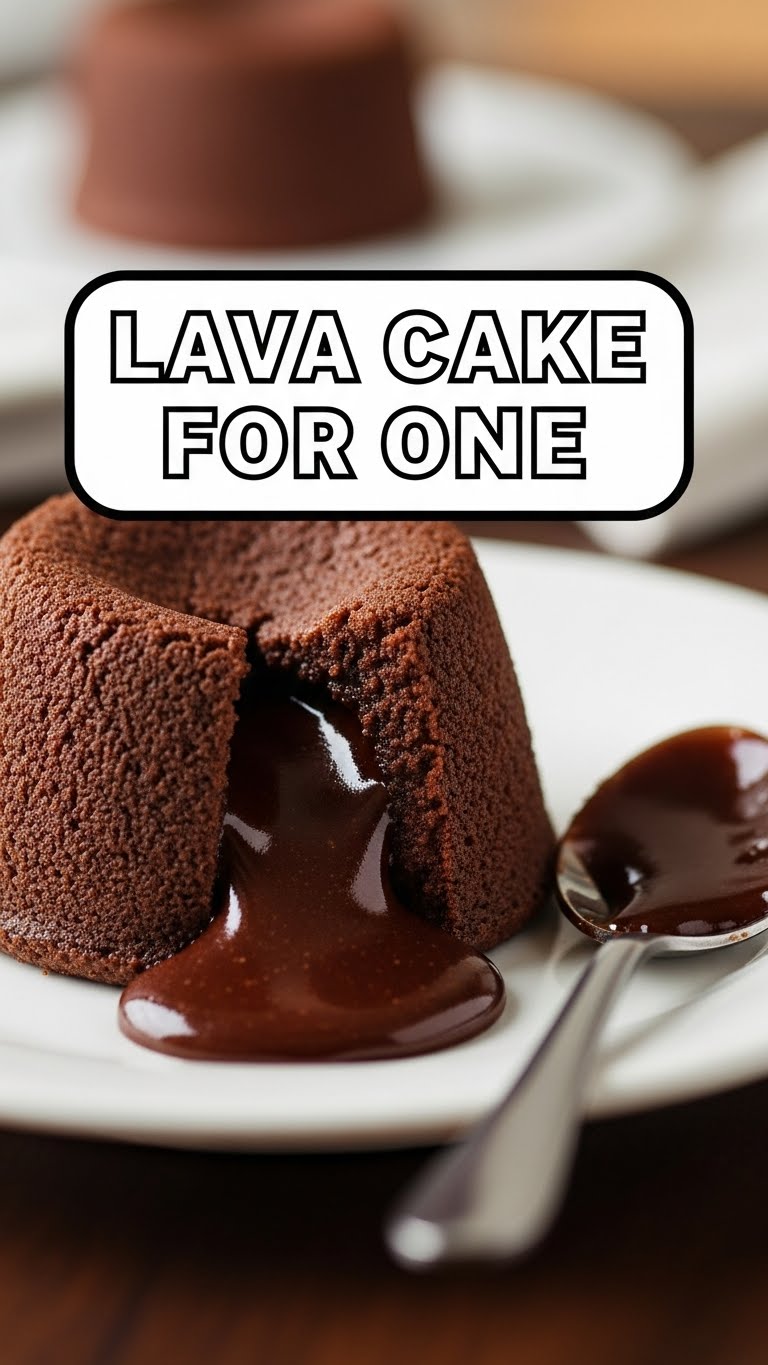
So you’re craving something tasty but too lazy to spend forever in the kitchen, huh? Same. And let’s be real, sometimes you just want a fancy dessert without, you know, having to share. Enter the Lava Cake For One: your new best friend for those ‘treat myself’ moments. Get ready to impress… well, yourself, mostly.
Why This Recipe is Awesome
Okay, let’s cut to the chase. Why should you even bother with this recipe? Because it’s literally designed for maximum deliciousness with minimum effort. We’re talking:
- Speed Demon: Forget waiting around. You can have this gooey wonder in your mouth faster than you can decide what to binge-watch next.
- Idiot-Proof: Seriously, if I can do it without setting off the smoke alarm, anyone can. It’s pretty hard to mess up, even for culinary novices.
- Single Serving Bliss: No leftovers, no temptation to eat a giant cake by yourself (unless you make two, no judgment here!). It’s perfectly portioned for one, so you don’t have to feel guilty about not sharing.
- Looks Fancy AF: It emerges from the oven (or microwave!) looking like something straight out of a gourmet restaurant. Your secret? It took like, five minutes of actual work.
- Chocolate. Duh. Need I say more? It’s rich, it’s decadent, it’s molten chocolate goodness. Your soul needs this.
Ingredients You’ll Need
Gather ’round, my sweet-toothed friend! Here’s what you need to whip up this little piece of heaven. You probably have most of this stuff lurking in your pantry already, IMO.
- 2 tablespoons unsalted butter: Because everything’s better with butter, right? Don’t skimp, it’s a one-person party.
- 2 ounces good quality chocolate (dark or semi-sweet): This is the star of the show! Chips, a chopped-up bar, whatever floats your boat. The better the chocolate, the better the cake.
- 3 tablespoons powdered sugar: For that melt-in-your-mouth sweetness. Don’t sub granulated, trust me, it makes a difference in the texture of your lava.
- 1 large egg yolk: The secret to that luscious, flowing lava center. No whites needed, save ’em for an omelette… or toss ’em, your call.
- ½ teaspoon vanilla extract: A dash for flavor, makes it taste less like “just chocolate” and more like “oh my god, dessert.”
- 1 tablespoon all-purpose flour: Just a smidge, to hold it all together. Don’t overdo it, or you’re just making a regular chocolate cake, and that’s not why we’re here.
- Pinch of salt (optional, but recommended): It just makes the chocolate taste even more chocolatey. Trust me on this.
Step-by-Step Instructions
Alright, apron on (or not, who cares?), let’s get this done. Follow these simple steps for maximum lava-y goodness.
- Prep Your Ramekin: Grab a 4-ounce ramekin (or a small, oven-safe mug). Grease it thoroughly with butter or a non-stick spray. This is a crucial step, unless you enjoy playing “cake vs. dish” later.
- Melt the Good Stuff: In a microwave-safe bowl, combine the butter and chocolate. Microwave in 15-second bursts, stirring in between, until it’s smooth and fully melted. **Don’t overheat it!** Burnt chocolate is a sad, sad thing.
- Sweeten the Deal: Whisk the powdered sugar into the melted chocolate mixture until it’s super smooth and glossy.
- Add the Yolk & Vanilla: Stir in the egg yolk and vanilla extract until everything is well combined and uniform. It should look rich and decadent already!
- Fold in the Flour: Gently fold in the all-purpose flour and the pinch of salt. Mix just until no dry streaks of flour remain. **Do not overmix!** Overmixing develops gluten, making your cake tough, and nobody wants a tough lava cake.
- Pour and Bake: Pour the batter into your prepared ramekin. Now you have two options:
- Oven Method (for a slightly crisper exterior): Preheat your oven to 400°F (200°C). Bake for 12-14 minutes. The edges should be set, but the center should still be jiggly when you gently shake the ramekin.
- Microwave Method (for super speed): Microwave on high for 45-75 seconds. Start with 45 and add 5-second increments until the edges are set but the center is still soft and gooey. This method is faster but can be trickier to get just right.
- Serve It Up: Carefully remove the ramekin from the oven/microwave. Let it cool for just 1-2 minutes (seriously, no more!). Then, invert it onto a small plate. If it sticks, gently run a knife around the edges first. Garnish with a sprinkle of powdered sugar, a scoop of ice cream, or whatever your heart desires.
- Devour Immediately: This is not a “save for later” kind of dessert. Dig in while that chocolate lava is still gloriously molten!
Common Mistakes to Avoid
Look, we’ve all been there. Even the best of us (me!) make mistakes. Here are some pitfalls to dodge so your lava cake turns out perfect every time:
- Over-Baking: This is the cardinal sin! If you bake it too long, your luscious molten center will turn into regular cake. **Keep an eagle eye on it!** A jiggly center is your friend.
- Not Greasing the Ramekin: Think you can skip this step? Think again, my friend. You’ll end up with a delicious cake stuck in the dish, which is just tragic.
- Over-Mixing the Flour: Remember what I said? Gentle folds! Mixing too much will make your cake tough and dense, not light and gooey.
- Using Cold Ingredients: While not a deal-breaker, room temperature butter and egg yolk incorporate much more smoothly into your batter, leading to a better texture.
- Ignoring the Oven Preheat (if using oven): A properly preheated oven ensures even cooking from the start. Don’t be a rookie!
Alternatives & Substitutions
Feeling adventurous? Or just missing an ingredient? No worries, we can totally tweak this little gem.
- Chocolate Choices: If you’re not a dark chocolate fan, try milk chocolate for a sweeter, milder flavor. Or, get wild with white chocolate for a completely different (but equally yummy) vibe!
- Flavor Boosters: Add a tiny pinch of instant espresso powder to the chocolate for a deeper flavor. A dash of orange zest, a sprinkle of cinnamon, or even a tiny splash of your favorite liqueur (like Kahlua or Grand Marnier) can elevate your cake.
- No Powdered Sugar? If you’re in a pinch, you can blitz granulated sugar in a blender or food processor until it’s fine. It won’t be *exactly* the same, but it’ll do.
- Toppings Galore: This cake is a canvas! Think vanilla ice cream, fresh berries, whipped cream, a drizzle of caramel sauce, or even more melted chocolate. Go nuts!
- Mug instead of Ramekin? Absolutely! Just be mindful of the cooking time, especially in the microwave. Mugs vary in size and thickness, so start with less time and add as needed.
FAQ (Frequently Asked Questions)
Got questions? I’ve got answers. Probably.
Can I make this ahead of time?
Well, technically you could mix the batter and keep it in the fridge for a few hours, but honestly, the magic of the molten center really requires it to be baked (and eaten!) fresh. Don’t cheat yourself out of that gooey experience.
What if my lava isn’t very “lava-y”?
Uh oh! You probably overbaked it. It’s a fine line between cooked edges and a molten center. Next time, pull it out a minute or two sooner. A slightly underbaked lava cake is better than an overbaked one, trust me.
Can I use regular cocoa powder instead of solid chocolate?
No, my friend. For a true lava cake, you need the fat and structure that solid chocolate provides. Cocoa powder just won’t give you that glorious molten core. Stick to the real deal.
Is this healthy?
Honey, we’re talking about a lava cake. Let’s just say it’s “soul-healthy.” Everything in moderation, right? Enjoy your treat!
Can I double the recipe?
You bet! Just use two separate ramekins. Don’t try to make one giant lava cake; it won’t cook correctly. Each lava cake needs its own little personal space to shine.
My cake stuck to the ramekin! Help!
Ah, a classic rookie mistake. Did you grease it properly? Like, *really* grease it? Next time, be generous with the butter or non-stick spray. A little flour dusting after greasing can also help prevent sticking.
Can I freeze the baked cake?
Why would you even consider such a thing? The whole point is the molten center, which won’t be molten after freezing and reheating. This dessert is meant to be devoured immediately. Live a little!
Final Thoughts
There you have it, folks! Your new secret weapon for those ‘I need chocolate now’ emergencies. Go forth, conquer your cravings, and bask in the glory of your molten masterpiece. You totally nailed it. Now go impress someone—or yourself—with your new culinary skills. You’ve earned it!


