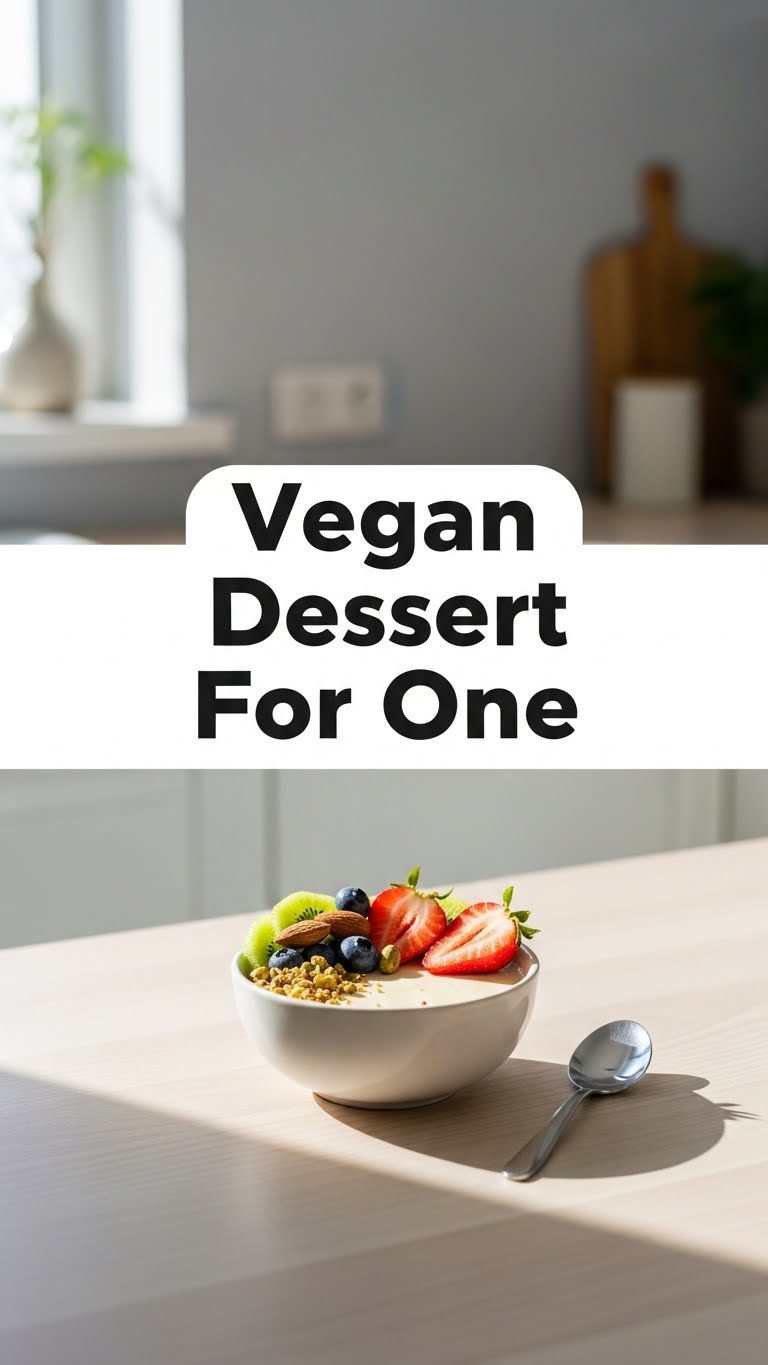
So, the craving hits. Hard. You want something sweet, something chocolatey, something that says ‘I love me, even if no one else is around to share this gloriousness.’ But, like, zero effort, right? Because adulting is hard enough without baking a whole cake for one. Well, my friend, you’ve come to the right place. Get ready to meet your new best friend: the “I-need-dessert-NOW” vegan single-serving wonder!
Why This Recipe is Awesome
Let’s be real, who has the time or energy to bake a full cake when you just want a quick hit of sweet satisfaction? Not me, and probably not you either. This recipe is awesome because:
- It’s ridiculously fast. We’re talking minutes, not hours.
- It’s idiot-proof. Seriously, if you can stir, you can make this. I didn’t mess it up, so your chances are excellent.
- It’s vegan! So you can feel extra virtuous while you demolish it. 🌱
- It’s for ONE. No awkward leftovers, no temptation to eat the entire batch (unless you make multiple, which, no judgment here).
- Minimal clean-up. One mug, maybe a spoon. That’s it. Your future self will thank you.
Ingredients You’ll Need
Gather ’round, fellow dessert enthusiast! Here’s what you’ll need for this single-serving masterpiece. Chances are, most of this stuff is already chilling in your pantry.
- 3 tablespoons All-Purpose Flour: Just your regular flour, nothing fancy unless you’re feeling extra bougie.
- 2 tablespoons Granulated Sugar: Or brown sugar if you prefer a richer vibe. Sweeten it up!
- 1 tablespoon Unsweetened Cocoa Powder: The darker, the better, IMO. Get that deep chocolate fix!
- 1/4 teaspoon Baking Powder: Our little lift-off secret. Don’t skip it unless you’re aiming for a dense chocolate puck.
- Pinch of Salt: Just a tiny pinch, because balance makes everything better.
- 3 tablespoons Plant Milk: Any non-dairy milk you have chilling in your fridge (almond, soy, oat, cashew—they all work!).
- 1 tablespoon Neutral Oil: Vegetable oil, melted coconut oil, even applesauce if you’re feeling *really* healthy.
- 1/4 teaspoon Vanilla Extract: A little hug for your taste buds.
- 1 tablespoon Vegan Chocolate Chips (optional, but highly recommended): Because, why not? Live a little!
Step-by-Step Instructions
Okay, deep breaths. You can do this. It’s so easy it almost feels like cheating. (It is.)
- Grab a mug: Make sure it’s microwave-safe and has a decent capacity (at least 10-12 oz) to avoid a chocolate lava eruption.
- Combine Dry Ingredients: Toss the flour, sugar, cocoa powder, baking powder, and salt into your chosen mug. Give them a good whisk with a fork until they’re all friendly with each other.
- Add Wet Ingredients: Pour in the plant milk, oil, and vanilla extract.
- Mix it Up: Stir everything together with your fork until just combined. Don’t overmix! A few small lumps are okay; overworking the batter leads to tough cake. We want tender cake, people!
- Add Chocolate Chips: If using, gently fold in your chocolate chips. Or sprinkle them on top. You do you.
- Microwave Magic: Pop your mug into the microwave and heat on high for 60-90 seconds. Start with 60 seconds and check it. It’s done when the top looks mostly set and a toothpick inserted comes out with moist crumbs (not wet batter).
- Devour! Let it cool for a minute (or two if you have superhuman patience) before diving in. Top with a dollop of vegan ice cream or whipped cream if you’re feeling fancy!
Common Mistakes to Avoid
Nobody’s perfect, but we can avoid some rookie errors together. Learn from my past mug cake mishaps!
- Overmixing: You want a light and fluffy cake, not a rubbery hockey puck. Once the wet and dry ingredients are *just* combined, stop stirring. Seriously, put the fork down.
- Forgetting the Baking Powder: This is crucial. Without it, your cake won’t rise, and you’ll end up with a dense, sad little brick. Don’t do it to yourself.
- Microwaving Too Long: This is probably the number one offender. Over-microwaving leads to a dry, crumbly, flavorless cake. Watch it like a hawk! A minute to a minute and a half is usually the sweet spot.
- Using a Tiny Mug: Been there, done that, cleaned the microwave. A small mug means overflow, and nobody wants a chocolate explosion that isn’t in their mouth.
Alternatives & Substitutions
Feeling adventurous? Or just missing an ingredient? No worries, we’ve got options!
- Flour Power: You can swap the all-purpose flour for a 1:1 gluten-free baking blend if you’re avoiding gluten. I haven’t tried it with oat flour or almond flour, but if you do, report back!
- Sweetener Swaps: Instead of granulated sugar, try maple syrup (reduce plant milk by 1 tablespoon) or even a sugar substitute if that’s your jam.
- Oil-Free Option: For an oil-free cake, you can substitute the oil with an equal amount of unsweetened applesauce or mashed banana. It might change the texture a smidge, but still tasty!
- Flavor Boosters: Add a tiny pinch of instant coffee granules for an even deeper chocolate flavor, or a dash of cinnamon for a warming spice kick.
- Mix-Ins Mania: Besides chocolate chips, consider a spoonful of peanut butter swirled in, chopped nuts, dried cranberries, or even a mini marshmallow or two on top for the last few seconds of microwaving.
FAQ (Frequently Asked Questions)
Got questions? I’ve got answers! (Mostly.)
Q: Can I bake this in a regular oven instead of the microwave?
A: Technically, yes! Pour the batter into a small ramekin and bake at 350°F (175°C) for about 12-15 minutes. But then it wouldn’t be the “I-need-dessert-NOW” mug cake, would it? Decisions, decisions.
Q: Can I make a bigger batch of this?
A: You could multiply the ingredients, but then it defeats the “for one” purpose! And honestly, the magic of a mug cake is its single-serving glory. If you want a bigger cake, there are actual cake recipes for that. Just sayin’.
Q: How long does this mug cake last?
A: LOL. It won’t. You’ll eat it all in one sitting. But hypothetically, if you had superhuman willpower, maybe a day covered in the fridge? The texture won’t be as good, though. Fresh is best!
Q: My mug cake turned out dry. What went wrong?
A: Ah, my friend, you likely microwaved it too long. Remember, 60-90 seconds is usually the sweet spot. Every microwave is different, so start low and go from there!
Q: Can I use regular dairy milk or butter?
A: Well, technically yes, you *could*, but then it wouldn’t be vegan! And we’re going for that plant-based goodness here. The beauty is, you won’t even taste the difference, promise!
Q: Is this healthy?
A: Define “healthy.” It’s a dessert. It’s a treat. It’s made with plant-based ingredients, which is a win in my book! Enjoy it without guilt, that’s my philosophy.
Final Thoughts
There you have it, folks! Your new go-to, guilt-free (because it’s vegan, duh!), super-speedy dessert for when the craving strikes. You’ve just whipped up some serious deliciousness with minimal effort, and that deserves a medal (or at least another spoonful of chocolate chips). Now go impress someone—or yourself, which is arguably more important—with your new culinary skills. You’ve earned it!


