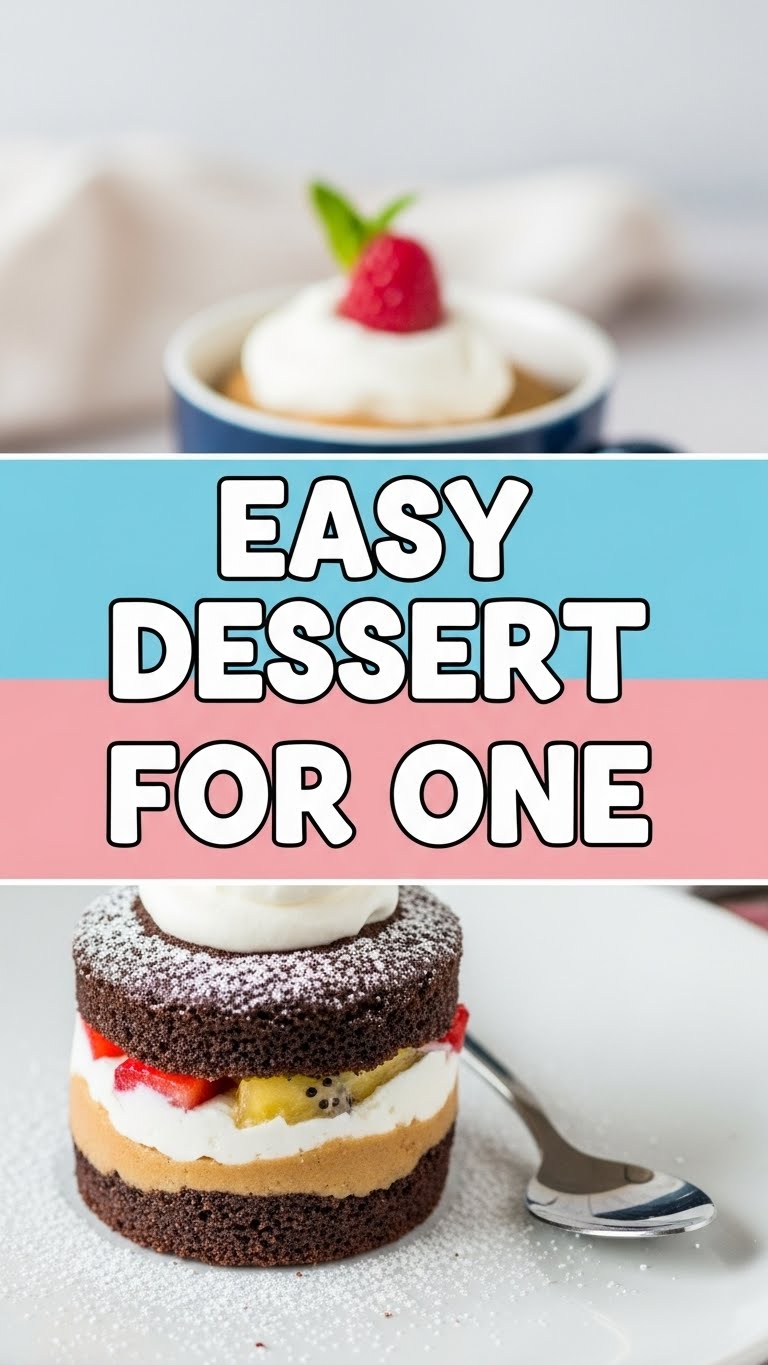
So, you’ve survived another day, conquered your to-do list (or just stared at it menacingly), and now your brain is screaming, “DESSERT, AND MAKE IT SNAPPY!” But who wants to bake a whole cake, dirty a gazillion dishes, and then have leftovers tempting you for days? Not you, my friend. Not you. You want something quick, delicious, and, most importantly, *just for you*. No sharing, no fuss, just pure, unadulterated, single-serving bliss.
Why This Recipe is Awesome
Because it’s basically magic, that’s why! This isn’t just a dessert; it’s a declaration of independence from giant cake pans and the guilt of eating half a pie. Here’s the lowdown on why you’re about to fall in love:
- Speed Demon: From zero to hero in literally 5 minutes. No joke.
- Idiot-Proof: Seriously, it’s almost impossible to mess up. Even I managed not to burn down the kitchen, and that’s saying something.
- Minimal Cleanup: One mug, maybe a spoon. That’s it. Your dishwasher (or your hands) will thank you.
- Portion Control (ish): It’s just for one! No tempting leftovers to whisper your name from the fridge at 2 AM. Unless you make another one, which, no judgment here.
Ingredients You’ll Need
Gather your mighty arsenal! These are probably already lurking in your pantry, waiting for their moment to shine. And don’t worry, we’re not asking for anything obscure here.
- 3 tablespoons all-purpose flour: The backbone of our cakey dreams.
- 3 tablespoons granulated sugar: For that sweet, sweet joy. Adjust if your sweet tooth is more “gentle hum” than “rock concert.”
- 1 tablespoon unsweetened cocoa powder: Make it dark, make it delicious.
- ¼ teaspoon baking powder: Our secret weapon for fluffy, not hockey-puck, cake. Don’t skip this, seriously.
- Pinch of salt: Elevates all those chocolatey flavors. It’s like a tiny flavor superpower.
- 3 tablespoons milk: Any kind! Dairy, almond, oat – whatever makes your heart sing.
- 1 tablespoon vegetable oil (or melted butter): Adds moisture. We don’t want a dry cake, that’s just sad.
- ¼ teaspoon vanilla extract: For that warm, cozy hug in a mug.
- Optional: 1 tablespoon chocolate chips: Because sometimes you just need more chocolate, am I right?
Step-by-Step Instructions
Alright, superstar, let’s get this show on the road! Seriously, this is so easy, you’ll wonder why you ever bought those overpriced single-serving desserts.
- Grab your favorite microwave-safe mug. The wider the better, for even cooking and less overflow drama.
- Into that mug, dump your dry ingredients: flour, sugar, cocoa powder, baking powder, and that tiny pinch of salt. Grab a fork and whisk them together until there are no lumpy bits trying to hide.
- Now for the wet stuff! Add the milk, oil (or melted butter), and vanilla extract directly into the mug with the dry mix.
- Stir everything together with your fork until just combined. Don’t go crazy and overmix – a few small lumps are totally fine. Overmixing makes tough cake, and we’re aiming for tender love. If you’re using chocolate chips, now’s the time to fold ’em in!
- Pop your mug into the microwave. Cook on high for 60-90 seconds. Start with 60 seconds, then add 10-15 second bursts until it looks set and springy to the touch. It should puff up gloriously!
- Carefully remove from the microwave (it’ll be hot!). Let it cool for a minute or two before digging in. Add a scoop of ice cream, a dollop of whipped cream, or just eat it plain. You’ve earned this, chef!
Common Mistakes to Avoid
Even though this recipe is practically foolproof, a few missteps can turn your fluffy dream into a rubbery nightmare. Let’s dodge ’em, shall we?
- Overmixing: Remember what I said? Lumps are okay! Overmixing develops gluten, leading to a tough, chewy cake. We want light and airy, not a workout for your jaw.
- Overcooking: The absolute biggest culprit for a dry, sad mug cake. Microwaves vary wildly, so always start with the shorter cooking time (60 seconds for most) and check. A minute too long and your cake will be dry as a desert.
- Underfilling the Mug: Don’t use a tiny espresso cup! The cake needs space to rise, otherwise, you’ll have a chocolatey eruption in your microwave. A standard coffee mug (about 10-12 oz) is perfect.
- Forgetting Baking Powder: This isn’t optional, people! Without it, you’ll have a dense, flat puck instead of a fluffy cake. It’s the leavening agent; it literally makes the cake rise.
Alternatives & Substitutions
Feeling fancy, or just missing an ingredient? No worries! This recipe is super flexible. Think of it as your dessert playground!
- Milk: Any milk works! Dairy, almond, soy, oat – whatever you have on hand. They all add moisture and richness.
- Oil/Butter: Vegetable oil, canola oil, melted coconut oil, or melted butter. They all do the job. IMO, butter adds a richer flavor, but oil makes it super moist.
- Flour Power: You can often substitute half the all-purpose flour with whole wheat flour for a slightly healthier, nuttier vibe. Gluten-free? Try a 1:1 gluten-free baking mix.
- Flavor Fiesta:
- Nutty: Add a teaspoon of peanut butter or almond butter to the wet ingredients.
- Spicy: A pinch of cinnamon or chili powder for a Mexican hot chocolate twist.
- Fruity: A few raspberries or blueberries mixed in before microwaving.
- Boozy (for adults only, obvs): A tiny splash of Kahlua or rum extract instead of some vanilla. Just a tiny splash!
FAQ (Frequently Asked Questions)
Got questions? I’ve got (casual and hopefully helpful) answers! Let’s clear up some common curiosities.
- “Can I use water instead of milk?” Well, technically yes, but why hurt your soul like that? Milk adds richness and flavor that water just can’t compete with. It’ll be edible, but less exciting.
- “My cake is dry! What went wrong?” Oh no! You likely overcooked it. Microwaves are powerful beasts. Next time, cook for less time, or try reducing the power level slightly.
- “Can I bake this in a conventional oven?” Sure, if you’re feeling extra. Pour the batter into a small ramekin and bake at 350°F (175°C) for about 12-15 minutes, or until a toothpick comes out clean. But honestly, the microwave is faster for a reason!
- “Can I make a double batch?” Absolutely! Just use a larger mug or divide the batter between two mugs. Just remember, doubling the recipe doesn’t always mean doubling the microwave time. You might still need to cook each mug individually.
- “What if I don’t have cocoa powder?” If you don’t have cocoa, you’ve essentially got a vanilla mug cake base! Just omit the cocoa, maybe add an extra half tablespoon of flour, and ramp up the vanilla or add some sprinkles. Boom, new dessert!
Final Thoughts
And there you have it! Your very own, incredibly easy, ridiculously delicious dessert for one. You’ve navigated the culinary landscape of quick gratification like a pro. Seriously, give yourself a pat on the back. This isn’t just a recipe; it’s a superpower for those days when only chocolate will do, and waiting isn’t an option.
Now go forth and enjoy your creation! Or, you know, make another one. No one’s watching. 😉


