So, you’re staring into the fridge, dreaming of something zesty, sweet, and maybe a *little* bit virtuous, but the thought of spending hours in the kitchen makes your soul shrivel? **Same, friend, same.** You want healthy lemon bars without the fuss, the guilt, or the commitment issues of a complex recipe. Well, buckle up, buttercup, because I’ve got just the thing that’ll make your taste buds sing and your lazy bones rejoice!
Why This Recipe is Awesome
Okay, let’s be real. Most “healthy” desserts taste like regret and cardboard. Not these bad boys! We’re talking bright, tangy, sweet perfection that actually *feels* light. This recipe is awesome because it’s:
- **Stupidly Simple:** Seriously, if you can press a button on an oven, you can make these. Even I didn’t mess them up!
- **Surprisingly Healthy-ish:** We’re cutting back on the processed stuff and boosting the good vibes. Think less sugar, more real lemon, and a crust that’s not trying to send you into a sugar coma.
- **A Crowd-Pleaser:** People will gobble these up and ask for the recipe, assuming you’re some kind of culinary wizard. **Spoiler alert:** You just followed my incredibly insightful instructions.
- **Quick AF:** From zero to hero (aka, lemon bar nirvana) in under an hour of active time.
Ingredients You’ll Need
Gather your troops! Here’s what you’ll need to whip up these lemony wonders:
- **For the Crust (The Foundation of Greatness):**
- **1 cup (2 sticks) unsalted butter, softened:** Or, if you’re feeling extra adventurous, some coconut oil can work, but butter is where the flavor party is at. Your call.
- **1/2 cup granulated sugar:** We’re cutting back here, trust me, the lemon does most of the heavy lifting for flavor.
- **2 cups whole wheat pastry flour (or all-purpose, if you’re living on the edge):** Whole wheat pastry flour gives a nice, slightly nutty depth and makes it feel more “healthy-ish” without being overly dense.
- **1/4 teaspoon salt:** Just a pinch to make everything pop.
- **For the Filling (The Zesty Heart):**
- **4 large eggs:** Room temperature, please! They mix better.
- **1 cup granulated sugar:** Again, just enough. We want tart, not toothache.
- **1/3 cup fresh lemon juice:** Squeeze those lemons like you mean it! **Do NOT use the bottled stuff.** We’re friends, and I wouldn’t let you do that to yourself.
- **2 tablespoons whole wheat pastry flour (or all-purpose):** Helps thicken the filling.
- **Zest of 2 large lemons:** All that fragrant goodness! Don’t skip this, it’s essential.
- **1/4 teaspoon baking powder:** For a little lift.
- **Pinch of salt:** Because balance.
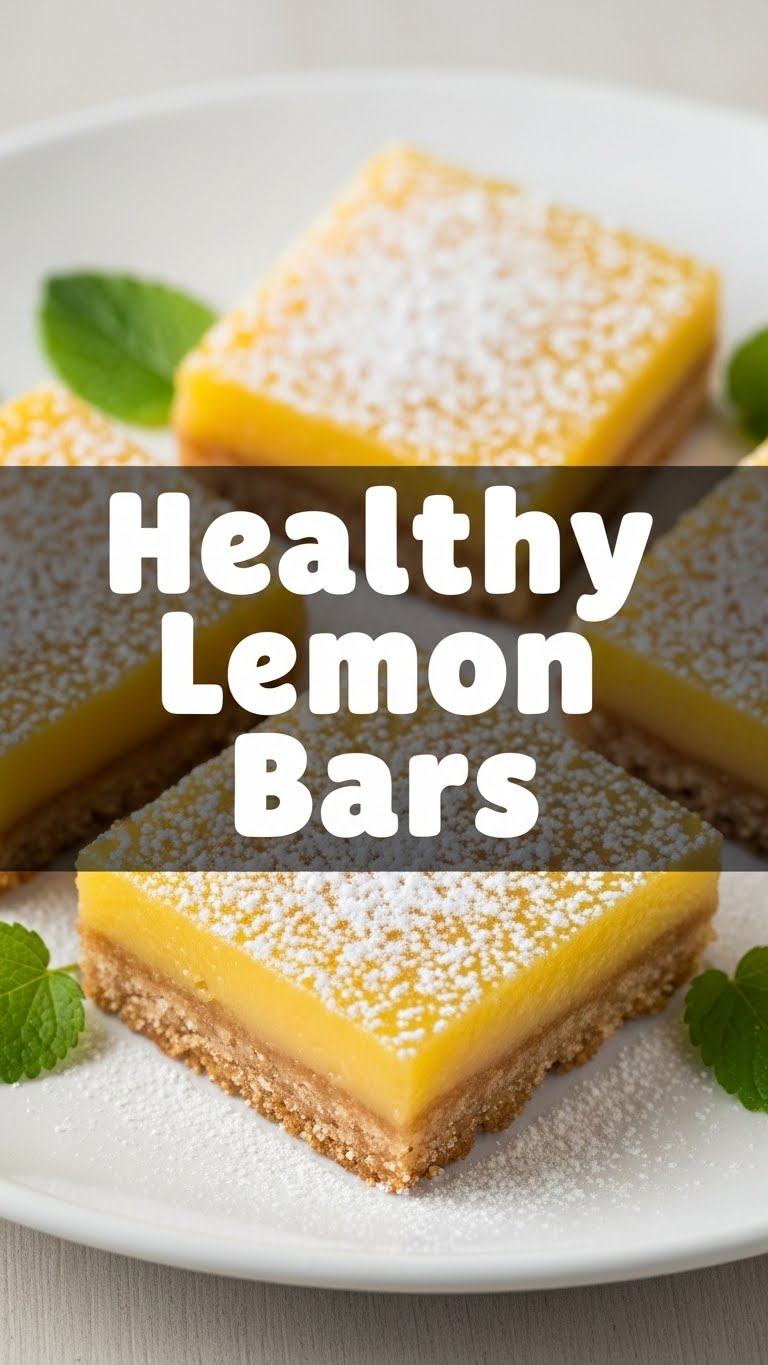
- **Optional Garnish:** Powdered sugar for dusting (if you’re feeling fancy, or want to hide any imperfections – no judgment here!).
Step-by-Step Instructions
- **Preheat & Prep:** First things first, **preheat your oven to 350°F (175°C)**. Grab a 9×13 inch baking pan and line it with parchment paper, leaving an overhang on the sides. This makes lifting out the bars a breeze and keeps your pan clean. Smart, right?
- **Crust Time!** In a medium bowl, cream together the softened butter and granulated sugar until light and fluffy. Add the flour and salt, mixing until just combined and a crumbly dough forms. Don’t overmix!
- **Press & Bake:** Press the crust mixture evenly into the bottom of your prepared pan. Use the back of a spoon or your clean hands to get it nice and compact. Bake for 15-20 minutes, or until it’s lightly golden.
- **While it Bakes, Make the Filling:** While your crust is doing its thing, whisk together the eggs, granulated sugar, fresh lemon juice, flour, lemon zest, baking powder, and salt in another bowl. Whisk until everything is smooth and fully combined.
- **Pour & Bake Again:** Once the crust is out of the oven, immediately pour the lemon filling evenly over the hot crust. Return the pan to the oven and bake for another 20-25 minutes. The filling should be set but still have a slight jiggle in the center.
- **Cool Down, Chill Out:** This is the hardest part, IMO. Let the bars cool completely in the pan on a wire rack. Then, for the absolute best results (and easier cutting), **chill them in the refrigerator for at least 2 hours**, or even overnight. Seriously, don’t skip this.
- **Slice & Serve:** Once completely chilled, use the parchment paper overhang to lift the entire slab out of the pan. Cut into squares or rectangles. Dust with a little powdered sugar if you’re feeling extra. Enjoy your glorious creation!
Common Mistakes to Avoid
- **Skipping the Chill Time:** I know, I know, you want to devour them NOW. But trying to cut warm lemon bars is a recipe for a gooey, messy disaster. **Patience, grasshopper.**
- **Using Bottled Lemon Juice:** Please, for the love of all that is holy and delicious, don’t do it. The flavor just isn’t the same. Fresh is always best, particularly for lemon-centric recipes.
- **Overbaking the Filling:** This leads to a rubbery texture, and nobody wants that. Keep an eye on it; a slight jiggle is perfectly fine, it will firm up as it cools.
- **Not Lining Your Pan:** Rookie mistake! That parchment paper is your best friend for easy removal. Trust me, you’ll thank yourself later.
- **Thinking you can make these and not eat at least two:** Psychologically incorrect. Just embrace it.
Alternatives & Substitutions
Feeling rebellious? Here are a few ways to tweak these healthy lemon bars:
- **Flour Power:** Don’t have whole wheat pastry flour? All-purpose flour works perfectly fine for both crust and filling, you just lose a tiny bit of that “healthy-ish” vibe. Or, for a gluten-free twist, use a good 1:1 gluten-free baking blend.
- **Sweetener Swap:** If you want to further reduce refined sugar, you could try substituting part of the granulated sugar with a natural sweetener like erythritol or stevia (use less, these are potent!). Just be aware the texture might be slightly different. Or, if you’re feeling decadent, go for a tiny bit of maple syrup in the crust – just reduce the butter slightly to compensate for the liquid.
- **Citrus Twist:** Not a pure lemon purist? Try adding a little lime zest or juice for a lemon-lime bar. Or even grapefruit for a more sophisticated, slightly bitter kick. Get wild!
- **Dairy-Free:** For the crust, you can use a good quality dairy-free butter substitute. For the filling, this one is tougher as eggs are central. But for dairy-free crust, it’s a go!
FAQ (Frequently Asked Questions)
- **Can I make these ahead of time?** Absolutely! They actually taste better the next day once the flavors have had a chance to meld. Plus, they store beautifully.
- **How long do healthy lemon bars last?** Stored in an airtight container in the fridge, they’re good for up to 4-5 days. If they last that long, you’re doing something wrong (or you’re a superhero with self-control).
- **Can I freeze them?** Yep! Wrap individual bars tightly in plastic wrap, then place them in a freezer-safe bag or container. Thaw in the fridge overnight. Easy peasy lemon squeezy!
- **My filling cracked, what happened?** Don’t panic! This usually means it was slightly overbaked or cooled too quickly. They’ll still taste amazing, just dust with extra powdered sugar to hide the evidence. No one will ever know!
- **Can I use margarine instead of butter?** Well, technically yes, but why hurt your soul like that? Butter provides a depth of flavor and texture that margarine just can’t replicate. Treat yourself!
- **Why are they “healthy” lemon bars if they still have sugar?** Good question! We’re reducing the overall sugar compared to traditional recipes, using whole wheat flour for fiber, and focusing on fresh, natural ingredients. It’s about making a *better* choice, not a *no-sugar-ever* choice. Enjoy your treats responsibly!
Final Thoughts
So there you have it, folks! Your new go-to recipe for healthy-ish lemon bars that are so good, you might just keep them all to yourself. You’ve successfully navigated the treacherous waters of baking and emerged victorious, smelling faintly of lemon and triumph. Now go impress someone—or yourself—with your new culinary skills. You’ve earned it! Seriously, go make these. Your taste buds (and your inner slacker) will thank you. Happy baking!


