So, you’re absolutely ravenous, but the idea of diving into a greasy bag of chips makes your future self wince? And let’s be real, cooking anything more complicated than toast feels like a monumental task on some days.
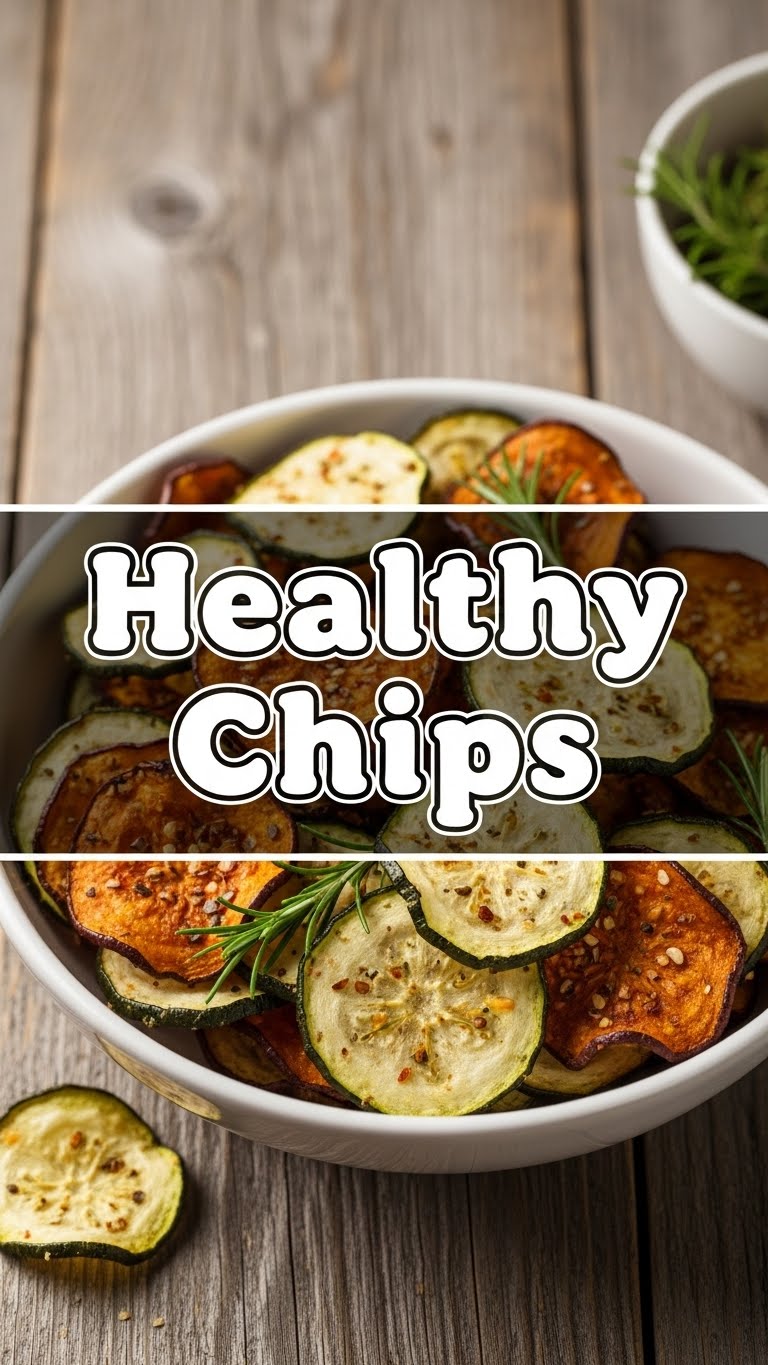
Fear not, my friend! Because today, we’re making “Healthy Chips” that are so ridiculously easy and surprisingly delicious, you’ll wonder why you ever bothered with the store-bought stuff. We’re talking crispy, savory goodness without the guilt trip. Ready to get your snack game strong?
Why This Recipe is Awesome
Honestly, where do I even begin? First off, it’s basically idiot-proof. Even if your culinary skills peak at microwaving popcorn, you can nail this. Seriously, I tried to mess it up, and it was surprisingly resilient. Second, it uses real, actual vegetables – mind-blowing, right? This means you get some fiber and nutrients, so you can feel smugly superior while crunching away. And third, these chips are ridiculously customizable. We’re talking a flavor playground, people! It’s fast, it’s healthy-ish (it’s still a chip, after all!), and it scratches that salty, crunchy itch like nobody’s business. Plus, your kitchen will smell amazing. You’re welcome.
Ingredients You’ll Need
- Your Chosen Veggies: Think potatoes (regular or sweet!), carrots, parsnips, even beets! About 2 medium-sized ones per person, depending on your chip-munching ambition. The firmer, the better for slicing.
- Olive Oil: A couple of tablespoons. The good stuff, but no need to break the bank. We’re aiming for crispy, not soggy.
- Salt: Duh. Flaky sea salt is my jam here, but regular fine salt works too. To taste, naturally.
- Pepper: Freshly ground, if you’re feeling fancy.
- Optional Flavor Boosters: A pinch of garlic powder, onion powder, smoked paprika, or even some dried herbs like rosemary or thyme. This is where you get creative, pal!
Step-by-Step Instructions
- Preheat & Prep: Crank that oven up to 200°C (400°F). Line two baking sheets with parchment paper. This is key for non-sticking and easy cleanup. Trust me on this one.
- Slice ‘Em Thin: Wash and peel your chosen veggies. Now, here’s the crucial part: slice them as thinly as humanly possible. A mandoline slicer is your best friend here, but a sharp knife and steady hand will do the trick. We’re talking paper-thin for maximum crispiness.
- Toss & Season: In a large bowl, toss your thinly sliced veggies with the olive oil until they’re lightly coated. Then sprinkle generously with salt, pepper, and any other spices you’ve chosen. Make sure everything gets a good, even coating.
- Single Layer Spread: Arrange the seasoned veggie slices in a single layer on your prepared baking sheets. Do NOT overcrowd them! Give those chips some breathing room, or they’ll steam instead of crisp. You might need to use two sheets, or even bake in batches.
- Bake Until Crispy: Pop them in the oven for about 15-25 minutes. This time can vary wildly depending on your oven, veggie type, and slice thickness. Keep a close eye on them!
- Flip & Finish: After about 10-15 minutes, carefully flip the chips over. Continue baking until they are golden brown and crispy. Some might cook faster than others, so don’t be afraid to pull the done ones out sooner.
- Cool & Crunch: Transfer the chips to a wire rack to cool completely. This helps them get extra crispy as they cool down. Try not to eat them all before they’re fully cooled, though I know it’s hard.
Common Mistakes to Avoid
- Ignoring the Preheat Rule: Thinking you don’t need to preheat the oven? Rookie mistake! Cold ovens lead to sad, soggy chips.
- Thick Slices: If your slices are too thick, you’ll end up with roasted vegetables, not chips. Delicious, but not what we’re going for. Think delicate, not chunky.
- Overcrowding the Pan: This is a big one. Piling your veggies on top of each other is a one-way ticket to soggy-ville. Give them space, people!
- Forgetting to Watch: Oven temperatures vary. What’s 20 minutes for my oven might be 15 for yours, or 25. Don’t wander off and assume. Keep an eye on them towards the end, as they can go from perfectly golden to burnt bits in a blink.
- Not Using Parchment Paper: Unless you love scraping stuck-on bits from your baking sheet, just use the paper. Your future self will thank you.
Alternatives & Substitutions
The beauty of this recipe is its flexibility. Want to mix it up?
- Veggies: Beyond the usual suspects, try taro, plantains (a bit sweeter!), or even kale for a totally different chip experience. Just adjust baking times for thinner greens like kale.
- Oils: Avocado oil is another great high-heat option if olive oil isn’t your vibe. Just use a healthy fat; avoid anything with a low smoke point.
- Spices: Get wild! Try chili powder for a kick, nutritional yeast for a cheesy flavor (without the actual cheese, FYI!), or even a dash of cinnamon and nutmeg if you’re making sweet potato or apple chips (yes, you can do apples!).
- Air Fryer Fan? You can totally make these in an air fryer! Follow the same slicing and seasoning steps, then air fry at 180°C (350°F) for 10-15 minutes, shaking the basket frequently, until crispy. It might be even faster!
FAQ (Frequently Asked Questions)
- “My chips aren’t crispy! What went wrong?” Did you slice them thin enough? Did you overcrowd the pan? Is your oven actually at the right temp? Re-read the “Common Mistakes” section, my friend. It’s usually one of those culprits!
- “Can I store these?” Technically, yes. In an airtight container at room temp for a day or two. But honestly, they’re best eaten fresh. They tend to lose their crispness over time, and a slightly stale chip is just…sad. IMO.
- “How do I prevent burning?” Keep a watchful eye, especially during the last few minutes. Ovens have hot spots! And make sure your slices are uniform – uneven slices cook unevenly.
- “Can I make a big batch for a party?” You can, but you’ll need multiple baking sheets and potentially bake in batches to avoid overcrowding. It’s totally doable, just takes a bit more coordination.
- “Are these *really* healthy?” Compared to deep-fried, preservative-laden store-bought chips? Absolutely! They’re baked, made from whole veggies, and you control the oil and salt. So, yeah, score!
Final Thoughts
So there you have it – your new go-to snack recipe! You’ve just transformed humble veggies into crunchy, satisfying chips with minimal effort and maximum flavor. Go on, pat yourself on the back, you culinary wizard! Now go impress someone – or just yourself, which is totally fine too – with your newfound healthy chip-making prowess. You’ve earned that delicious crunch!


