So you’re staring at an apple, thinking, “This is great and all, but my inner chef (who mostly just heats things in the microwave) needs a little… *zhuzh*.” Sound familiar? You, my friend, are in the right place. We’re about to transform that humble apple into something that screams “I tried!” (but actually took minimal effort). Get ready for some healthy, delicious, and ridiculously easy apple snacks that’ll make your tastebuds do a happy dance.
Why This Recipe is Awesome
Okay, let’s be real. In a world full of complicated diets and recipes that require a culinary degree, this one is basically a hug for your brain and your stomach. It’s **idiot-proof**, I swear. Even I, a person who once set off a smoke alarm trying to make toast, can nail this. It’s fast, genuinely healthy (no hidden weirdness!), and satisfies that craving for something sweet without making you feel like you need to run a marathon afterward. Plus, it uses apples – which, let’s face it, are probably already lurking in your fridge right now, slowly judging you for not eating them.
Ingredients You’ll Need
- A couple of apples: Any kind works, but I’m partial to Honeycrisp or Granny Smith for that perfect sweet-tart crunch. Don’t be shy; pick ones that look happy.
- Nut butter of choice: Peanut butter, almond butter, cashew butter – whatever floats your boat! Just make sure it’s the creamy kind unless you’re feeling adventurous with crunchy bits.
- Cinnamon: Because apples and cinnamon are like the Brad Pitt and Angelina Jolie of the food world (pre-split, obvs). They just belong together.
- Optional fun toppings:
- Granola: For that extra crunch.
- Mini chocolate chips: Because life’s too short not to add a little chocolate.
- Shredded coconut: Gives it a tropical vibe.
- A drizzle of honey or maple syrup: If your sweet tooth is really demanding attention.
- A pinch of sea salt: To be fancy and make all the flavors pop.
Step-by-Step Instructions
- **Wash and Core Your Apples:** First things first, give those apples a good rinse. Then, you’ve got options: either slice them into rounds (my personal fave for maximum topping surface area) or into wedges. If you have an apple corer, now’s its moment to shine. Otherwise, a knife will do the trick – just be careful!
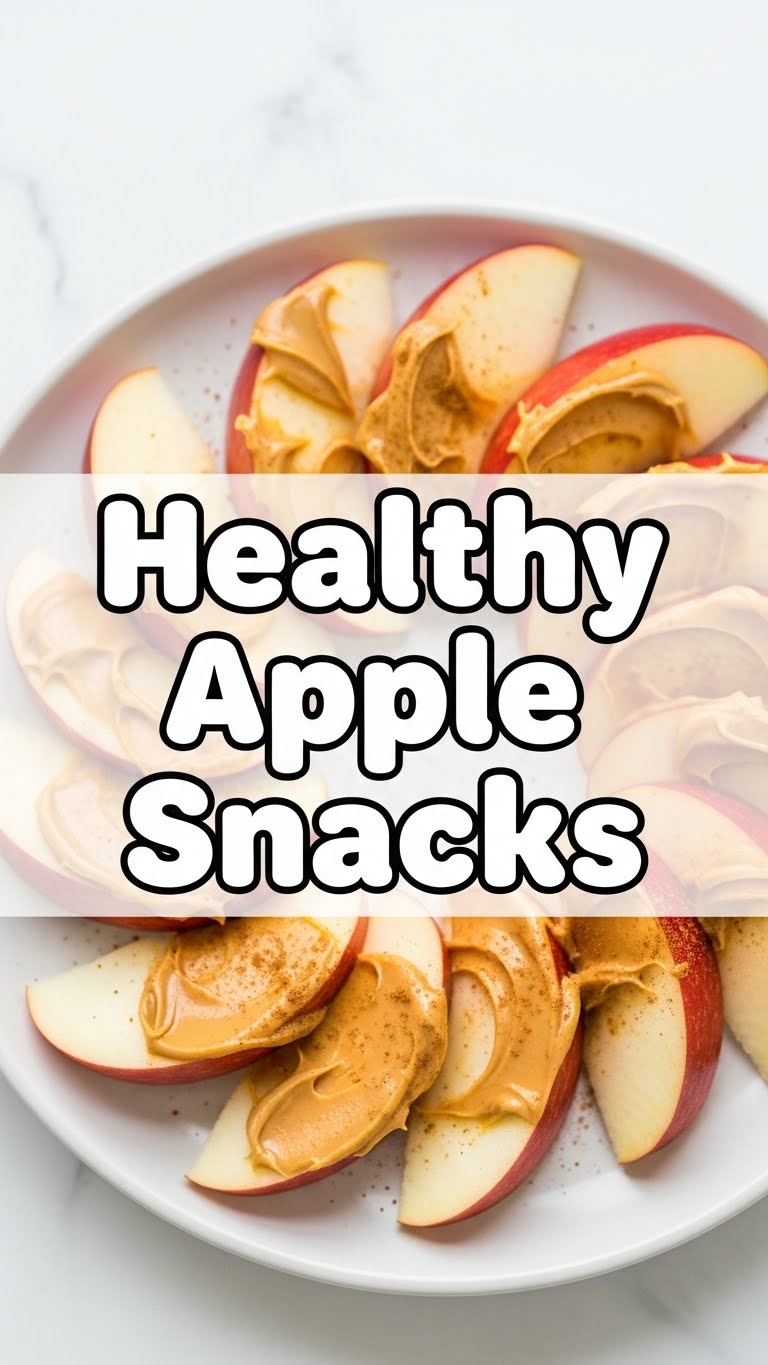
- **Spread the Love:** Lay your apple slices flat on a plate or cutting board. Now, take a knife or a small spoon and generously spread your chosen nut butter onto each slice. Don’t be stingy; this is where the magic happens.
- **Sprinkle That Cinnamon:** Lightly dust each nut butter-covered apple slice with a dash of cinnamon. You can do a little, you can do a lot—it’s your world, baby!
- **Get Creative with Toppings (Optional but Recommended!):** This is where you unleash your inner artist. Sprinkle on granola, mini chocolate chips, shredded coconut, or whatever your heart desires. A little drizzle of honey or maple syrup and a tiny pinch of sea salt can elevate this snack from “good” to “OMG, I made this?!”
- **Devour Immediately:** Seriously, don’t wait. These are best enjoyed fresh. Grab ’em, munch ’em, and feel good about your life choices.
Common Mistakes to Avoid
- Over-slicing: Don’t make your apple slices paper-thin. They’ll just break when you try to spread the nut butter. We’re aiming for sturdy, snackable vehicles here.
- Forgetting the cinnamon: You might think, “Oh, it’s fine without it.” But trust me, it’s like going to a party and forgetting your dancing shoes. It’ll be okay, but it won’t be *great*. **Cinnamon is key!**
- Using cold, hard nut butter: If your nut butter is fresh out of the fridge and stiff as a board, it’s going to tear your apple slices. Let it warm up a bit, or zap it in the microwave for literally 10-15 seconds to make it spreadable.
- Not having enough toppings: This isn’t a mistake, per se, but more of a missed opportunity. Go wild! It’s an apple, not a masterpiece that needs preserving for centuries.
Alternatives & Substitutions
Feeling a bit experimental? I dig that! This recipe is super flexible.
If you’re out of traditional nut butter, try **sunflower seed butter** for a nut-free option (and often a bit saltier, which is delish). Not a fan of cinnamon? A dash of **nutmeg** or even **pumpkin pie spice** would be amazing, especially in the fall. For a dairy-free treat, pretty much everything here is already good to go, just make sure your chocolate chips are dairy-free. Want to up the protein game? A sprinkle of **chia seeds** or even a little bit of **protein powder** mixed into your nut butter works wonders (though it might make it thicker, FYI). You can also try different fruits – pear slices are fantastic with this too! Don’t be afraid to mix it up. Your kitchen, your rules.
FAQ (Frequently Asked Questions)
- **Can I make these ahead of time?** Well, you *could*, but why would you want to? The apples might get a little brown and sad. They’re best enjoyed fresh, IMO. We’re talking 5-minute prep here, so no need for meal prepping these beauties.
- **What kind of apples are best?** Honestly, whatever you have! Granny Smith gives you that tart kick, while Honeycrisp or Fuji are sweeter. It really depends on your mood.
- **My nut butter is too thick, help!** Nuke it for 10-15 seconds in the microwave, give it a stir. It’ll be gloriously spreadable. Trust me on this one.
- **Are these really “healthy”?** Yup! Apples are fiber-packed, nut butter has healthy fats and protein, and cinnamon is good for you too. Just don’t go overboard with the chocolate chips unless it’s a “treat yourself” kind of day (which, let’s be honest, is most days).
- **Can I use melted chocolate instead of chocolate chips?** Absolutely! A drizzle of melted dark chocolate would be divine. Go for it!
Final Thoughts
There you have it, folks! Your new go-to healthy-ish, super-easy, and utterly delicious apple snack. It’s perfect for a quick breakfast, an afternoon pick-me-up, or whenever you just need a little something-something that isn’t another bag of chips. Now go impress someone—or yourself—with your new culinary skills. You’ve earned it!


