So you’re craving something warm, cozy, and sweet, but the thought of a sugar crash later makes you wince? And, let’s be real, you’re not trying to spend an hour slaving away in the kitchen, right? Exactly. You want healthy, you want easy, and you want it NOW. My friend, you’ve come to the right place for the baked apple glow-up you didn’t know you needed.
Why This Recipe is Awesome
Look, I get it. “Healthy” recipes can sometimes sound like code for “taste-free cardboard.” But not this one, my friend. This recipe is your new bestie because it’s:
- **Stupidly Simple:** Seriously, if you can use an oven, you can make this. It’s practically foolproof. Even I, who once mistook baking soda for baking powder (don’t ask), nail this every single time.
- **Naturally Sweet & Wholesome:** We’re talking natural sugars from fruit, a little spice, and zero guilt. It’s like a dessert that secretly loves your body back.
- **Quick AF:** From prep to plate, you’re looking at about 30-40 minutes. Perfect for those “I need something yummy, but Netflix is calling” evenings.
- **Customizable:** Want to get fancy? Go for it! Want to keep it minimal? You’re still a culinary genius.
Basically, it’s the healthy dessert unicorn you’ve been searching for. You’re welcome.
Ingredients You’ll Need
Gather your edible treasures! Here’s what you’ll be needing for your baked apple adventure. Don’t worry, it’s a short list, and you probably have most of it already.
- **Apples (2-4, your call!):** Pick firm, baking-friendly varieties like Honeycrisp, Fuji, Gala, or Granny Smith. Don’t use a mushy one, unless you’re aiming for sad applesauce.
- **Cinnamon (1/2 – 1 tsp):** The MVP of apple spices. Don’t skimp.
- **Nutmeg (a pinch):** Cinnamon’s sassy sidekick.
- **Oats (2-3 tbsp, optional but highly recommended):** Old-fashioned rolled oats work best. Adds a lovely chew and fiber boost. Because fiber is fancy now.
- **Maple Syrup or Honey (1-2 tbsp):** Your natural sweetener of choice. Just enough to entice, not overpower.
- **Water (1/4 cup):** To create some steamy magic in your baking dish and keep things moist.
- **Optional Goodies (choose one or two, or none!):**
- **A tiny pat of butter or coconut oil:** For that luxurious, melt-in-your-mouth factor. We’re going healthy, not joyless!
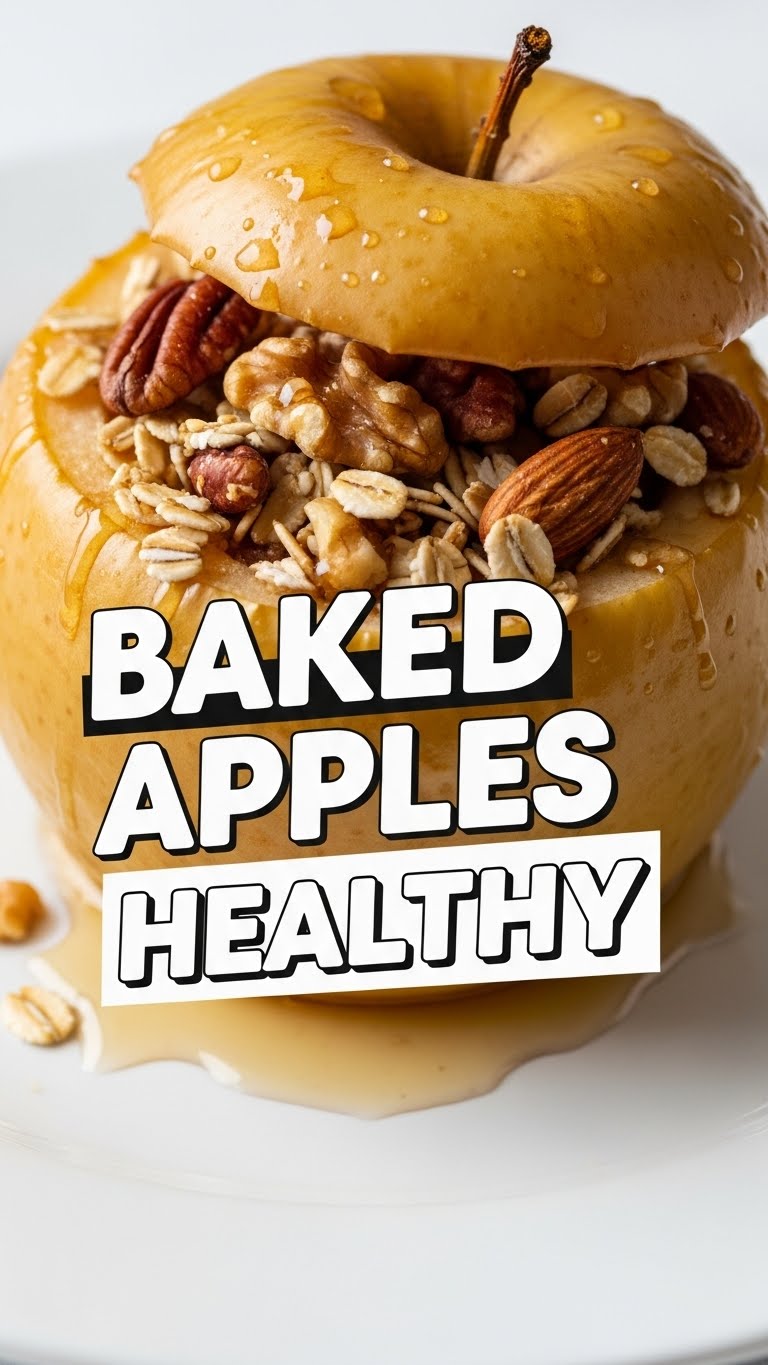
- **Chopped nuts (pecans, walnuts):** For crunch and healthy fats.
- **A few raisins or dried cranberries:** For extra pops of sweetness.
Step-by-Step Instructions
Alright, oven preheated? Good. Let’s get these apples into action!
- **Preheat Your Oven:** Set it to **375°F (190°C)**. This is not a suggestion; it’s a command for perfectly baked apples.
- **Prep Those Apples:** Wash ’em good. Now, here’s the fun part: core them! Use an apple corer if you’re fancy, or a small spoon/knife to carefully scoop out the core and seeds, leaving a good “well” in the center for your fillings. **Don’t go all the way through the bottom!** We want a little bowl, not a leaky sieve.
- **Stuff ‘Em Up:** In a small bowl, mix your oats (if using), cinnamon, nutmeg, and a drizzle of maple syrup/honey. Spoon this glorious mixture into the apple wells. If you’re adding butter/coconut oil, tuck a tiny pat on top of the filling.
- **Bake ‘Em Beautiful:** Place your stuffed apples in a small baking dish. Pour the 1/4 cup of water into the bottom of the dish around the apples. This prevents drying and helps them steam.
- **Into the Oven!** Bake for **25-35 minutes**, or until the apples are tender when pierced with a fork but still hold their shape. Baking time varies depending on apple size and variety, so keep an eye on them after 20 minutes.
- **Serve Hot:** Carefully remove from the oven (hello, steam!). Let them cool for a few minutes so you don’t burn your tongue in your excitement. Enjoy ’em plain, or with a dollop of Greek yogurt or a tiny scoop of vanilla “nice” cream.
Common Mistakes to Avoid
Nobody’s perfect, but we can at least try to avoid these rookie blunders, right?
- **Skipping the Core (or not enough):** If you don’t core enough, you won’t have room for all that delicious filling. If you core too much and go through the bottom, your yummy filling will leak out, and you’ll have a sad, empty apple husk. Find that sweet spot!
- **Ignoring Your Oven Temp:** Thinking you don’t need to preheat? **Rookie mistake.** An un-preheated oven leads to uneven cooking and a longer baking time that will test your patience.
- **Over-Baking:** Nobody wants mushy, disintegrating apples. We’re making baked apples, not apple soup. Check for tenderness with a fork around the 25-minute mark. You want them soft, not sloppy.
- **Forgetting the Water in the Dish:** It might seem minor, but that little bit of water makes a big difference in keeping your apples moist and happy. Don’t let them dry out and become sad, shriveled specimens.
Alternatives & Substitutions
Feeling adventurous? Or maybe you just ran out of cinnamon (gasp!)? No worries, here are some fun ways to mix things up:
- **Sweeteners:** No maple syrup? **Honey** works beautifully. A tiny sprinkle of **brown sugar** is also an option if you’re feeling a little naughty, but still keeping it healthier than a pie.
- **Spices:** If cinnamon and nutmeg aren’t your jam, try a pinch of **allspice**, **cloves**, or even a tiny bit of **ginger**. A little pumpkin pie spice blend? *Chef’s kiss!*
- **Fillings:** Not feeling oats? Skip ’em! Or try adding a spoonful of **granola** for extra crunch, or even a dollop of **peanut butter** for a protein kick (trust me on this one!).
- **Toppings:** Once baked, a sprinkle of **chopped pecans**, a tiny drizzle of **almond butter**, or a spoonful of plain **Greek yogurt** takes it to the next level. IMO, the yogurt adds a lovely tangy contrast.
FAQ (Frequently Asked Questions)
Got questions? I’ve got (mostly) sarcastic answers!
- **Q: Can I use any type of apple?**
A: Well, technically yes, but do you *want* sad, mushy apples? Stick to firm varieties like Honeycrisp, Gala, Fuji, or Granny Smith for the best texture. Soft apples are best left for applesauce. - **Q: What if I don’t have an apple corer?**
A: Grab a small paring knife and carefully cut around the core, then scoop it out with a spoon. Just be careful with those fingers, please! We need them for eating. - **Q: How long do these last in the fridge?**
A: Store them in an airtight container for up to 3-4 days. They’re pretty good cold, but a quick zap in the microwave brings them back to warm, cozy life. - **Q: Can I make a big batch for meal prep?**
A: Absolutely! Bake a bunch on Sunday and have healthy snacks or desserts ready for the week. You’re basically a kitchen genius now, FYI. - **Q: Can I add sugar-free sweetener instead of maple syrup/honey?**
A: Sure, if that’s your jam! But honestly, the natural sweetness of the apple usually does most of the heavy lifting here, especially with a tiny bit of natural sweetener to boost it. Don’t overthink it! - **Q: My apples are still a bit hard after baking, what gives?**
A: Patience, grasshopper! Your apples might be larger or a firmer variety. Just pop them back in for another 5-10 minutes. Test with a fork – it should slide in easily.
Final Thoughts
See? I told you it was easy! You just whipped up a healthy, delicious, and seriously impressive dessert/snack with minimal effort. Go ahead, pat yourself on the back. You deserve it. Now go impress someone—or just yourself, because self-love is important—with your newfound baked apple prowess. Enjoy!


