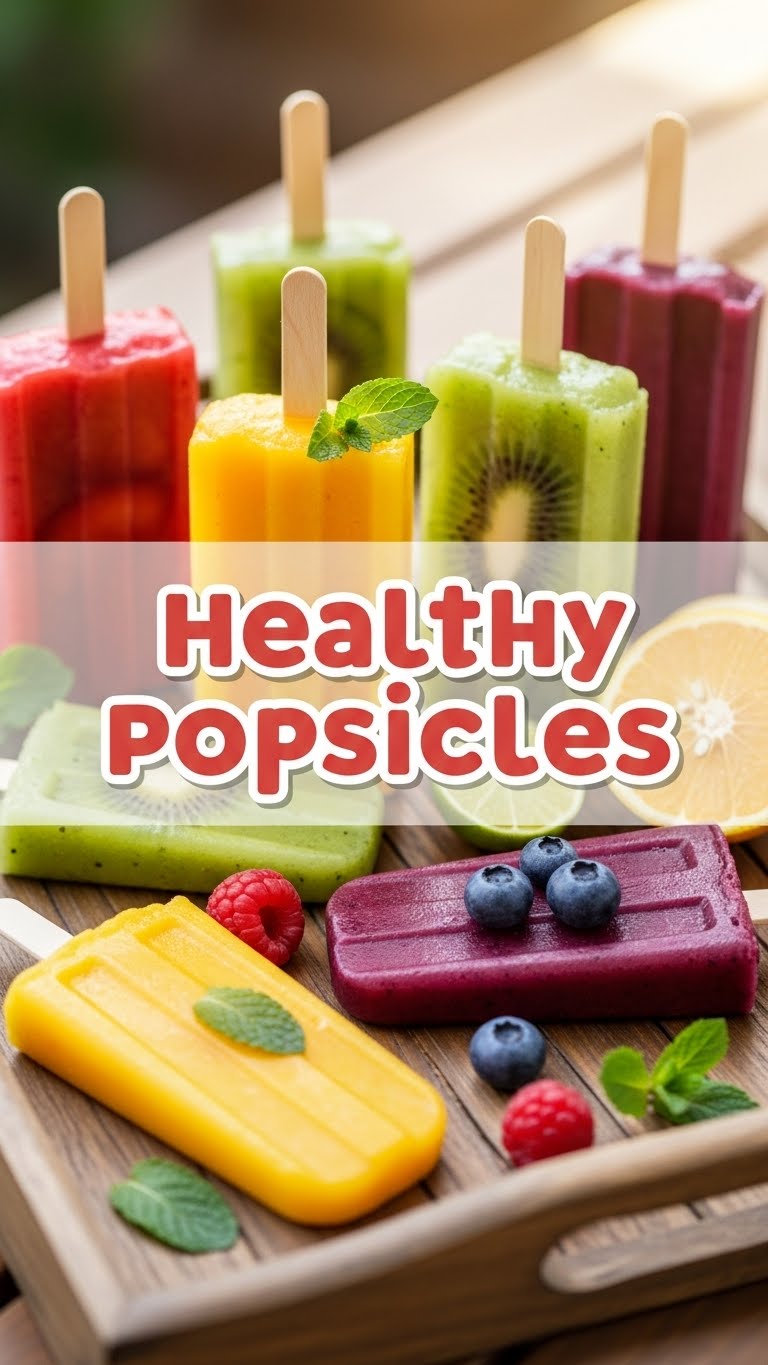
So you’re sweating through summer, craving something cool and guilt-free but, like, actually tasty? Yeah, me too. And my freezer is basically a shrine to laziness, so these healthy popsicles are my current obsession. Forget those sugary, artificially colored ice pops from your childhood – we’re adults now, and we deserve *better* (and healthier!) treats. Ready to whip up some frozen magic without breaking a sweat? Let’s do this!
Why This Recipe is Awesome
Look, if I can make these without summoning a kitchen disaster, anyone can. Seriously. No oven, no fancy equipment, just blend, pour, and freeze. It’s basically a magic trick for your tastebuds that also happens to be good for you. Plus, no weird artificial colors or flavors – just pure, unadulterated fruit goodness. Your inner child (and outer adult) will thank you. IMO, it’s the easiest win you’ll have all week.
Ingredients You’ll Need
Get ready to meet your new best friends for frozen bliss. These are suggestions, feel free to get creative!
- Mixed Berries (frozen or fresh, about 2 cups): Your vibrant base! Grab a bag of frozen mixed berries – the cheaper, the better for blending. Or fresh, if you’re feeling fancy (and rich).
- Banana (1 ripe): The secret weapon for creaminess and natural sweetness. The spottier, the better. Don’t be shy with those brown freckles!
- Greek Yogurt (plain, unsweetened, 1/2 cup): For that creamy, dreamy texture and a protein punch. Think of it as the bodyguard for your fruit.
- Coconut Water (or regular water/almond milk, 1/4 – 1/2 cup): Our liquid liberator! Helps things blend smoothly. Coconut water adds a tropical twist, but water works just fine if you’re keeping it simple.
- Honey or Maple Syrup (1-2 tablespoons, optional): Just a drizzle, if your sweet tooth demands it. Remember, the fruit and banana are doing most of the heavy lifting here.
- Popsicle molds & sticks: Obvious, but important! Don’t skip this, unless you plan on eating slushy-soup with a spoon. (No judgment, we’ve all been there).
Step-by-Step Instructions
- Gather your fruity gang: Toss all your beautiful berries, the spotty banana, Greek yogurt, and your chosen liquid into a blender.
- Blend it like a boss: Hit that power button! Blend until it’s super smooth, no chunky bits allowed. We’re going for silky perfection here.
- Taste test time! Grab a spoon (the clean one, please). Does it need more sweetness? A bit more liquid? Adjust to your heart’s content. This is *your* masterpiece.
- Pour with purpose: Carefully pour the mixture into your popsicle molds. Don’t overfill them – remember, liquids expand when frozen, science, right?
- Insert the sticks: Pop a popsicle stick into each mold. Make sure they’re centered.
- The hardest part: Wait! Transfer those molds to the freezer. Let them chill out for at least 4-6 hours, or even better, overnight. Patience is a virtue, especially when deliciousness is involved.
- Release the goodness: When ready to devour, run the molds under warm water for a few seconds. This helps them slide right out. Enjoy your healthy, homemade bliss!
Common Mistakes to Avoid
Don’t be that person. Learn from my (many) past blunders.
- Overfilling your molds: Hello, frozen overflow disaster! Leave a little headspace at the top. Trust me on this one.
- Not blending enough: We’re making popsicles, not chunky fruit ice. Blend until it’s smooth. No one wants an unexpected berry chunk unless it’s intentional.
- Not freezing long enough: Impatience is your enemy here. If you pull them out too early, you’ll have a sad, slushy mess instead of a firm, satisfying pop. Give them time!
- Forgetting the sticks: Yes, it happens. You pour, you freeze, you’re excited… then realize you have a block of frozen fruit. Add the sticks *before* freezing! Rookie mistake.
Alternatives & Substitutions
This recipe is super flexible! Don’t have exactly what I listed? No stress.
- Fruit swap: Don’t like berries? Try mango and pineapple for a tropical vibe, or peaches and apricots for a summery dream. Any fruit combo works!
- Liquid liberation: Instead of coconut water, use almond milk for extra creaminess, orange juice for a citrus kick, or just plain old water.
- Sweetener switch-up: Not a honey fan? Agave nectar or even a date or two (blended in!) can work wonders. Or skip it entirely if your fruit is super ripe and sweet.
- Add-ins: Want a bit more? A handful of spinach (you won’t taste it, promise!), a tiny bit of ginger, or even some chia seeds for extra fiber. Get creative!
FAQ (Frequently Asked Questions)
- Q: How long do these bad boys last in the freezer?
A: Generally, 1-2 weeks. After that, they might start getting a bit icy, but they’re usually gone long before then, am I right? - Q: Can I use fresh fruit instead of frozen?
A: Absolutely! Just make sure your banana is ripe for that creamy texture. You might want to add a few ice cubes to the blender if you’re using all fresh fruit to keep it super cold. - Q: My popsicles are too hard/icy, what gives?
A: This often means too much water and not enough creamy ingredients (like banana or yogurt). Next time, up the fruit or yogurt and reduce the liquid a tad. - Q: Are these *really* healthy? Like, actually?
A: Heck yeah! We’re talking natural sugars from fruit, a little protein from yogurt, and no weird junk. Much better than those store-bought ones packed with artificial anything. You’re basically eating a smoothie on a stick! - Q: What if I don’t have popsicle molds?
A: Improvise! Small paper cups or even an ice cube tray (for mini-pops!) can work. Just cover with foil and poke a stick through for support. FYI, they might not look as fancy, but they’ll taste just as good!
Final Thoughts
See? I told you it was easy! Now you’ve got a freezer full of delicious, healthy treats that didn’t require a culinary degree or an hour-long cleanup. Go on, enjoy the fruits of your (minimal) labor. Share them with friends, or hoard them all for yourself – no judgment here! You’ve officially conquered the healthy popsicle game. Now, what’s next?

