So you’re staring into the fridge, craving something green, healthy, and legitimately tasty, but the thought of spending an hour chopping and stirring makes you want to order takeout? Been there, done that, got the stained apron. Today, my friend, we’re diving headfirst into the glorious world of **green beans** – the unsung heroes of quick, healthy, and incredibly versatile side dishes (or main, if you’re feeling feisty). No sad, mushy boiled beans here, I promise. We’re talking vibrant, snappy, flavour-packed goodness that even your picky neighbor might ask for the recipe. Let’s get cooking without taking ourselves too seriously, shall we?
Why This Recipe is Awesome
Okay, let’s be real. This isn’t just “awesome” in the sense of “oh, that’s a nice little side dish.” This recipe is *next-level awesome* because it hits all the sweet spots. First off, it’s ridiculously healthy – hello, fiber and vitamins! Second, it’s so **idiot-proof** even I, who once burned water (true story, don’t ask), can nail it every single time. Seriously, minimal effort, maximum flavor. It’s the culinary equivalent of finding twenty bucks in your old jeans. Plus, it pairs with literally everything – grilled chicken, baked fish, a fancy steak, or just a spoon if you’re feeling extra. You’ll look like a gourmet chef, but your secret is safe with me.
Ingredients You’ll Need
Gather your weapons, chef! Here’s what you’ll need to make magic happen.
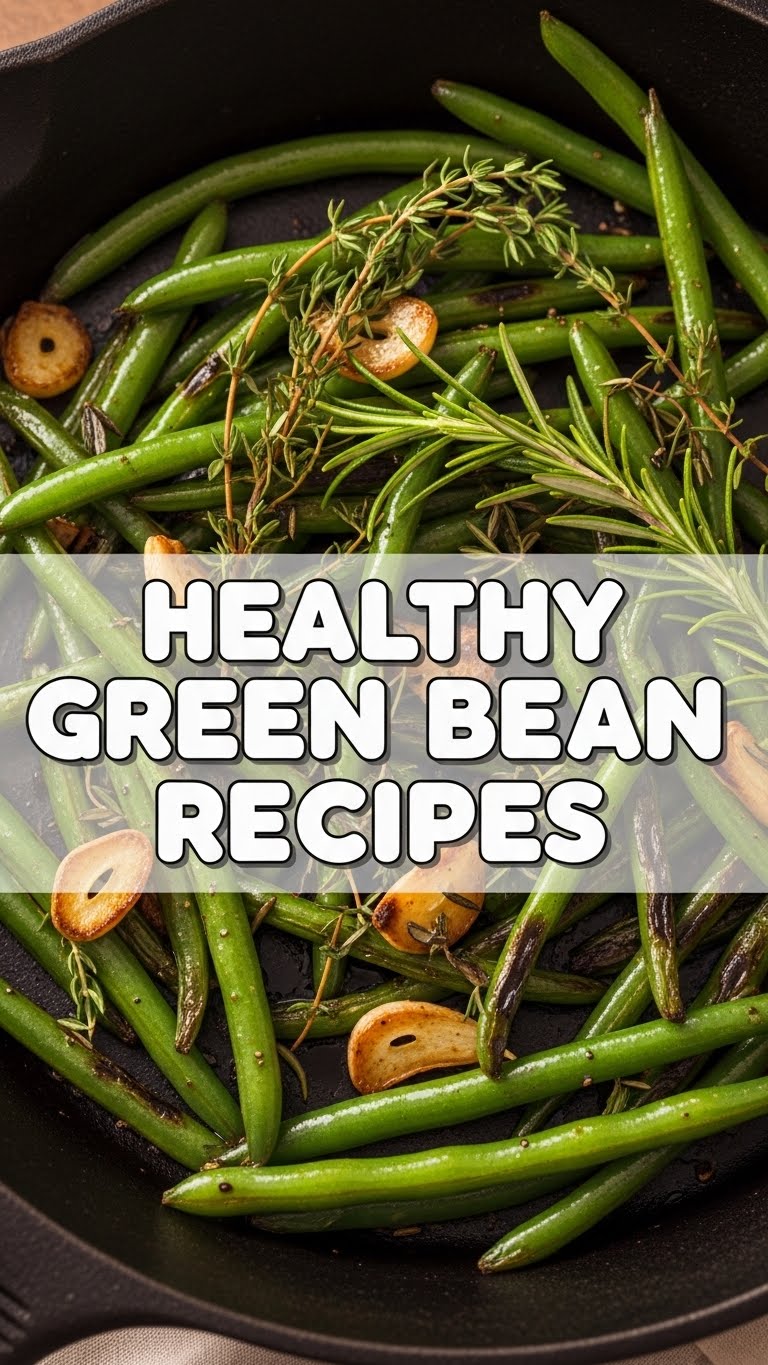
- **1 lb Fresh Green Beans:** The star of our show! Look for bright green, snappy ones. Avoid anything sad or floppy.
- **2 tbsp Olive Oil:** Your trusty sidekick for getting that lovely roast. Extra virgin, if you’re fancy.
- **3-4 cloves Garlic:** Minced or thinly sliced. Because garlic makes everything better. It’s science.
- **1/2 tsp Sea Salt:** Or regular salt, but sea salt just sounds cooler, right?
- **1/4 tsp Black Pepper:** Freshly ground, if you’re feeling bougie.
- **Optional: A squeeze of fresh Lemon Juice:** For that zesty “oomph” at the end.
- **Optional: A sprinkle of Red Pepper Flakes:** If you like a little kick in your pants (and your beans).
Step-by-Step Instructions
Alright, let’s get this party started. Don’t blink, because it’ll be done before you can say “is it dinner yet?”
- Prep Your Beans: First things first, wash those green beauties. Then, trim the tough ends off. You can snap them off with your fingers or be fancy with a knife. Whatever floats your boat.
- Get Roasty-Toasty (or Sauté-y): If you’re roasting, preheat your oven to 400°F (200°C). If you’re sautéing, grab a large skillet and heat it over medium-high heat.
- Toss ‘Em Good: In a large bowl, toss the trimmed green beans with the olive oil, minced garlic, salt, and pepper. Make sure every bean gets some love and a good coating. This is where the flavor magic begins!
-
Cook ‘Em Up:
- **For Roasting:** Spread the beans in a single layer on a baking sheet. Roast for 10-15 minutes, flipping halfway through, until they’re tender-crisp and slightly blistered. Nobody wants mushy beans!
- **For Sautéing:** Add the tossed beans to your hot skillet. Sauté for 5-8 minutes, stirring occasionally, until they’re bright green and tender-crisp. You want a little char, not a complete burn.
- Finishing Touches: Once cooked, transfer the beans to a serving dish. If using, squeeze a little fresh lemon juice over them and sprinkle with red pepper flakes. Give them a quick taste – need more salt? Go for it!
Common Mistakes to Avoid
Listen up, buttercup! Even simple recipes have pitfalls. Don’t be “that” person.
- **Overcooking:** This is the cardinal sin of green bean cookery. Nobody wants sad, gray, mushy beans. Aim for **tender-crisp**, where they still have a little bite. Think of it as a firm handshake, not a limp noodle.
- **Under-seasoning:** Salt and pepper are your friends! Don’t be shy. Taste and adjust. A bland bean is a wasted bean, IMO.
- **Crowding the Pan:** Whether roasting or sautéing, if you pile too many beans into one pan, they’ll steam instead of roast/sauté. That means less delicious char and more mush. Give them space! Use two sheets if needed.
- **Forgetting to Preheat:** Rookie mistake! Always preheat your oven or skillet. It ensures even cooking and those lovely crispy bits.
Alternatives & Substitutions
Feeling adventurous? Or maybe you’re just out of garlic (gasp!). No worries, we can totally improvise!
- **Herbs:** Instead of just garlic, toss in some fresh thyme, rosemary, or dried oregano. Fresh dill and lemon are also a dream team.
- **Nuts & Seeds:** A sprinkle of toasted slivered almonds, pine nuts, or sesame seeds adds amazing crunch and a nutty flavor. So fancy!
- **Cheesy Goodness:** A dusting of grated Parmesan cheese right after cooking is a game-changer. Melty, salty, delicious.
- **Spice It Up:** Besides red pepper flakes, try a pinch of smoked paprika for a smoky depth, or a dash of your favorite hot sauce at the end.
- **Fat Swap:** Avocado oil or grapeseed oil can work if you’re out of olive oil, but honestly, olive oil is king here for flavor.
- **Citrus Boost:** Limes can stand in for lemons, offering a slightly different but equally bright tang.
FAQ (Frequently Asked Questions)
Got questions? I’ve got (casual) answers!
Can I use frozen green beans?
Well, technically yes, but why hurt your soul like that? Fresh is always best for that snappy texture. If you must use frozen, don’t thaw them first! Toss them directly from frozen into the hot pan or oven, just be prepared for a slightly softer texture and maybe a minute or two longer cooking time. Drain any excess water, FYI.
What if I don’t have fresh garlic?
Garlic powder can pinch-hit! Use about half a teaspoon for every clove of fresh garlic. It won’t have quite the same punch, but it’ll get the job done.
How long can I store cooked green beans?
In an airtight container in the fridge, they’ll last about 3-4 days. They’re usually best fresh, though, because reheating can sometimes make them a little softer.
Can I make these ahead for a party?
You can certainly prep them ahead by washing and trimming, then storing them in the fridge. Cook them just before serving for the best texture. If you cook them fully and then reheat, they might lose some of their delightful crispness.
What goes well with these green beans?
Oh, everything! Seriously. Grilled salmon, roasted chicken, a juicy steak, baked potatoes, rice pilaf, quiche… they’re the ultimate versatile sidekick. You name it, these beans are probably friends with it.
Is there a way to make them extra crispy?
Absolutely! For max crisp, make sure your beans are *super dry* before tossing with oil (pat them with a paper towel). Also, don’t crowd the pan and use a slightly higher oven temp (like 425°F/220°C) for a shorter time. Keep an eye on them so they don’t burn!
Final Thoughts
And there you have it, folks! A simple, healthy, and ridiculously delicious way to enjoy green beans without making them boring. You’ve just elevated a humble vegetable into a culinary masterpiece (or at least, a really, really good side dish). Now go impress someone—or yourself—with your new culinary skills. Pat yourself on the back, you totally deserve it. Happy cooking, and remember: life’s too short for bland food!


