So, you’re staring into the fridge, then at the pantry, then back at your couch, craving something yummy and healthy but the thought of a whole cooking saga makes you want to crawl under a blanket? Same, friend, **same**. My “cooking for myself” motto is usually “minimal effort, maximum deliciousness,” and frankly, I expect the same from you. So, let’s whip up some DIY healthy snacks that are so easy, you’ll wonder why you ever paid a fortune for pre-made stuff.
Why These Energy Bites Are Awesome (aka Why You Need Them In Your Life)
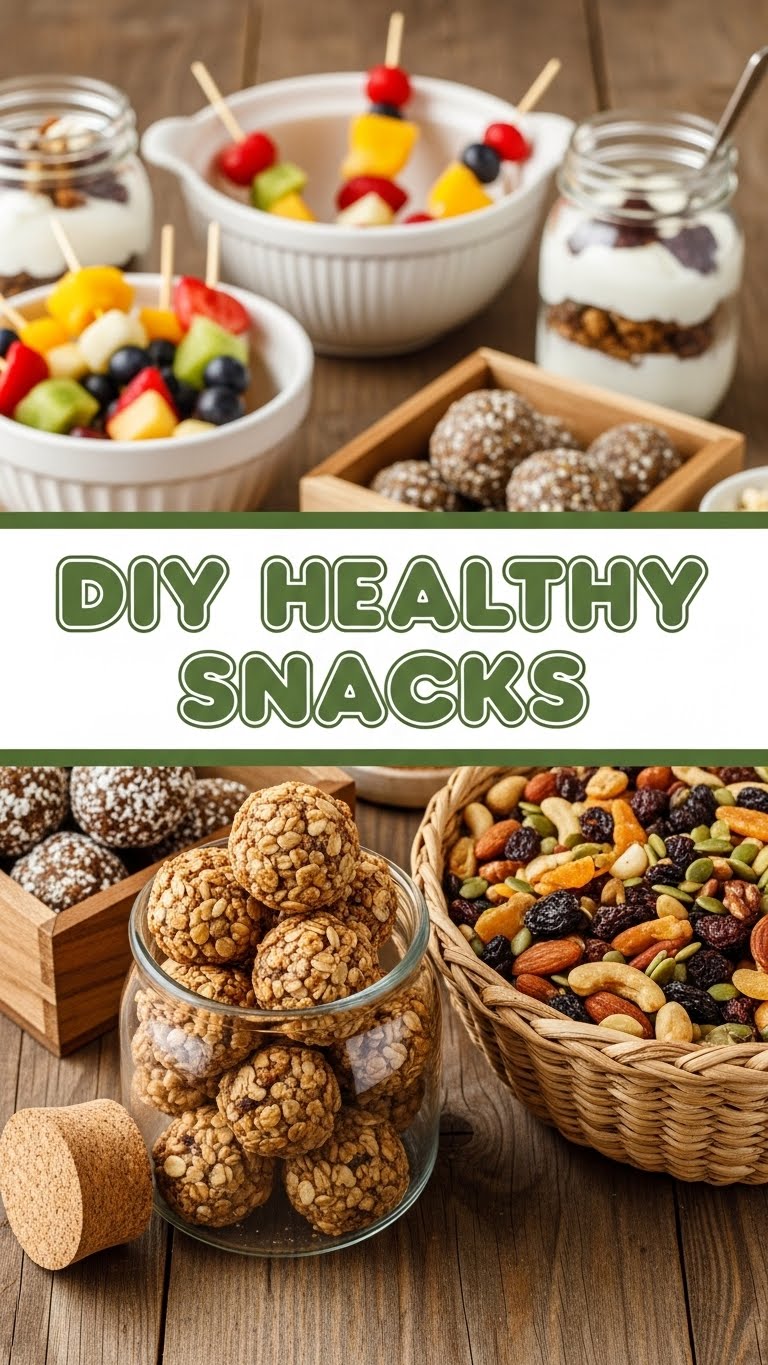
Okay, let’s be real. “Healthy snack” often conjures images of sad celery sticks or a flavorless rice cake. But not today, my friend! This recipe for No-Bake Energy Bites is the superhero of healthy snacking. Why? Because it’s literally **idiot-proof** – and trust me, I’ve put that to the test. You don’t need an oven, any fancy equipment, or even a degree in culinary arts. It’s basically a “dump, mix, roll, chill, eat” situation. Plus, they’re packed with good stuff that’ll keep you going without the dreaded sugar crash. You can totally brag about making these, BTW.
Ingredients You’ll Need (aka The Good Stuff)
Gather your troops! Most of these are probably lounging in your pantry right now. No exotic trips to specialty stores required.
- 1 cup Rolled Oats: The OG of healthy grains. Don’t use instant, unless you want weird mush.
- ½ cup Nut Butter: Peanut butter, almond butter, cashew butter – whatever floats your boat (or spoon). Make sure it’s the natural kind, no added sugar goo.
- ⅓ cup Honey or Maple Syrup: Your choice of natural sweetness. Maple syrup makes ’em vegan, if that’s your jam.
- ¼ cup Chia Seeds: Tiny powerhouses that help bind everything together and make you feel super virtuous.
- ¼ cup Mini Chocolate Chips: Because life without chocolate is just… sad. Dark chocolate makes them “healthier,” right? 😉
- 1 teaspoon Vanilla Extract: For that “I know what I’m doing” flavor boost.
- Pinch of Salt: To balance all that sweetness and make the flavors sing.
Step-by-Step Instructions (aka Let’s Get Rolling!)
- Mix the Dry Stuff: Grab a medium-sized bowl. Toss in your rolled oats, chia seeds, chocolate chips, and that pinch of salt. Give it a quick stir to combine everything evenly.
- Add the Wet Wonders: Now, spoon in your nut butter, honey (or maple syrup), and vanilla extract into the same bowl. Don’t be shy; get all that goodness in there.
- Get Your Mix On: Time for the fun part! Use a sturdy spatula or, honestly, just your clean hands (my preferred method for maximum engagement) to mix everything together until it’s well combined. You want it sticky enough to hold its shape.
- Roll ‘Em Up: Take small spoonfuls of the mixture and roll them into bite-sized balls. Aim for about 1-inch in diameter. Place them on a plate or a baking sheet lined with parchment paper.
- Chill Out: Pop your tray of glorious energy bites into the fridge for at least 30 minutes. This helps them firm up and keeps them from turning into sad, sticky blobs. **Don’t skip this step!**
Common Mistakes to Avoid (aka Learn From My Goofs)
- Not Chilling Them Enough: This isn’t a suggestion, it’s a command! Trying to eat them straight out of the mixing bowl will result in a sticky, messy, somewhat disappointing experience. Give them their fridge time!
- Too Much Liquid: If your mix is super gloopy and won’t form balls, you might have gone overboard on the honey/maple syrup or your nut butter was extra runny. Add a little more oats or chia seeds to thicken it up.
- Forgetting the Chocolate Chips: Seriously, don’t. It’s not a mistake that breaks the recipe, but it definitely breaks my heart. And yours.
- Eating All the Dough: This isn’t a “mistake” in terms of recipe outcome, but you might run out before you even get to the chilling part. Exercise some self-control… if you can.
Alternatives & Substitutions (aka Get Creative!)
This recipe is super forgiving, so feel free to play around. It’s your snack, after all!
- Nut Butter Swaps: Not a peanut butter fan? Almond, cashew, or even sunflower seed butter (for nut-free folks) work great. Each brings its own flavor profile, so experiment!
- Sweetener Shenanigans: Agave nectar or brown rice syrup can totally step in for honey/maple syrup if you prefer. Just keep the ratio similar.
- Boosters Galore: Want more oomph? Add a tablespoon of ground flaxseed for extra fiber, a sprinkle of hemp seeds for protein, or even some shredded coconut for a tropical vibe.
- Chocolate Haters (gasp!): If you’re one of those rare creatures, feel free to swap chocolate chips for dried cranberries, chopped dried apricots, or even some finely chopped nuts.
FAQ (Frequently Asked Questions)
- Can I use instant oats instead of rolled oats?
- Well, technically yes, but why ruin a good thing? Instant oats absorb liquid too quickly and can make your bites mushy. Stick with rolled oats for the best texture, IMO.
- How long do these magical bites last?
- In an airtight container in the fridge, they’ll happily hang out for up to a week. If they last that long, that is.
- Can I freeze them?
- Absolutely! Freeze them on a baking sheet first until solid, then transfer them to a freezer-safe bag or container. They’ll keep for up to 3 months. Just thaw slightly before eating.
- Are these really “healthy”?
- Compared to a candy bar or a bag of chips? Heck yes! They’re packed with fiber, healthy fats, and natural sweetness. Portion control is key, though – they’re delicious, not calorie-free fairy dust.
- My mix is too dry! What do I do?
- Add a tiny bit more nut butter or sweetener, a teaspoon at a time, until it comes together. Sometimes brands vary in consistency, so a little tweaking is totally fine.
- Can my kids help make these?
- OMG, yes! This is the perfect kid-friendly recipe. Mixing with hands and rolling balls are practically universal kid-pleasers. Just supervise the ingredient consumption!
Final Thoughts (aka Go Forth and Snack!)
There you have it! Delicious, healthy, and ridiculously easy energy bites that’ll make you feel like a culinary genius without actually breaking a sweat. So, ditch the packaged junk, save some cash, and whip up a batch (or two!). Now go impress someone – or just yourself – with your new culinary skills. You’ve earned it!


