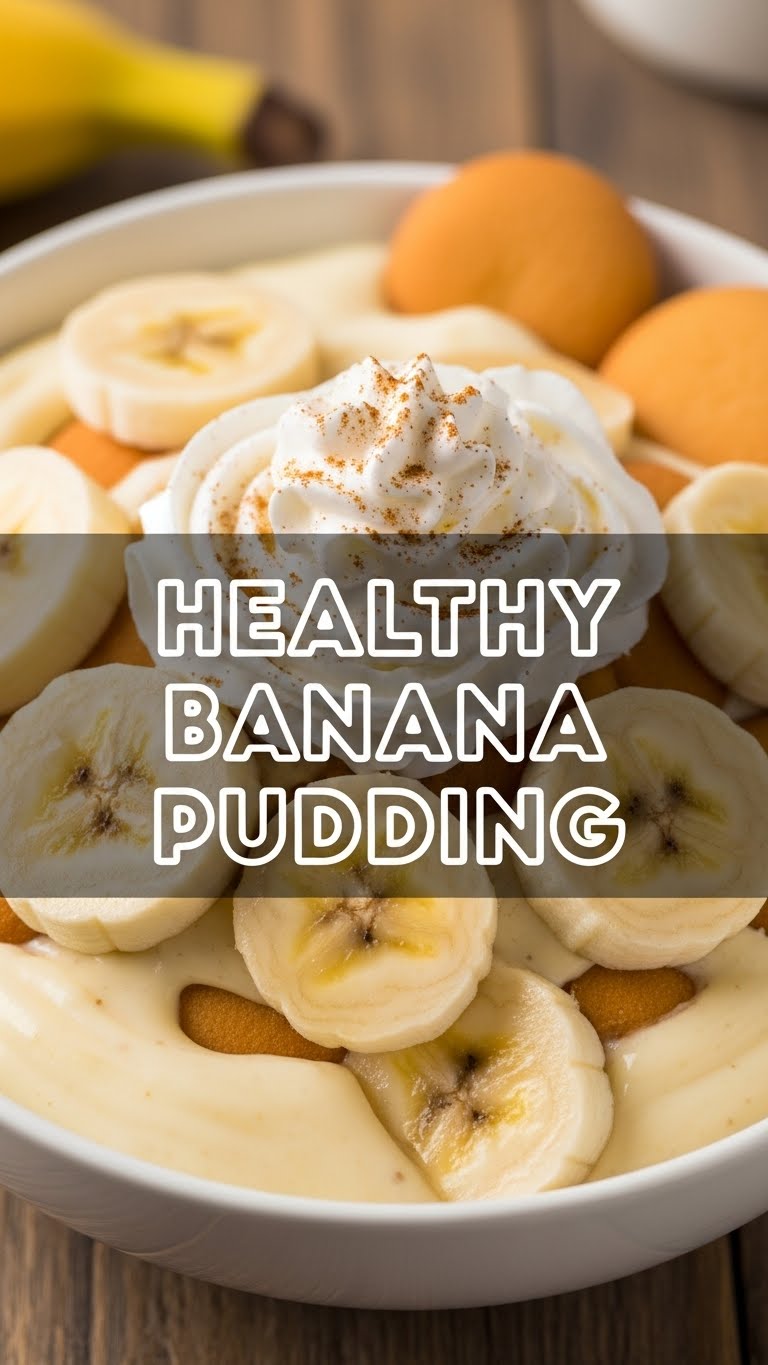
So, you’re scrolling, minding your own business, and suddenly BAM! A craving for something creamy, sweet, and comforting hits you like a rogue banana peel. But also, you kinda want to avoid the sugar coma and the guilt trip afterward, right? My friend, I’ve been there. And that’s exactly why we’re making Healthy Banana Pudding today. Prepare for your taste buds to do a happy dance without needing a nap right after.
Why This Recipe is Awesome
Let’s be real, most banana puddings are basically a sugar bomb disguised as dessert. But this one? It’s like the cool, responsible older sibling who still knows how to party. It’s shockingly easy – seriously, if I can make it without setting off the smoke detector, you definitely can. It’s packed with actual good stuff (hello, bananas!), uses smart swaps for that classic creamy texture without all the heavy cream, and honestly, it tastes so decadent you’ll wonder if you accidentally swapped out the “healthy” ingredients for the “OMG-worth-it” ones. Spoiler: you didn’t. It’s just that good. Plus, it’s a total crowd-pleaser and practically screams “I put in effort!” even when you barely did. Win-win-win, my friend.
Ingredients You’ll Need
- 3-4 Ripe Bananas: The spottier, the better! We’re talking “ready for a tropical vacation” kind of ripe, not “still green and hates fun” bananas.
- 2 cups Plain Greek Yogurt: Full-fat or 2% for maximum creaminess. This is our secret weapon for that thick, luscious pudding texture without the guilt. Don’t skimp here, it’s worth it!
- 1/2 cup Milk: Any milk you prefer – almond, oat, skim, cow’s milk. Just make sure it’s cold.
- 2-4 tablespoons Maple Syrup or Honey: Depending on how sweet your bananas are and how much of a sweet tooth you have. Taste as you go, you rebel!
- 1 teaspoon Vanilla Extract: Essential for that classic pudding vibe. Don’t even think about skipping this.
- 1/2 teaspoon Ground Cinnamon (optional): A little warmth never hurt anyone.
- 1 box Reduced-Sugar Vanilla Wafers or Graham Crackers: Or a healthier cookie crumble of your choice. We need some crunch, right?
- Optional toppings: A few extra banana slices, a sprinkle of granola, or even a tiny dollop of whipped cream if you’re feeling fancy (and less healthy, haha).
Step-by-Step Instructions
- Mash those Bananas: Grab two of your ripest bananas and mash them up in a medium bowl until they’re mostly smooth with a few small chunks for texture. Don’t go full baby food, unless that’s your jam.
- Whip Up the Pudding Base: In another bowl, combine the Greek yogurt, milk, maple syrup (or honey), and vanilla extract. Whisk it all together until it’s smooth and creamy. Taste it! Does it need more sweetness? Add a tiny bit more. You’re the boss.
- Get Layering: Now for the fun part! Find a nice serving dish or individual bowls. Start with a thin layer of crushed vanilla wafers or graham crackers at the bottom.
- Add Bananas & Pudding: Top the cookie layer with a few slices from your remaining banana. Then, spoon a generous layer of your creamy Greek yogurt pudding mix over the bananas.
- Repeat & Chill: Continue layering wafers, banana slices, and pudding until you run out of ingredients or reach the top of your dish. Make sure the top layer is pudding for that perfect aesthetic. Cover it and pop it in the fridge for at least 2 hours, or even better, overnight. This lets all those delicious flavors mingle and the wafers soften just enough.
- Serve & Enjoy: When you’re ready, pull it out, maybe garnish with an extra banana slice or a sprinkle of cinnamon. Then dig in and bask in your culinary genius!
Common Mistakes to Avoid
- Using Underripe Bananas: Seriously, green bananas are for smoothies, not pudding. They won’t mash well, and they lack that natural sweetness. Your pudding will taste… sad. Don’t be sad.
- Skipping the Chill Time: I know, the wait is agonizing. But this isn’t an instant gratification kind of dessert. Letting it chill is crucial for the flavors to meld and the wafers to soften properly. Otherwise, you’ll have crunchy bits and separated layers. Patience, young padawan!
- Using Fat-Free Yogurt: While it sounds “healthier,” fat-free yogurt often lacks the creamy texture and richness needed here. It can make your pudding a bit watery. Go for 2% or full-fat for the best results, trust me.
- Over-mashing the Bananas: A few chunks are good! It adds texture and a fresh banana pop. If you blend it to oblivion, it might get a bit too watery or lose its charm.
- Not Tasting the Pudding Base: You’re in charge of the sweetness! If you don’t taste it before layering, you might end up with something too bland or too sweet for your liking. Be brave, grab a spoon!
Alternatives & Substitutions
- Yogurt Swaps: Not a Greek yogurt fan? You could try a thick, plain dairy-free yogurt (like coconut or almond-based) for a vegan version. Cottage cheese, blended until smooth, is also a surprisingly good (and protein-packed) alternative. Don’t knock it ’til you try it!
- Sweeteners: Agave nectar, stevia, or even a medjool date paste can work instead of maple syrup/honey. Just adjust to your desired sweetness.
- Cookie Power: If vanilla wafers aren’t your jam (or you want to go even healthier), try crushed graham crackers, digestive biscuits, or even a homemade oat crumble. For a gluten-free twist, grab some GF vanilla cookies.
- Add-ins: Feeling adventurous? A scoop of your favorite vanilla protein powder in the pudding base can make this an even more substantial snack. Or a tiny pinch of nutmeg!
- Topping It Up: Beyond bananas, a sprinkle of chopped nuts (pecans or walnuts are divine!), a drizzle of nut butter, or even some shredded coconut can elevate this dessert.
FAQ (Frequently Asked Questions)
- Q: How long does this healthy banana pudding last in the fridge?
- A: Good question! It’s best enjoyed within 2-3 days. After that, the bananas might get a little… mushy, and the wafers might turn to total goo. Still edible, but less pretty, you know?
- Q: Can I make this totally vegan?
- A: Absolutely! Just use a thick, plain plant-based yogurt (coconut or almond are great), plant-based milk, and check that your wafers/cookies are vegan-friendly. Easy peasy lemon squeezy!
- Q: What if my bananas aren’t super ripe?
- A: Well, you could still make it, but the flavor won’t be as intense or sweet, and the texture might be a bit stiffer. Best practice: wait for those glorious brown spots. Patience, my friend, patience.
- Q: Can I use frozen bananas?
- A: For the mashed banana part, yes! Thaw them first, then mash away. For the sliced layers, fresh is definitely better for texture and presentation.
- Q: Can I add other fruits?
- A: You can, but it wouldn’t really be banana pudding then, would it? 😉 But hey, you do you! A few berries or sliced peaches could be interesting, but they might release more water, affecting the pudding consistency. Stick to the banana theme for the best results, IMO.
- Q: Is this actually healthy healthy, or “healthy” healthy?
- A: Okay, fair question! Compared to traditional banana pudding loaded with heavy cream, sugar, and sweetened condensed milk, this is a huge step up. It’s packed with protein from the yogurt, natural sugars from bananas, and you control the added sweetness. So yes, it’s definitely on the healthier side without sacrificing flavor. Enjoy it without the side of guilt!
Final Thoughts
And there you have it! A dessert that’s secretly good for you, ridiculously easy to make, and tastes like a hug in a bowl. Seriously, you just leveled up your dessert game without breaking a sweat (or the calorie bank). Now go impress someone – or yourself, because let’s be honest, you deserve all the good things – with your new culinary skills. You’ve earned it, chef! And don’t forget to tell me how it turned out!


