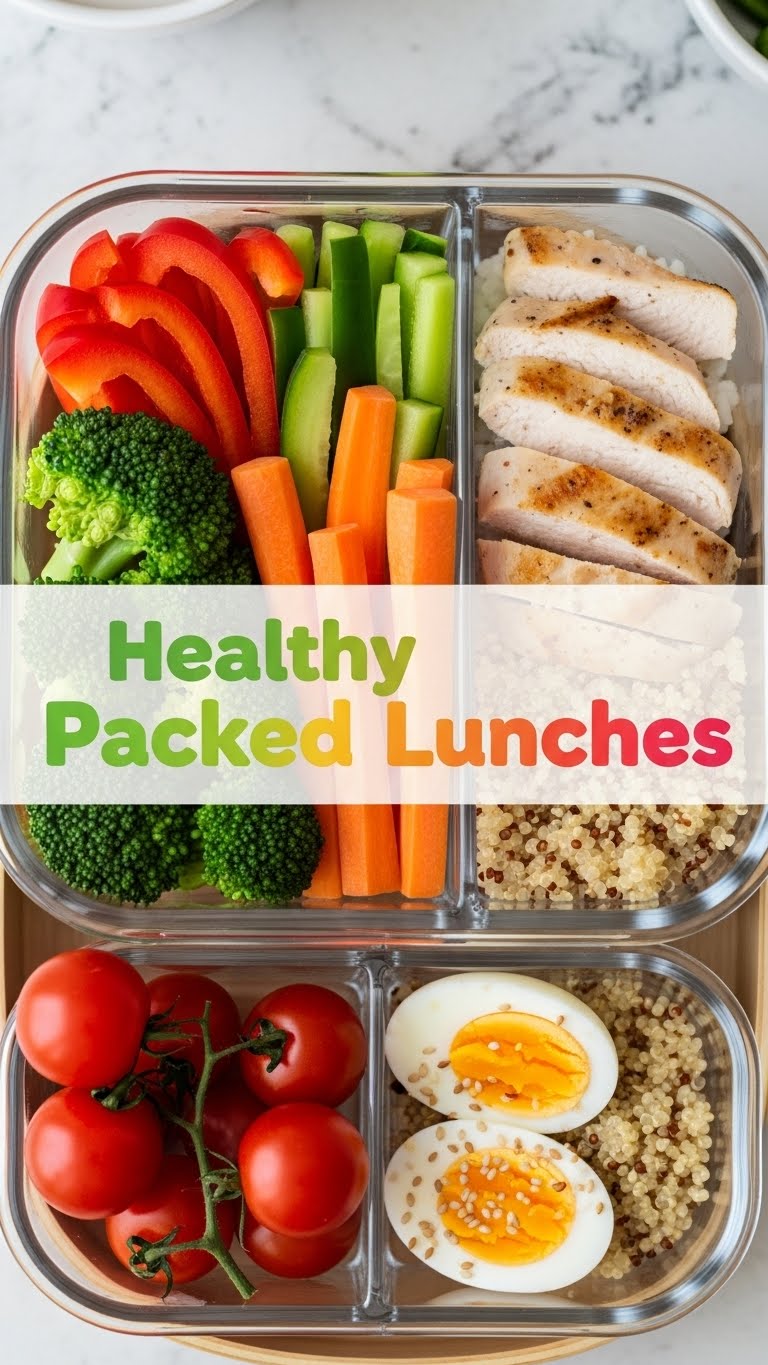
So, you’re staring into the abyss of your fridge, dreading another sad, repetitive packed lunch? Been there, bought the T-shirt, probably wore it with stains from that *last* sad lunch. But what if I told you lunch could actually be… exciting? And healthy? And, wait for it, super easy to prep? Buckle up, buttercup, because we’re about to banish those beige-lunch blues with something so vibrant, your colleagues will be staring with envy (and maybe asking for your secret). We’re talking about the **Layered Mediterranean Power Jar**. Prepare for your tastebuds to do a happy dance!
Why This Recipe is Awesome
Okay, let’s be real. Most “healthy packed lunches” sound like a punishment, right? Not this bad boy! This Mediterranean Power Jar isn’t just healthy; it’s a legitimate flavor explosion in a jar. It’s perfect for meal prepping because it keeps everything crisp and delicious, unlike those tragic soggy salads you’re used to. Plus, it’s pretty. Like, *really* pretty. You’ll actually *want* to eat your lunch, which, IMO, is half the battle won.
It’s also practically **idiot-proof**. If I can layer ingredients without making a monumental mess (most days), you absolutely can too. No cooking skills beyond boiling water and chopping veggies required. Seriously, if you can open a can of chickpeas, you’re practically a gourmet chef for this one!
Ingredients You’ll Need
Get your grocery list ready. These are your future lunch champions:
- **1 cup cooked Quinoa:** Because we’re fancy and healthy. Cook it according to package directions, then let it cool down. No one wants warm salad.
- **1 can (15 oz) Chickpeas:** Rinsed and drained. Our plant-based protein superstars!
- **1 small Cucumber:** Diced. For that refreshing crunch.
- **1 pint Cherry Tomatoes:** Halved. Little bursts of sunshine.
- **1 Bell Pepper (any color!):** Diced. Pick your favorite; I’m a red pepper fan.
- **¼ Red Onion:** Thinly sliced or finely diced. Just a little zing!
- **½ cup Feta Cheese (crumbled):** Optional, but highly recommended for that salty, tangy kick. Don’t skip it unless you *have* to.
- **¼ cup Kalamata Olives:** Pitted and halved. More salty goodness! Again, optional, but olives are life.
- **For the Zesty Lemon Herb Dressing:**
- **3 tbsp Extra Virgin Olive Oil:** The good stuff!
- **2 tbsp Fresh Lemon Juice:** Squeeze that lemon like it owes you money.
- **1 tsp Dried Oregano:** Or fresh, if you’re feeling extra.
- **Salt and Black Pepper:** To taste. Don’t be shy!
- **2-3 Wide-Mouth Mason Jars (16-24 oz):** The stage for our culinary masterpiece!
Step-by-Step Instructions
Alright, let’s build these beauties. Remember, **layering is key** for preventing sogginess!
- **Whisk Up the Dressing:** In a small bowl, combine the olive oil, lemon juice, oregano, salt, and pepper. Whisk it like you mean it until it’s all happy and emulsified. Taste and adjust. Does it need more lemon? More salt? You’re the boss!
- **Divide the Dressing:** Pour 1-2 tablespoons of the dressing into the bottom of each clean Mason jar. This creates a barrier between your wet and dry ingredients. Genius, right?
- **Add the “Hard” Veggies:** Next up, add your diced cucumber, bell pepper, and red onion. These sturdy guys can chill in the dressing without getting mushy.
- **Layer in the Protein & Flavor:** Now, add your rinsed chickpeas, halved cherry tomatoes, and those glorious olives. If you’re using feta, sprinkle it in here too.
- **Top with the Grain:** Finish your layers with the cooled, cooked quinoa. This acts as the final barrier, keeping everything below nice and crisp until lunch. **Make sure your quinoa is completely cool!**
- **Seal and Store:** Screw on the lids tightly. Now, admire your handiwork! Store these beauties in the fridge for up to 4-5 days.
- **Lunchtime Transformation:** When you’re ready to eat, simply shake the jar (to distribute the dressing) or tip it out into a bowl. Voila! Lunch is served, and it’s anything but sad.
Common Mistakes to Avoid
Because nobody’s perfect, and we’ve all been there (usually with a kitchen full of regrettable choices). Here are a few pitfalls to dodge:
- **The Soggy Bottom Blues:** Putting delicate greens or soft ingredients (like tomatoes, if they’re not layered correctly) directly onto the dressing. Nope, no, never! **Always start with sturdy veggies.**
- **Hot Quinoa Catastrophe:** Adding warm quinoa to your jar. This is a one-way ticket to condensation and a mushy mess. **Always let your quinoa cool completely.** Patience, my friend.
- **Over-Dressing Drama:** Drowning your salad in too much dressing. A little goes a long way, especially when it’s at the bottom and gets distributed by shaking. Trust the process.
- **Forgetting the Lid (or not sealing it tightly):** Rookie mistake! Not only will your lunch be everywhere, but air exposure means things go bad faster. **Tight lids are your best friend.**
Alternatives & Substitutions
This recipe is like a choose-your-own-adventure book for your lunch! Get creative!
- **Grain Swaps:** Not feeling quinoa? No problem! Try farro, couscous, bulgur, or even brown rice. Just ensure it’s cooked and cooled.
- **Veggie Power-Ups:** Add whatever crunchy veggies you have lying around. Zucchini, shredded carrots, spinach (layer it right before the quinoa!), roasted sweet potato cubes—the world is your oyster (or, well, your veggie drawer).
- **Protein Boosters:** Want more oomph? Throw in some grilled chicken, baked tofu, a scoop of hummus on top of the quinoa, or even some leftover lentils.
- **Cheese Change-Up:** Not a feta fan? Try goat cheese, crumbled cotija, or even a sprinkle of Parmesan. Or skip the cheese entirely if you’re dairy-free!
- **Dressing Remix:** Bored of lemon-herb? Try a balsamic vinaigrette, a creamy tahini dressing, or a spicy sriracha-lime dressing. Experiment!
FAQ (Frequently Asked Questions)
Got questions? I’ve got (casual, humorous) answers!
- **How long do these magical jars last in the fridge?**
Typically, these beauties will stay fresh for about **4-5 days**. The layering really helps!
- **Can I really use any old jar, or do I *need* Mason jars?**
While Mason jars are ideal for their wide mouth (easier layering!) and tight seal, any jar with a secure lid will do. Just make sure it’s clean and has enough space for all your delicious layers. We’re not snobs here, just efficient!
- **What if I absolutely despise quinoa? Is there hope for me?**
Absolutely! As mentioned in the Alternatives, you can swap quinoa for other grains like farro, couscous, brown rice, or even pasta. Don’t let a quinoa aversion stop you from healthy lunch glory!
- **Is this *actually* healthy, or are you just saying that?**
Yes, my friend, it is genuinely healthy! Packed with whole grains, plant-based protein, and tons of fresh veggies. It’s a nutrient powerhouse designed to keep you full and energized without the post-lunch food coma. So, no, not just saying that. Pinky promise!
- **Can I add something like grilled chicken or tuna? If so, where should it go?**
Definitely! If you’re adding cooked chicken, tuna, or any other meat, I’d suggest adding it on top of the chickpeas/other sturdy veggies, but *below* the quinoa. That way, it stays relatively separate from the dressing until you’re ready to shake it up. Or, if you prefer, pack it separately and add it right before eating!
- **I’m super busy! Can I prep the veggies ahead of time?**
You bet! Chopping all your veggies on a Sunday is a genius move. Just store them in airtight containers in the fridge, and then it’s just a quick assembly line to build your jars throughout the week. #MealPrepGoals!
Final Thoughts
So there you have it! No more sacrificing flavor for health, or your sanity for meal prep. These Layered Mediterranean Power Jars are your new secret weapon against boring lunches. Go forth, chop, layer, and conquer your week! Your tastebuds (and your coworkers’ envious stares) will thank you. Now go impress someone—or yourself—with your new culinary skills. You’ve earned it!


