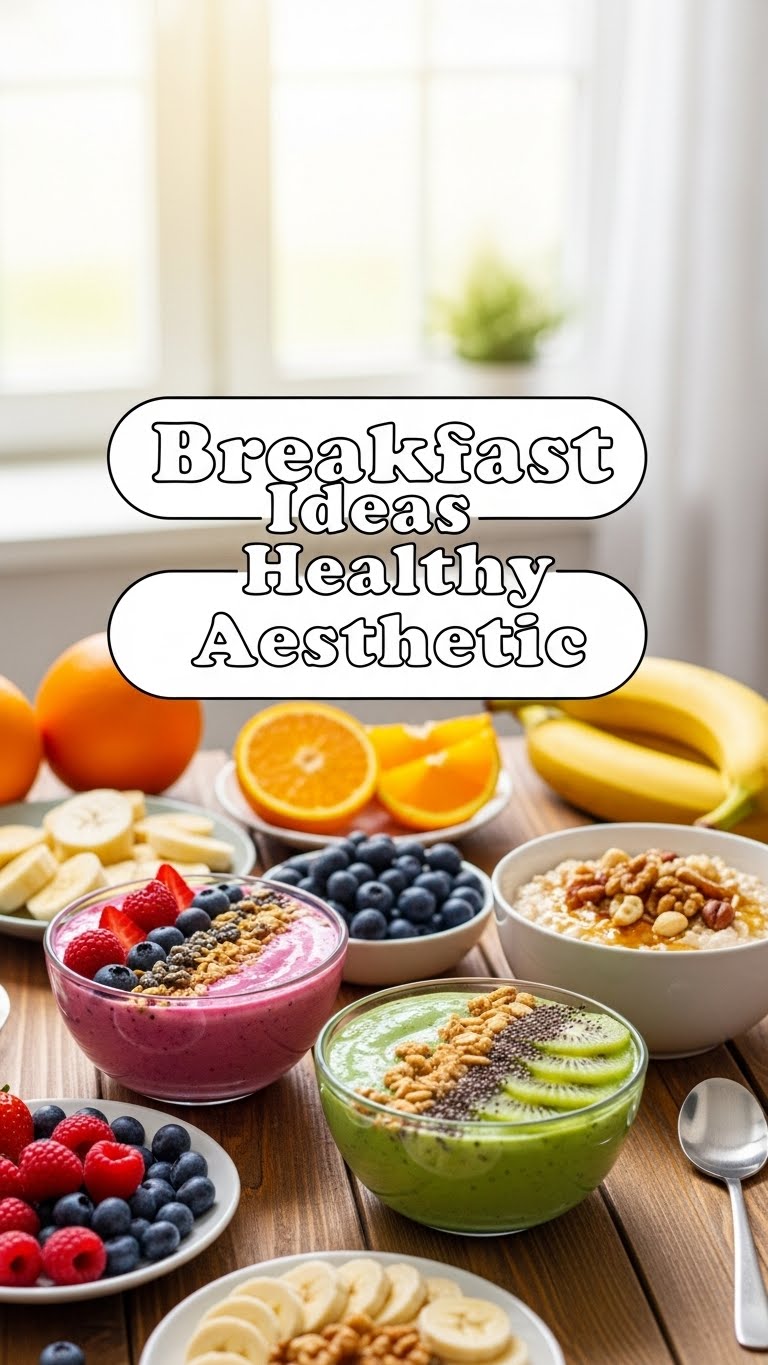
So, you’ve scrolled through Instagram, seen those impossibly perfect, vibrant breakfast bowls, and thought, “Ugh, I wish I could make something that pretty AND healthy without spending an hour in the kitchen.” Right? Same, friend, same. We’re talking delicious, good-for-you, and totally ‘grammable food that doesn’t demand a culinary degree or a wake-up call at 4 AM. Good news: I’ve got a little something that hits all those sweet spots. Get ready to elevate your breakfast game with minimal effort. Your taste buds (and your followers) will thank you.
Why This Recipe is Awesome
Okay, let’s be real. This isn’t just a recipe; it’s a life hack. First off, it’s so embarrassingly simple, it’s practically idiot-proof. Seriously, even my goldfish could probably layer these ingredients if it had opposable fins. (No offense to my goldfish, Bubbles.) Secondly, it’s packed with good stuff: protein, fiber, antioxidants. You’ll feel amazing without feeling like you’re sacrificing taste. And finally, the aesthetic! We’re talking layers of creamy goodness, vibrant berries, and crunchy bits that make you look like you actually tried. It’s a breakfast that says, “I have my life together,” even if you’re still in your pajamas at noon. Plus, it’s super customizable, so you can pretty much use whatever you have lurking in your fridge. Winning!
Ingredients You’ll Need
- Greek Yogurt: About 1 cup per serving. Go for the full-fat, plain kind if you want that creamy, dreamy texture. None of that watery stuff, please; we’re aiming for luxury here.
- Granola: 1/2 cup per serving. Your absolute favorite kind! Crunchy, clumpy, nutty—whatever makes your heart sing. We’re going to give it a little glow-up.
- Mixed Berries: 1/2 cup per serving. Fresh or frozen (thawed, obvs). Strawberries, blueberries, raspberries, blackberries—the more colorful, the better! They’re like nature’s sprinkles.
- Honey or Maple Syrup: 1-2 teaspoons, or to taste. Just a little drizzle to sweeten the deal.
- Optional Fun Stuff: A sprinkle of chia seeds, a handful of chopped nuts (almonds, walnuts, pecans), a few mint leaves for garnish (because we fancy).
Step-by-Step Instructions
- Preheat your oven to 300°F (150°C). This is for our granola’s moment in the spotlight.
- Spread your granola in a single layer on a baking sheet. Don’t overcrowd it! We want crispy, not steamed.
- Pop the granola into the preheated oven for 5-7 minutes. Keep an eye on it—we’re going for lightly toasted and fragrant, not burnt to a crisp. Let it cool completely. This step is a game-changer for crunch!
- Grab your fanciest glass (or just a regular bowl, no judgment). Spoon about half of your Greek yogurt into the bottom.
- Add a layer of those beautiful mixed berries over the yogurt.
- Sprinkle about half of your now-perfectly-toasted granola over the berries.
- Repeat the layers: remaining yogurt, then more berries, and finally, the rest of your crunchy granola.
- Drizzle with a touch of honey or maple syrup. Add any extra optional fun stuff like nuts or chia seeds. If you’re feeling extra, a mint leaf makes it look pro.
- Serve immediately and bask in the glory of your healthy, aesthetic masterpiece!
Common Mistakes to Avoid
- Skipping the Toasted Granola: I know, an extra step. But trust me, toasting your granola makes it incredibly crispy and brings out its nutty flavors. Soggy granola is a sad granola.
- Using Runny Yogurt: Low-fat or non-fat regular yogurt often lacks the thickness to hold up to layers. You want Greek yogurt for that satisfying, creamy texture.
- Not Layering: Just dumping everything in a bowl might taste the same, but it totally ruins the aesthetic. Take the extra 30 seconds to layer; it’s worth it for the ‘gram!
- Over-Sweetening: Greek yogurt and berries have natural tartness, which is part of the charm. Start with a small drizzle of sweetener and add more only if needed.
Alternatives & Substitutions
This recipe is basically a choose-your-own-adventure, breakfast edition! Don’t like one thing? Swap it out!
- Yogurt: If Greek yogurt isn’t your jam or you’re vegan, feel free to use a thick plant-based yogurt like coconut, almond, or soy. Just make sure it’s plain and unsweetened if you’re adding your own sweetener.
- Berries: Any fruit works! Sliced bananas, diced mango, peaches, kiwi—go wild! It’s your parfait, after all.
- Granola: No granola? No problem! Crushed nuts, a mix of seeds (like pumpkin or sunflower), or even some crushed whole-grain cereal can provide that crunch.
- Sweeteners: Besides honey or maple syrup, a touch of agave nectar or even a pinch of stevia would work.
- Protein Boost: Stir a scoop of your favorite protein powder into the yogurt before layering for an extra kick. IMO, vanilla or unflavored works best here.
FAQ (Frequently Asked Questions)
Got questions? I’ve got (casual) answers!
- Can I prep this ahead of time?
You sure can, mostly! Layer the yogurt and fruit the night before and keep it in the fridge. Add the granola right before serving, though, to prevent it from getting soggy. Nobody wants sad granola. - Is this actually healthy?
Yup! Loaded with protein, fiber, and vitamins. As long as you’re not drowning it in a gallon of syrup, it’s a fantastic, balanced start to your day. - What if I don’t have fresh berries?
Thawed frozen berries are totally fine! They might be a bit juicier, which actually creates a lovely swirl of color with the yogurt. Just make sure they’re not icy. - My granola isn’t very flavorful. Help!
That’s where the toasting comes in, my friend! It seriously enhances the flavor. You could also toss it with a tiny bit of cinnamon or a pinch of salt before toasting. - Can I use plain non-fat yogurt?
Well, technically yes, but why hurt your soul like that? Non-fat plain yogurt is usually thinner and less satisfying. The full-fat Greek yogurt is where the texture party’s at, trust me.
Final Thoughts
There you have it! A breakfast that’s healthy, beautiful, and ridiculously easy. You’ve just unlocked a new level of morning glory. So go ahead, whip one up, snap a pic (because, obviously), and enjoy your culinary triumph. You’ve earned it, superstar. Now go impress someone—or yourself—with your new breakfast skills. You’re basically a chef now, FYI.


