So, you’re staring at that empty ice cream tub, guilt slowly creeping in, but your sweet tooth is still screaming for more? Or maybe you’re just craving something ridiculously tasty, ridiculously healthy (mostly!), and ridiculously easy to make. My friend, you’ve stumbled into the right corner of the internet. Let’s make some banana ‘nice’ cream and pretend we’re health gurus, shall we?
Why This Recipe is Awesome
First off, it’s practically a magic trick. You take one ingredient (yes, ONE!), wave your culinary wand (aka a blender), and poof! Healthy, delicious, creamy ice cream appears. It’s so simple, it feels like cheating. Seriously, if I, a person who once burnt water, can make this, anyone can. It’s idiot-proof, even I didn’t mess it up.
Secondly, it’s basically fruit. So, you can totally justify eating it for breakfast. Don’t look at me like that, it’s true! It’s dairy-free, sugar-free (if your bananas are ripe enough), and packed with potassium. Your body will thank you, and your taste buds will throw a party. Win-win, IMO.
Ingredients You’ll Need
- Frozen Bananas: Your star player, the MVP of this show. The riper, the sweeter. We’re talking brown spots galore, almost-too-mushy-to-eat bananas. Peel ’em, slice ’em, and freeze ’em solid. Like, rock hard. No wimpy, slightly chilled bananas here!
- (Optional) A Splash of Liquid: Maybe a tablespoon or two of milk (dairy or plant-based like almond, oat, or soy) or even water. Only if your blender is being dramatic and needs a little help getting things moving. Resist the urge to add more!
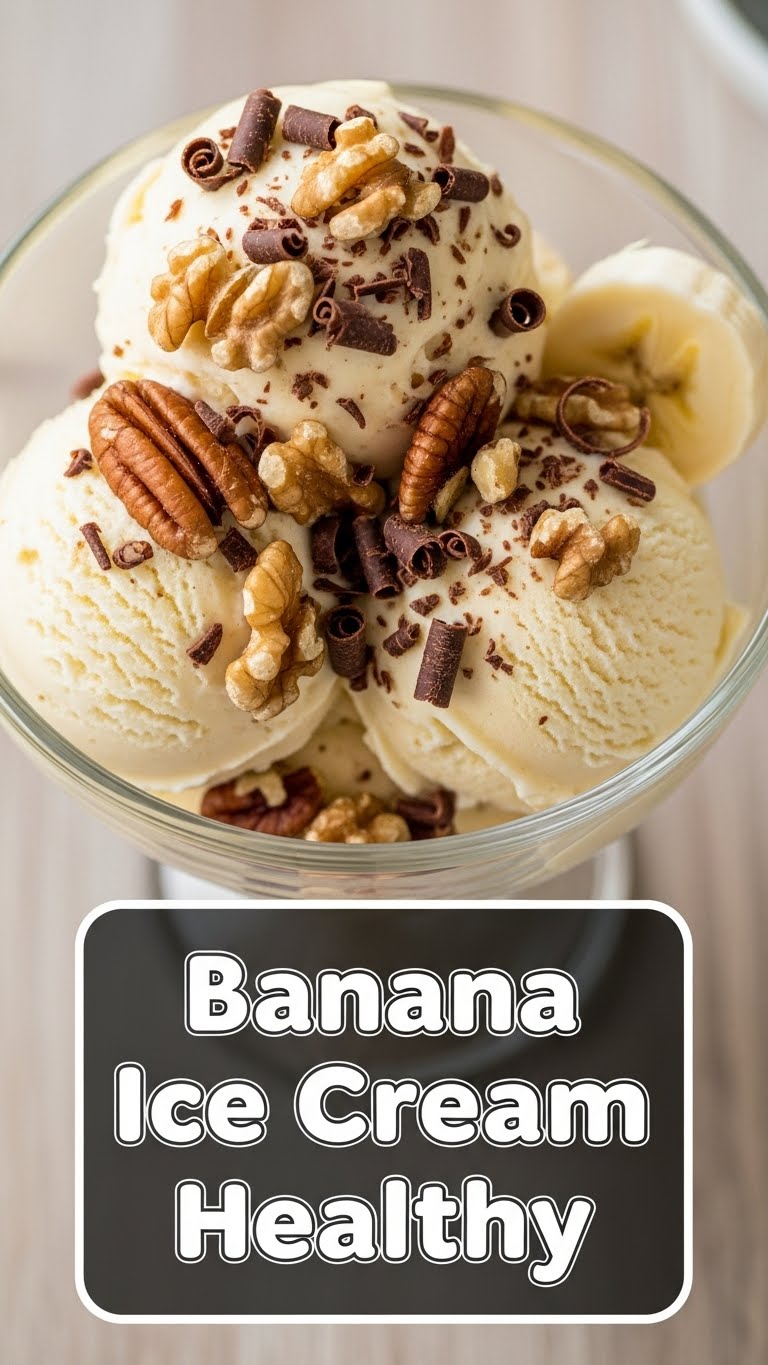
- (Optional) Flavor Boosters: Because sometimes even magic needs a little sparkle. Think cocoa powder for chocolate, a spoonful of peanut butter for nutty goodness, vanilla extract for classic vibes, or a sprinkle of cinnamon for a warm hug.
Step-by-Step Instructions
- Prep Your Bananas for Their Big Chill: This is crucial. Peel and slice those beautiful, ripe bananas. Arrange them in a single layer on a plate or baking sheet lined with parchment paper, then transfer to a freezer-safe bag or container. Freeze for at least 4-6 hours, or preferably overnight. The colder and harder they are, the better your ice cream will be!
- Into the Blender They Go: Once your bananas are frozen solid, toss them into a sturdy high-speed blender or food processor. Don’t be shy.
- Blend, Blend, Blend (and Scrape!): Start blending. At first, it’ll look like a pile of crumbly frozen banana bits. Don’t panic! It’s normal. Stop, scrape down the sides with a spatula, and continue blending. You’ll need to do this a few times.
- Add Liquid (Only if Necessary): If your blender is really struggling and the mixture isn’t coming together, add just 1-2 tablespoons of your chosen liquid. Seriously, start small. The goal is thick, creamy ice cream, not a smoothie.
- Watch the Transformation: Keep blending and scraping. It’ll go from crumbly, to chunky, to thick and paste-like, and then finally, like magic, it will transform into a gloriously smooth, soft-serve ice cream consistency. It’s mesmerising!
- Serve Immediately or Freeze for Later: For that perfect soft-serve experience, scoop it right into a bowl and dig in! If you prefer a firmer, more scoopable ice cream, transfer it to an airtight container and freeze for another 1-2 hours. Beyond that, it’ll get pretty hard and you’ll need to let it thaw for a bit before serving.
Common Mistakes to Avoid
- Using Unripe Bananas: You want those brown-spotted, almost-too-ripe bananas for natural sweetness and best texture. Green ones will give you a bland, possibly chalky result. Don’t do it to yourself.
- Not Freezing Bananas Enough: This is the number one rookie error. If your bananas aren’t frozen solid, you’re making a smoothie, not ‘nice’ cream. Patience is a virtue here.
- Adding Too Much Liquid: It’s tempting to drown a struggling blender in milk. Resist! A little goes a long way. Too much liquid and you’ll end up with a sad, watery milkshake instead of thick, luscious ice cream.
- Underestimating Your Blender: If you don’t have a high-powered blender, you might need to stop, scrape, and blend in shorter bursts to prevent overheating. Give your trusty appliance a break!
Alternatives & Substitutions
This recipe is super versatile, my friend! Once you’ve mastered the basic banana ‘nice’ cream, the world is your oyster (or, well, your freezer).
- Flavor Frenzy: Wanna go chocolate? Add a tablespoon of unsweetened cocoa powder to the blender. Peanut butter addict? A spoonful of your favourite nut butter is divine. Vanilla bean paste, a pinch of instant coffee, a dash of cinnamon, or a swirl of maple syrup (if you need extra sweetness) – just throw ’em in during blending!
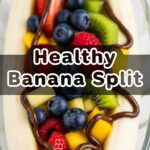
- Fruit Fiesta: While bananas are the MVP for creaminess, you can absolutely add other frozen fruits. Once the banana base is mostly creamy, toss in a handful of frozen berries, mango chunks, pineapple, or even a few pitted cherries. Blend until smooth for a fruity explosion!
- Protein Power-Up: For a post-workout treat, blend in a scoop of your favourite protein powder. It turns it into an even more substantial (and still delicious!) snack.
FAQ (Frequently Asked Questions)
Can I use fresh bananas?
Absolutely not! Well, technically you *could*, but you’d get a banana smoothie, not ice cream. The magic of this recipe relies entirely on the bananas being frozen solid. Don’t skip that step!
Do I need a fancy high-speed blender?
A high-speed blender or a good food processor definitely makes it easier and quicker. However, a regular blender can totally get the job done; you’ll just need a bit more patience, more scraping, and potentially a tiny splash of liquid to help it along. It’s a workout for your blender, but it’s worth it!
How ripe should the bananas actually be?
Think “banana bread” ripe. We’re talking lots of brown spots on the peel, almost-mushy flesh. This ensures maximum natural sweetness and a really smooth, creamy texture. If they’re too green, your ice cream will be bland and a bit starchy.
How long does this ‘nice’ cream last in the freezer?
It’s honestly best eaten fresh, right after blending, for that perfect soft-serve consistency. If you refreeze it, it tends to get quite hard and icy. You’ll need to let it thaw on the counter for 10-15 minutes before it’s scoopable again. So, fresh is best, but refreezing is doable!
Is it *really* healthy?
Compared to traditional ice cream loaded with refined sugar and dairy, absolutely! It’s essentially just fruit, so it’s packed with vitamins and fiber. Of course, adding a ton of chocolate syrup or candy toppings might nudge it out of the “super healthy” category, but hey, you do you!
Can I make a big batch ahead of time?
You can definitely freeze a lot of pre-sliced bananas. But when it comes to blending, I recommend making individual portions as needed. It tastes best fresh, and it only takes a couple of minutes to whip up!
Final Thoughts
See? I told you it was easy peasy banana squeezy! You’ve just created a delicious, guilt-free (mostly!), and ridiculously satisfying dessert with minimal effort. Go ahead, give yourself a pat on the back. Now you’ve got a secret weapon against those late-night sugar cravings that won’t derail your healthy goals.
So go forth, my friend, and impress yourself (and maybe a few lucky others) with your new culinary superpower. You’ve earned it!

