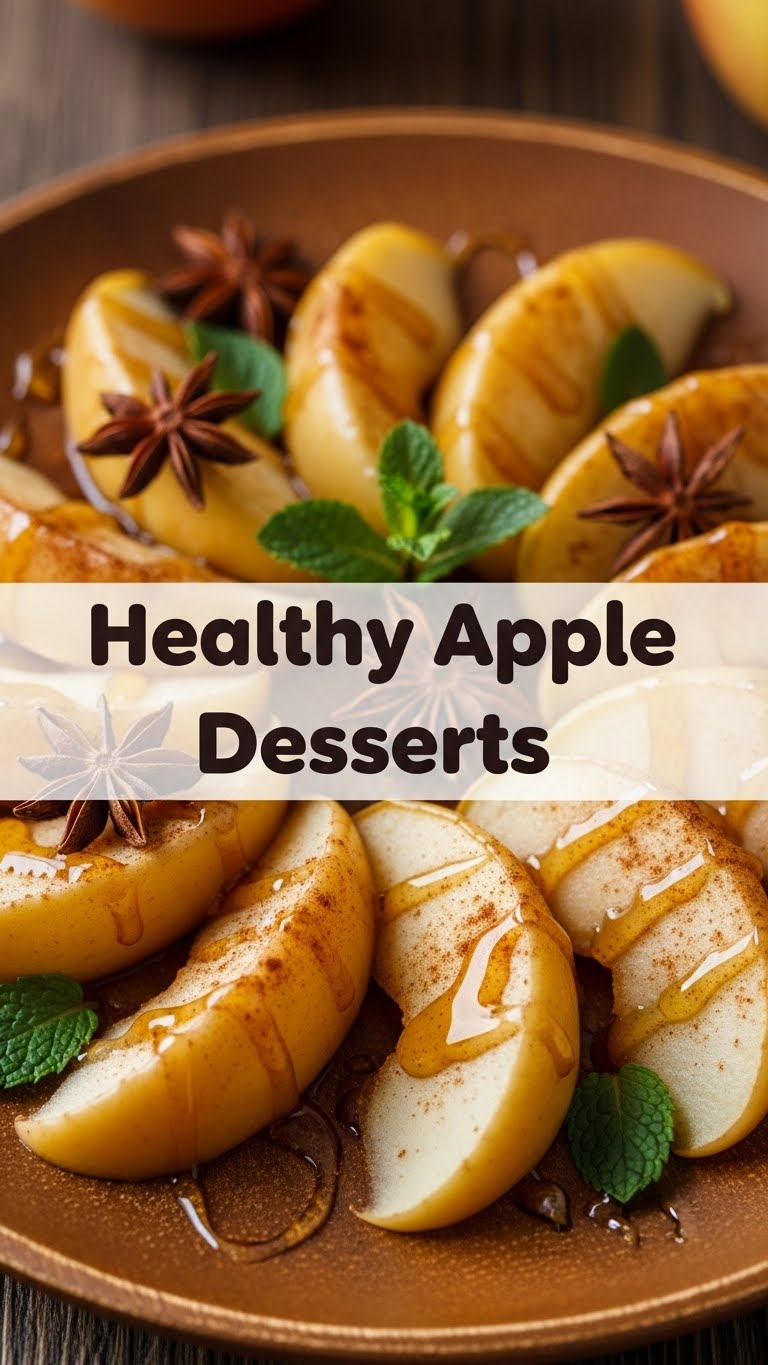
So, your sweet tooth is screaming but your jeans are subtly judging, huh? Been there, bought the bigger size. We all love a good dessert, but sometimes those “good” desserts come with a side of guilt and a spoonful of regret. What if I told you there’s a way to have your apple dessert and eat it too, without feeling like you just ran a marathon… backwards… uphill?
Why This Recipe is Awesome
Because, my friend, this isn’t just a recipe; it’s a lifestyle choice. Okay, maybe that’s a bit dramatic, but seriously, this “Lazy-But-Luxe Apple Crumble Ramekin” is practically magic. It’s:
- Stupidly easy: Even if your culinary skills are limited to boiling water (and sometimes burning that), you can absolutely nail this. It’s idiot-proof, honestly. I even managed it without a kitchen meltdown!
- Healthy-ish: We’re using real fruit, oats, and just a touch of sweetness. It’s like a warm hug for your insides, but without the extra padding on the outside.
- Quick as a wink: From prep to plate, we’re talking under 30 minutes. Perfect for those “I need dessert NOW” emergencies.
- Portion-controlled: Making them in individual ramekins means you don’t accidentally (or intentionally) eat the entire batch. Winning!
Ingredients You’ll Need
Get ready for a grocery list that won’t make your wallet weep. Most of these are probably chilling in your pantry already. Score!
- 1-2 Apples: Any kind works! Granny Smiths for tartness, Honeycrisps for sweetness. Or whatever’s looking forlorn in your fruit bowl.
- 1/2 cup Rolled Oats: The quick kind works too if you’re really in a rush. Avoid instant oats unless you like soggy mush, and who likes soggy mush?
- 1-2 tablespoons Maple Syrup or Honey: Your choice! For that sweet, sweet goodness. Adjust to your desired sweetness level (and guilt tolerance).
- 1 tablespoon Coconut Oil or Butter (melted): Just a little dab ‘ll do ya. Gives that crumble its glorious crunch.
- 1/2 teaspoon Cinnamon: Because what’s an apple dessert without cinnamon? A sad, lonely apple dessert, that’s what.
- Pinch of Salt: Don’t skip this! It makes all the other flavors sing.
- Optional additions: A handful of chopped walnuts or pecans for extra crunch, a splash of vanilla extract for fancy vibes.
Step-by-Step Instructions
Alright, apron on (or not, we’re friends here), let’s get cooking! This is so straightforward, you might wonder if you missed a step. You didn’t.
- Preheat & Prep: Crank your oven to 375°F (190°C). While it’s warming up, grab your apples. Peel, core, and chop them into bite-sized pieces. We’re talking small enough to fit on a spoon, big enough to still feel like an apple.
- Assemble Apple Base: Divide the chopped apples between 1-2 small ramekins or an oven-safe mug. If using one apple, one ramekin is perfect. A dash of cinnamon over the apples never hurt anyone.
- Mix the Crumble: In a small bowl, combine the oats, maple syrup (or honey), melted coconut oil (or butter), a sprinkle of cinnamon, and that crucial pinch of salt. If you’re adding nuts or vanilla, toss them in now. Give it a good stir until everything is nicely coated and looks crumbly.
- Top ‘Em Up: Spoon that glorious crumble mixture evenly over your apples in the ramekins. Don’t be shy; get it all on there.
- Bake It Baby! Pop your ramekins into the preheated oven. Bake for about 15-20 minutes, or until the apples are tender when poked with a fork, and the crumble topping is golden brown and smells absolutely divine. Your kitchen will smell like autumn exploded in the best way possible.
- Serve & Devour: Let it cool for a few minutes (because lava-hot fruit is a no-go), then dig in! A scoop of Greek yogurt, a drizzle of extra maple syrup, or even a tiny bit of vanilla ice cream if you’re feeling extra naughty, makes it even better.
Common Mistakes to Avoid
Look, we all make mistakes. It’s part of the human condition. But let’s try to avoid these rookie errors, shall we?
- Not preheating the oven: Thinking you can just shove it in and hope for the best? Rookie mistake. Your crumble will be sad and soggy, and nobody wants a sad, soggy crumble.
- Over-sweetening: Remember, apples are sweet on their own! Start with less syrup and taste. You can always add more, but you can’t take it away. Unless you’ve got a time machine, which, if so, please share.
- Using instant oats: We discussed this. It’s a texture crime. Don’t do it.
- Skipping the salt: Yes, in a dessert. It balances the sweetness and makes the flavors pop. It’s like the secret weapon of deliciousness.
- Eating it straight from the oven: Unless you enjoy third-degree burns on your tongue, let it cool a bit. Patience, grasshopper.
Alternatives & Substitutions
Feeling adventurous? Or just realized you’re out of something crucial? No worries, we’ve got options!
- Apples: Pears work beautifully here too, or a mix of apples and pears for a textural party. Berries can also be tossed in with the apples for extra zing!
- Sweetener: Brown sugar can totally stand in for maple syrup or honey. Just be mindful of the amount as it can be sweeter. FYI, dates, mashed into a paste, can also work for an even more natural sweetness.
- Fat: Olive oil (light flavor) can replace coconut oil or butter in a pinch. It might slightly change the flavor profile, but hey, improvisation is key!
- Spices: A pinch of nutmeg or a dash of allspice can join the cinnamon party. Cardamom is also a delightful (and slightly unexpected) friend to apples.
- Gluten-Free: Good news! Rolled oats are naturally gluten-free, but check the packaging to ensure no cross-contamination if that’s a serious concern.
- Vegan: This recipe is already practically vegan! Just ensure you use maple syrup (not honey) and coconut oil (not butter). Boom, plant-powered dessert.
FAQ (Frequently Asked Questions)
Got questions? I’ve got (casual) answers!
- Can I use green apples? Absolutely! Granny Smiths are fantastic for a tart contrast to the sweet crumble. It’s a flavor rollercoaster in your mouth.
- Is it good cold? Oh, heck yes! It’s like a whole new dessert. Perfect for breakfast the next day (don’t judge, it has fruit and oats!).
- How long does it keep? Covered in the fridge, it’s usually good for 2-3 days. But honestly, it rarely lasts that long in my house.
- Can I make it in the microwave? You *can*, but the crumble won’t get that lovely golden crispness. It’ll be softer. If you’re really desperate and crunched for time, go for it, but the oven is IMO superior for texture.
- What if I don’t have ramekins? A small oven-safe bowl or even a muffin tin (just watch the baking time, might be shorter) works just fine! Improvise, adapt, overcome!
- Can I add protein powder to the crumble? You rebel, you! Yes, a scoop of vanilla or unflavored protein powder could be mixed into the oat topping. It might make it a bit drier, so you might need an extra splash of liquid.
Final Thoughts
See? You just whipped up a genuinely delicious and healthier apple dessert with minimal fuss. Your sweet tooth is satisfied, your jeans aren’t judging (as much), and your kitchen smells amazing. You’ve earned major bragging rights. Now go impress someone—or yourself—with your new culinary skills. You’ve earned it! Enjoy, my friend!


