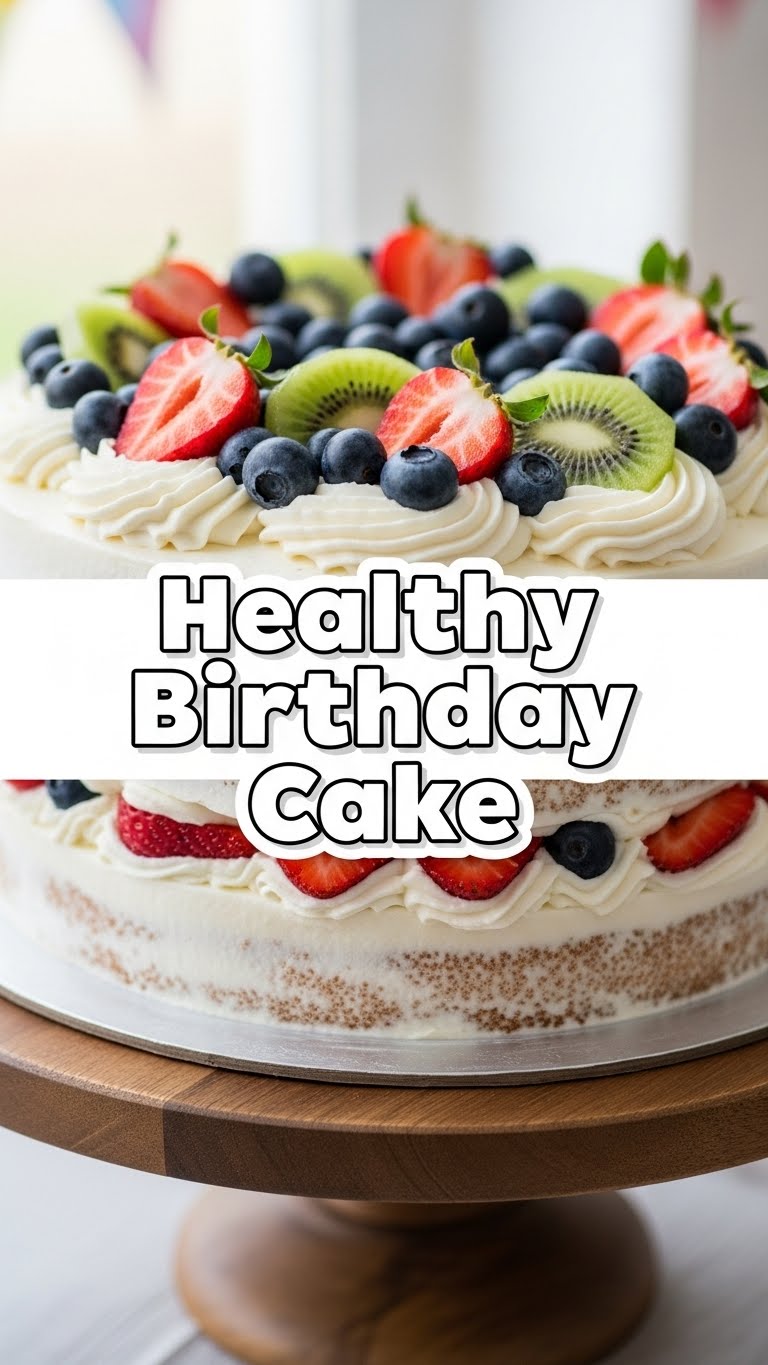
So, another year older, huh? And you want to celebrate with cake, but also, you know, fit into your jeans tomorrow? Totally get it. Forget those rock-hard, bland ‘healthy’ cakes you find at the fancy health food store. We’re making a birthday cake that’s genuinely delicious, surprisingly wholesome, and won’t make you feel like you need a nap (or a detox) immediately after eating it. Think of it as your grown-up, slightly responsible party hat in cake form.
Why This Recipe is Awesome
Okay, let’s be real. This isn’t just *a* healthy birthday cake; it’s *the* healthy birthday cake. Why? Because:
- It’s got all the fluffiness and flavor of a traditional cake without the sugar crash that makes you question your life choices an hour later.
- It’s ridiculously simple. Seriously, if I, a person whose kitchen sometimes looks like a war zone, can pull this off, you absolutely can too. No advanced pastry chef skills required.
- We’re using ingredients that actually do good things for your body, like whole grains and natural sweeteners, without sacrificing the ‘OMG this is cake!’ factor.
- You can customize it like crazy, which means it’s basically a blank canvas for your healthy-ish dessert dreams.
- Your friends will be impressed. Your health-conscious friends will be impressed. Your inner child will definitely be impressed (and probably ask for a second slice).
Ingredients You’ll Need
Gather ’round, my fellow kitchen adventurers! Here’s your loot list for this delightful, slightly less sinful indulgence:
For the Cake:
- 1 ½ cups whole wheat pastry flour (Or half whole wheat, half all-purpose if you’re easing in. No judgment!)
- 1 teaspoon baking soda (Our little magic lifter!)
- ½ teaspoon salt (Enhances all those yummy flavors.)
- ½ cup unsweetened applesauce (Our secret weapon for moisture and cutting down on oil.)
- ¼ cup avocado oil (Or any neutral-flavored oil you prefer. Olive oil might make it taste like salad, so maybe avoid that, LOL.)
- ½ cup maple syrup or honey (Natural sweetness, baby! Adjust to your sweet tooth.)
- 1 teaspoon vanilla extract (Don’t skimp! It’s the soul of the cake.)
- 1 cup unsweetened almond milk (Or any milk you fancy – dairy, oat, soy, they all play nice.)
- 1 tablespoon apple cider vinegar (Sounds weird, but it reacts with the baking soda to make things fluffy. Trust me!)
For the Frosting:
- 8 oz light cream cheese, softened (Take it out of the fridge early, folks!)
- ¼ cup maple syrup or honey (Again, adjust to taste. You’re the boss!)
- 1 teaspoon vanilla extract (More soul!)
- 2-3 tablespoons unsweetened almond milk (To get that perfect spreadable consistency.)
Optional Fun Stuff:
- Fresh berries, lemon zest, or a sprinkle of chopped nuts for decoration.
Step-by-Step Instructions
- Preheat & Prep: First things first, crank that oven to 350°F (175°C). Lightly grease and flour a 9-inch round cake pan (or line with parchment paper for extra insurance. Nobody likes a stuck cake!).
- Dry Mix Magic: In a large bowl, whisk together your whole wheat pastry flour, baking soda, and salt. Give it a good whisk to make sure everything’s evenly distributed.
- Wet Mix Wonders: In a separate, medium-sized bowl, combine the applesauce, avocado oil, maple syrup (or honey), vanilla extract, almond milk, and apple cider vinegar. Whisk it all together until it’s smooth and perfectly blended.
- Combine Forces (Gently!): Pour the wet ingredients into the dry ingredients. Stir *just* until combined. Do not overmix! A few lumps are totally fine; overmixing makes for a tough cake, and we’re aiming for light and fluffy.
- Bake It Till You Make It: Pour your glorious batter into your prepared cake pan. Pop it into the preheated oven and bake for 25-30 minutes, or until a toothpick inserted into the center comes out clean.
- Cool Down: Once baked, let the cake cool in the pan for about 10-15 minutes. Then, carefully invert it onto a wire rack to cool completely. This part is crucial! Seriously, do not rush this step, or your frosting will melt into a sad, sticky puddle.
- Whip Up the Frosting: While the cake is chilling, grab a bowl and beat the softened light cream cheese until smooth. Add the maple syrup (or honey) and vanilla extract, beating until combined. Gradually add the almond milk, one tablespoon at a time, until you reach your desired frosting consistency.
- Frost & Feast: Once the cake is completely cool, spread that delicious, slightly virtuous frosting all over the top. Decorate with your chosen fun stuff, slice it up, and enjoy your healthy-ish masterpiece!
Common Mistakes to Avoid
We’ve all been there, staring at a kitchen disaster wondering “What went wrong?!” Here are a few traps to sidestep on your journey to cake perfection:
- Overmixing the Batter: I know, I know, it’s tempting to keep stirring until it’s silky smooth. Don’t do it! Overmixing develops the gluten too much, leading to a dense, chewy cake instead of a light, fluffy one. Mix just until combined, lumps are your friends!
- Not Cooling the Cake Completely: This is a biggie. If your cake is even slightly warm, your frosting will melt into a runny mess. Exhibit A: My first attempt at a summer cake. Learn from my mistakes!
- Forgetting to Grease/Flour Your Pan: Or lining it with parchment paper. Unless you enjoy prying chunks of cake from the pan, don’t skip this step. Trust me, it’s a sad sight.
- Guessing on Measurements: Especially with baking soda. Baking is a science, not an art, when it comes to leavening agents. Use those measuring spoons!
Alternatives & Substitutions
Feeling adventurous? Or just missing an ingredient? No worries, we’ve got options!
- Flour Power: Want to go gluten-free? Try a 1:1 gluten-free baking blend. Or if you’re feeling extra earthy, oat flour works well too, but it might make the cake a bit denser.
- Sweetener Swaps: Not a fan of maple syrup? Agave nectar or even a good quality stevia blend can work. Just be mindful of the liquid ratio and adjust accordingly.
- Milk It: Any plant-based milk (soy, oat, rice) works perfectly fine here. If you prefer dairy, go for it!
- Oil Alternatives: For an even lighter cake, you can substitute half of the avocado oil with more unsweetened applesauce. Or if you’re out of avocado oil, melted coconut oil (just make sure it’s liquid before adding) is a good stand-in.
- Frosting Fun: For a dairy-free frosting, whip up some chilled full-fat coconut cream (the thick part from a can of coconut milk that’s been in the fridge overnight!) with a little maple syrup and vanilla. It’s dreamy!
- Add-ins: Fold in a handful of fresh blueberries or raspberries into the batter for a fruity twist. Or for a hint of chocolate, some dark chocolate chips (70% cocoa or higher, obvi) wouldn’t hurt anyone.
FAQ (Frequently Asked Questions)
Got questions? I’ve got answers! (Mostly.)
Q: Can I use margarine instead of cream cheese for the frosting?
A: Well, technically yes, but why hurt your soul like that? Light cream cheese gives it that signature tang and creaminess that margarine just can’t replicate. It’s a birthday, treat yourself (responsibly, of course!).
Q: Is this cake *really* healthy?
A: Let’s call it “healthier” or “health-ish.” It’s definitely a step up from a traditional butter-and-sugar bomb, with whole grains, natural sweeteners, and less fat. It’s all about balance, right? You’re not going to regret eating this, IMO.
Q: Can I make this as cupcakes instead?
A: Absolutely! Divide the batter into a lined muffin tin and bake for about 18-22 minutes. Keep an eye on them, as baking times can vary. Cupcakes are super fun for portion control, FYI.
Q: How long does this cake last?
A: Stored in an airtight container in the fridge, it’ll happily last for 3-4 days. But let’s be honest, it probably won’t make it that long!
Q: Do I need any fancy equipment?
A: Nope! Just a couple of bowls, a whisk, and a cake pan. An electric mixer makes frosting a breeze, but a good old hand whisk and some elbow grease will do the trick.
Q: Can I freeze this cake?
A: You sure can! Bake the cake, let it cool completely, then wrap it tightly in plastic wrap and then foil. It’ll keep for up to a month. Thaw it in the fridge overnight before frosting. Frosting can be frozen separately, but it’s best made fresh.
Final Thoughts
There you have it, folks! A healthy birthday cake that tastes like a celebration without the food coma. This isn’t just a recipe; it’s a permission slip to enjoy your cake and eat it too. So go ahead, whip up this beauty, light some candles, and make a wish. You’ve earned this delicious, guilt-free slice of happiness.
Now go impress someone—or yourself—with your new culinary skills. You’ve earned it!


