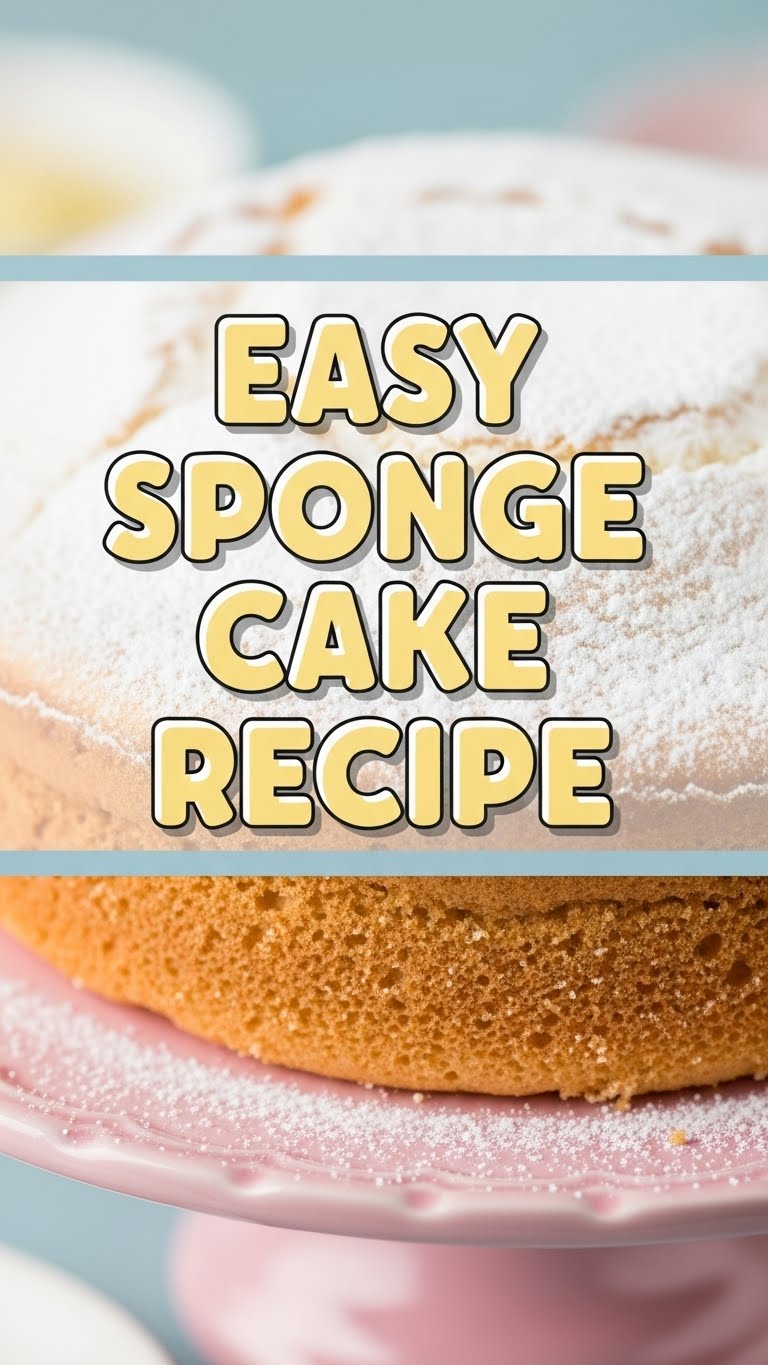
So you’re craving something tasty but too lazy to spend forever in the kitchen, huh? Same. High five! We’ve all been there, staring into the fridge hoping a magical cake will spontaneously appear. Well, spoiler alert: it won’t. But what if I told you that making an incredibly fluffy, utterly delicious sponge cake from scratch is actually, like, ridiculously easy? Forget the fancy patisserie – your kitchen is about to become a sweet, sweet success story. Let’s get baking!
Why This Recipe is Awesome
Seriously, this isn’t just a recipe; it’s a kitchen superpower. We’re talking about a sponge cake that’s so straightforward, you could probably bake it while simultaneously binging your favorite show. (Don’t try that though, fire hazard and nobody wants burnt cake.) It’s got minimal ingredients, maximum flavor, and a fluffy texture that will make you question why you ever bought a store-bought cake. It’s practically **idiot-proof**, even I didn’t mess it up, and trust me, I’ve had some kitchen ‘adventures’. This recipe is your fast-track to impressing everyone (including yourself) with minimal effort. Win-win!
Ingredients You’ll Need
Gather ’round, baking buddies! Here’s what you need to whip up this fluffy dream. No weird, unpronounceable ingredients, just good old pantry staples.
- 3 large eggs: These are your magic fluff-makers. Make sure they’re at room temperature – it helps them whip up beautifully.
- 175g caster sugar: Finer than regular granulated sugar, so it dissolves like a dream, giving your cake that super smooth texture.
- 175g self-raising flour: The lazy baker’s best friend! It already has the leavening in it, so no faffing about with baking powder. If you don’t have it, see the ‘Alternatives’ section.
- 175g unsalted butter: Melted and then cooled slightly. Because who wants scrambled eggs in their cake? Unsalted is best so you can control the saltiness, but salted works in a pinch if that’s all you’ve got.
- 1 tsp vanilla extract: A dash of pure joy, elevating your cake from ‘good’ to ‘OMG, give me more!’
- Optional but highly recommended: Jam and whipped cream for filling. Because a naked cake is a sad cake.
Step-by-Step Instructions
Alright, apron on, game face ready! Let’s make some cake. Remember, short, sweet, and to the point!
- Preheat and Prep: Get your oven going to **180°C (160°C fan/350°F/Gas Mark 4)**. Grease and flour (or line with baking parchment) two 8-inch (20cm) round cake tins. This is crucial unless you enjoy playing “cake vs. pan” tug-of-war.
- Whisk Away! In a large bowl, combine your room-temp eggs and caster sugar. Beat them with an electric whisk on high speed for about 5-8 minutes. You’re looking for a pale, thick, and foamy mixture that doubles in volume. When you lift the whisk, it should leave a ‘ribbon’ trail on the surface that slowly disappears. This is where the magic (and fluffiness) happens!
- Gentle Folding: Sift the self-raising flour over the egg mixture. Now, here’s the key: **fold it in gently** using a spatula or large metal spoon. Use a cutting motion, going down the middle and sweeping up the sides of the bowl. Don’t beat it! We want to keep all that lovely air you just whipped in.
- Butter & Vanilla Love: Gently fold in the melted and slightly cooled butter, and the vanilla extract. Again, gentle, gentle, gentle! You want it just combined, no more.
- Divide and Conquer: Divide the batter evenly between your two prepared cake tins. Give each tin a gentle tap on the counter to level the batter and release any large air bubbles.
- Bake It ‘Til Golden: Pop those tins into your preheated oven. Bake for **20-25 minutes**, or until the cakes are golden brown and spring back when lightly pressed in the center. A skewer inserted into the middle should come out clean.
- Cool Down: Let the cakes cool in their tins for about 5-10 minutes. Then, carefully turn them out onto a wire rack to cool completely. Patience, young grasshopper! Trying to fill a warm cake is a recipe for disaster (and melty cream).
- Fill and Devour: Once completely cool, spread one cake with your favorite jam, then top with a generous layer of whipped cream. Place the second cake on top. Now, go impress someone—or yourself—with your new culinary skills. You’ve earned it!
Common Mistakes to Avoid
Nobody’s perfect, especially in the kitchen, but a little heads-up can save you from a cake catastrophe. Learn from my past (many) blunders!
- Thinking you don’t need to preheat the oven: Rookie mistake! Your cake needs that initial blast of heat to rise properly. Otherwise, it’ll be a sad, dense pancake.
- Overmixing the batter: Once the flour is in, put that whisk down! Overmixing develops gluten, which makes your cake tough and chewy. We want light and airy, not a bread roll.
- Opening the oven door too soon: Patience, young Jedi! The cold air will make your beautiful, rising cake deflate faster than a politician’s promises. Wait until it’s set, usually at least 15 minutes in.
- Forgetting to grease your tin: Unless you enjoy your cake glued to the pan, this is non-negotiable. Don’t skip it!
- Using cold eggs: Eggs whip up much better and incorporate more air when they’re at room temperature. It really does make a difference!
Alternatives & Substitutions
No stress if you’re missing an ingredient or just want to shake things up! This recipe is pretty forgiving.
- Self-raising Flour Substitute: Ran out? No biggie! Just use plain (all-purpose) flour and add **1.5 teaspoons of baking powder** for every 100g of flour. Easy peasy!
- Butter Substitute: You *can* use a neutral-flavored oil (like vegetable or sunflower) for a slightly different texture, but butter gives that classic, rich flavor. IMO, butter is king here.
- Caster Sugar Substitute: Regular granulated sugar will work, but it might not dissolve quite as smoothly, potentially giving your cake a slightly coarser crumb. Not the end of the world, but caster is preferred.
- Flavor Variations: Get creative! Add the zest of a lemon or orange to the batter, a splash of almond extract, or even a tablespoon of cocoa powder for a subtle chocolate sponge. Your cake, your rules!
- Filling Fun: Jam and cream is classic, but why stop there? Try lemon curd, chocolate ganache, fresh berries, or even a simple buttercream frosting. The world is your cake oyster.
FAQ (Frequently Asked Questions)
Got questions? I’ve got (casual) answers!
- Can I use margarine instead of butter? Well, technically yes, but why hurt your soul like that? Butter just tastes better and gives a superior texture. Margarine tends to produce a drier cake.
- My cake sank in the middle! What happened? Ah, the dreaded crater! Usually, it’s either you opened the oven door too early, your oven wasn’t hot enough, or you overmixed the batter after adding flour. Or maybe it was just a Monday.
- How do I know when it’s cooked? A skewer inserted into the center should come out clean. Also, it should look golden and spring back when lightly pressed. If it jiggles like jelly, it’s not ready for its close-up.
- Can I make this ahead of time? Absolutely! Store the unfrosted cakes in an airtight container at room temperature for up to 2-3 days. If you fill it with fresh cream, it’s best eaten within a day or two and kept in the fridge.
- What if I only have one cake tin? No stress! Bake the entire batter in one 8-inch tin. Just know it will take longer to bake (around 30-40 minutes). Once completely cool, you can carefully slice it in half horizontally to make two layers.
- Why is my sponge dry? Probably overbaked, my friend! Keep an eye on it towards the end of the baking time. Every oven is a diva and acts differently. Next time, check a few minutes earlier.
- Do I really need to sift the flour? Yes, please! Sifting helps to aerate the flour and prevents lumps, contributing to that lovely light and even texture in your sponge. It takes an extra minute, but it’s worth it, FYI.
Final Thoughts
So there you have it, folks! Your ticket to fluffy, homemade cake heaven, no culinary degree required. This easy sponge cake is proof that baking doesn’t have to be a daunting task. It’s simple, satisfying, and utterly delicious. Now go on, whip up this masterpiece and share it (or don’t, I won’t judge). Happy baking, and enjoy every single delightful bite!


