So you’re craving something chewy, satisfying, and carb-tastic but too lazy to spend forever in the kitchen, huh? Same, friend, same. Forget those sad, squishy grocery store bagels that taste like cardboard dreams. We’re making real bagels, right in your own kitchen. And guess what? It’s ridiculously easy.
Why This Recipe is Awesome
Okay, let’s be real. Most bagel recipes look like they require a culinary degree and the patience of a saint. Not this one! This recipe is so simple, it’s almost suspicious. You don’t need fancy equipment, just your hands (and maybe a little willpower to not eat them all immediately).
It’s basically idiot-proof, even I didn’t mess it up. Plus, the smell of fresh bagels baking? Chef’s kiss! Your house will smell like a fancy bakery, and you barely lifted a finger. Win-win, IMO.
Ingredients You’ll Need
- Warm Water: About 1.5 cups (around 105-115°F/40-46°C). Not too hot, not too cold. Think a warm bath, not a sauna or a polar plunge.
- Active Dry Yeast: 2 teaspoons. The magic dust that makes things rise! Don’t use expired stuff, trust me.
- Granulated Sugar: 2 tablespoons, plus another tablespoon for boiling. Gives the yeast something yummy to munch on and that classic bagel chew.
- Bread Flour: 3.5 cups, plus more for dusting. Yes, bread flour. It’s got more protein for that perfect chew. Don’t skimp here with all-purpose unless you want a sad, fluffy donut.
- Salt: 2 teaspoons. Essential for flavor! Don’t forget it, or your bagels will be bland AF.
- Baking Soda: 1 tablespoon (for boiling). This is our secret weapon for that glossy, perfectly chewy crust.
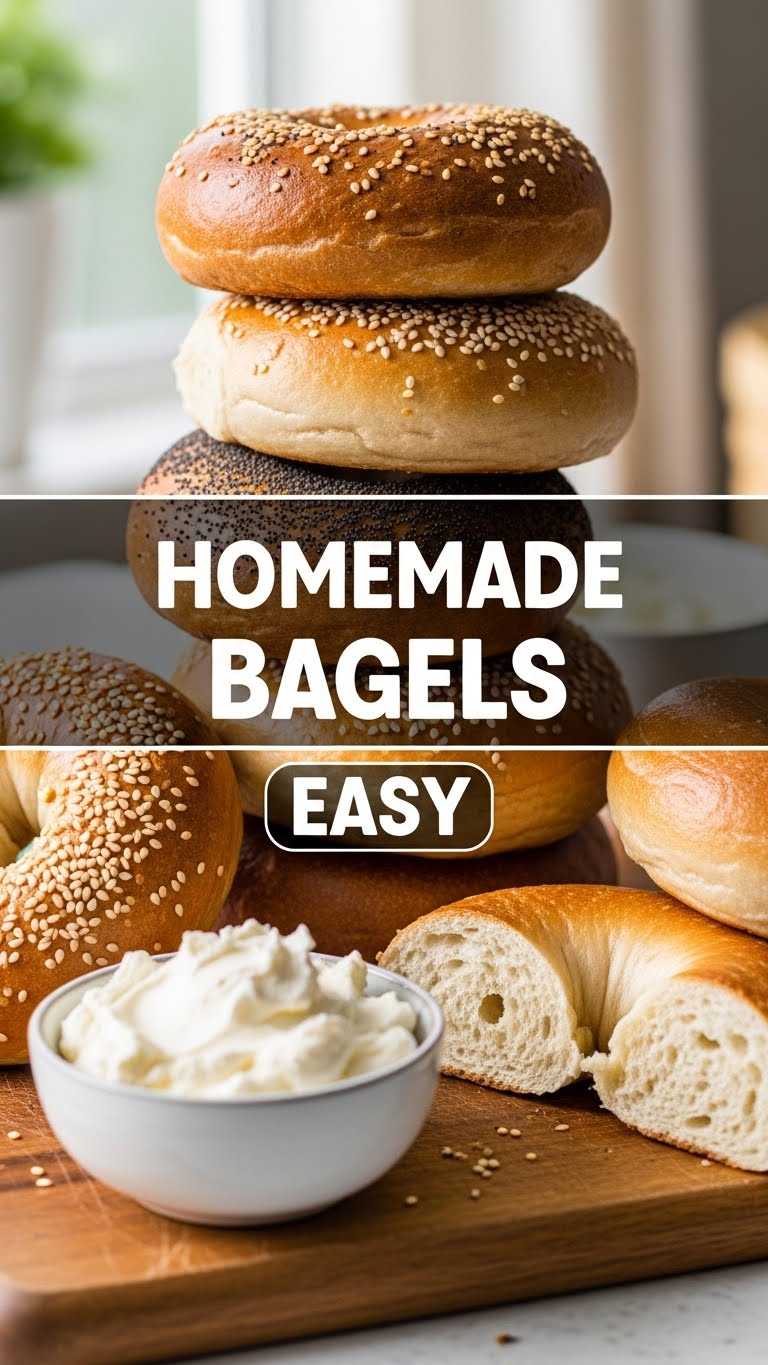
- Optional Toppings: Sesame seeds, poppy seeds, everything bagel seasoning, flaky sea salt. Get wild!
Step-by-Step Instructions
- Activate the Yeast: In a large bowl, whisk together the warm water and 2 tablespoons of sugar. Sprinkle the yeast over the top and let it sit for 5-10 minutes until it gets foamy and bubbly. This means your yeast is alive and ready to party!
- Mix the Dough: Add the bread flour and salt to the yeast mixture. Stir with a wooden spoon or a sturdy spatula until a shaggy dough forms.
- Knead It Out: Turn the dough out onto a lightly floured surface. Knead for about 8-10 minutes until the dough is smooth and elastic. It should spring back when you poke it. Don’t be afraid to put some muscle into it!
- First Rise: Lightly grease the bowl you used earlier, place the dough back in, and turn it to coat. Cover the bowl with plastic wrap or a damp towel and let it rise in a warm spot for about 1 hour, or until roughly doubled in size.
- Shape ‘Em Up: Gently punch down the dough. Divide it into 8 equal pieces. Roll each piece into a smooth ball. Then, poke a hole in the center of each ball and gently stretch it out to form a bagel shape, about 1-1.5 inches in diameter. Pro tip: Make the hole bigger than you think, because it’ll shrink during proofing and boiling!
- Second Rise: Place the shaped bagels on a lightly floured baking sheet or parchment paper. Cover them loosely and let them rest for another 15-20 minutes while you get your boiling water ready.
- Preheat and Boil: Preheat your oven to 425°F (220°C). In a large pot, bring about 8-10 cups of water to a rolling boil. Add 1 tablespoon of sugar and 1 tablespoon of baking soda to the boiling water. This is crucial for that signature bagel texture and shine.
- The Bath: Gently drop 2-3 bagels into the boiling water at a time (don’t overcrowd the pot!). Boil for 30 seconds on each side. Using a slotted spoon, carefully remove the bagels and place them back on the baking sheet.
- Top & Bake: If using toppings, sprinkle them on now while the bagels are still wet from the boil. Bake in the preheated oven for 18-22 minutes, or until golden brown and delicious. Flip them halfway through for even browning.
- Cool & Devour: Let them cool on a wire rack for a bit. If you can resist, that is. Slice, schmear, and enjoy your masterpiece!
Common Mistakes to Avoid
- Using cold or too hot water for yeast: Cold water won’t activate it, too hot will kill it. Like Goldilocks, it needs to be just right.
- Skipping the knead: You might think you can get away with it, but that chewy texture comes from developing the gluten. Don’t be lazy now!
- Not making the hole big enough: Rookie mistake! That hole will shrink. Stretch it out.
- Forgetting the baking soda in the boil: This isn’t just a bath, it’s a magic bath for that shiny crust. Don’t skip it!
- Overcrowding the boiling pot: Give those bagels some space to swim, otherwise, they won’t cook evenly.
- Thinking you don’t need to preheat the oven: Seriously? That’s just setting yourself up for failure. Get that oven piping hot!
Alternatives & Substitutions
Flour Power: While bread flour is king here, if you’re in a pinch, you can use all-purpose flour. Just know your bagels might be a tad less chewy and a bit softer. Still good, but not peak bagel.
Sweetener Swap: Don’t have granulated sugar for the dough? Honey or maple syrup can work in a pinch for activating the yeast (use the same amount). For the boiling water, sugar is pretty standard for that classic flavor, but honestly, it’s more about the texture boost from the baking soda.
Topping Frenzy: No poppy or sesame seeds? Who cares! Try dried minced garlic, onion flakes, or even shredded cheese for a savory twist. Or just leave them plain – a classic for a reason! FYI, Everything Bagel seasoning is always a good idea.
FAQ (Frequently Asked Questions)
“My yeast didn’t foam. Is it dead?” Probably, yeah. If it doesn’t get foamy after 10 minutes in warm, sugary water, your yeast is a goner. Start over with fresh yeast, or your bagels won’t rise. Sad but true.
“Can I skip the boiling step?” Technically yes, but why would you want to? The boil is what gives bagels their signature chewy crust and helps them get that lovely golden color. Skipping it just gives you a round bread roll. Don’t do it!
“My bagels deflated after boiling! What went wrong?” You might have over-proofed them before boiling, or maybe you were a bit too rough handling them. Be gentle, and make sure they haven’t sat too long after shaping.
“How do I store leftover bagels?” Pop them in an airtight container or a large zip-top bag at room temp for 2-3 days. For longer storage, slice ’em up and freeze them. They toast beautifully from frozen!
“Can I make these ahead of time?” Absolutely! After shaping, instead of the second rise, you can stick them in the fridge overnight (covered, of course). The next morning, pull them out while you preheat your oven and water, then proceed with the boiling and baking. A fresh bagel for breakfast? Yes, please!
“Is there a gluten-free version?” While I’m not a GF baking expert, this recipe is designed for gluten. Substituting GF flour would require significant adjustments and might not yield the same chewy results. This one’s for the gluten-lovers, my friend!
Final Thoughts
See? That wasn’t so scary, was it? You just made actual, honest-to-goodness bagels! Now go impress someone—or yourself—with your new culinary skills. Slap on some cream cheese, avocado, lox, or whatever your heart desires. You’ve earned this carb-loaded victory. Now get baking, you magnificent beast!


