So you’re craving something tasty but too lazy to spend forever in the kitchen, huh? Same. We’ve all been there – staring into the fridge, dreaming of an impressive spread but balking at anything that involves, well, *cooking*. If the thought of pots, pans, and actual recipes makes you want to curl up with a bag of chips, then you, my friend, are in the right place. Enter the hero of our story: the super easy, incredibly satisfying charcuterie board. It’s basically adult Lunchables, but like, *fancy* adult Lunchables. Get ready to impress with zero stress!
Why This Recipe is Awesome
Okay, let’s be real, calling this a “recipe” is a bit of a stretch. It’s more of an “assembly guide,” and trust me, it’s a guide anyone can follow. Why is it so awesome? Let me count the ways:
- Zero cooking required: Unless you count opening packages, which I don’t.
- Looks ridiculously impressive: People will think you spent hours, when in reality, you spent about 15 minutes.
- Perfect for any occasion: Last-minute guests? Chill night in? Brunch with friends? This board has your back.
- It’s idiot-proof: Seriously, even I didn’t mess it up, and my biggest culinary achievement last week was not burning toast.
- Highly customizable: Vegetarian? Gluten-free? Picky eaters? No problem! Tailor it to literally anyone.
Ingredients You’ll Need
Think of this as your shopping list for edible art. Don’t be afraid to mix and match; variety is the spice of life (and charcuterie boards!).
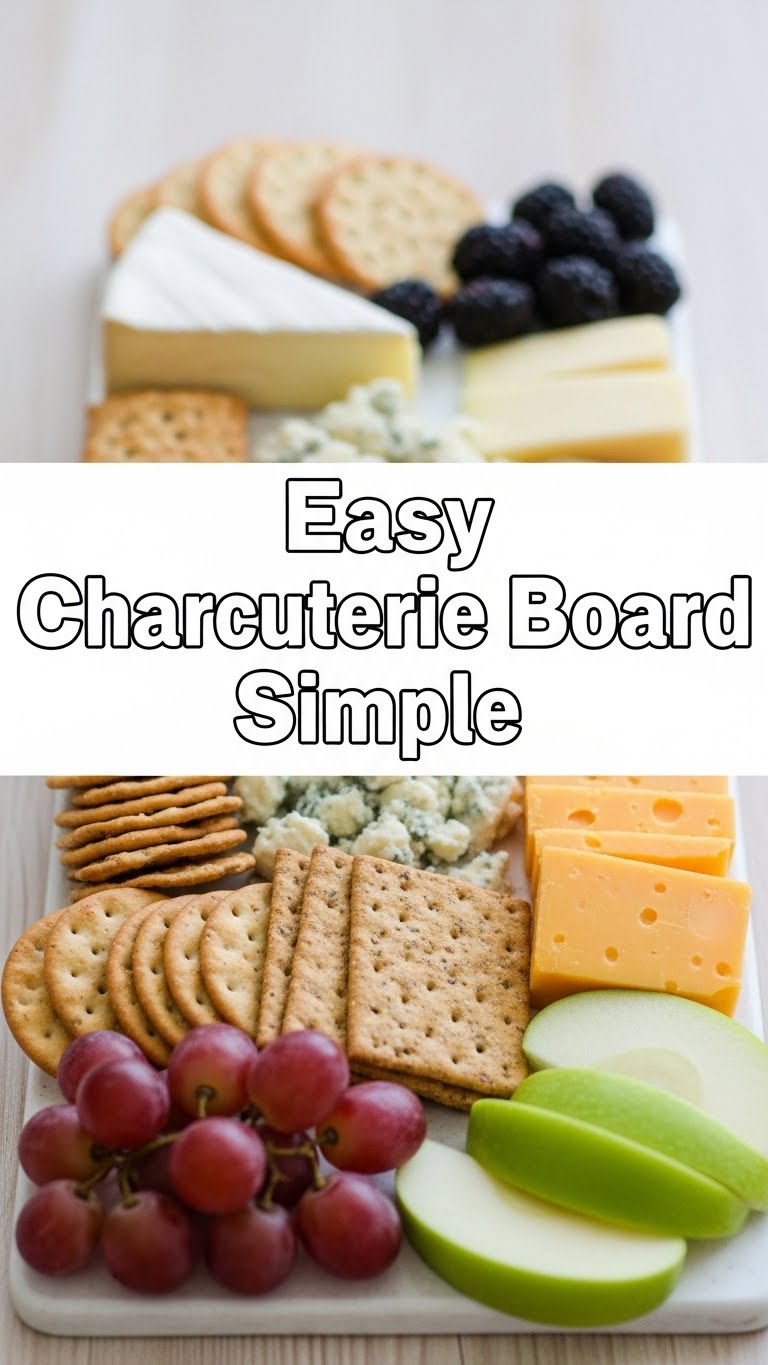
- Cheeses (2-3 types):
- Soft (like Brie or Goat Cheese): Melty, dreamy goodness.
- Hard (like Cheddar or Gouda): Sharp, dependable, crowd-pleaser.
- Funky (like Blue Cheese or a nice sharp aged white cheddar): For the adventurous souls. Don’t be shy, pick a few that speak to your soul (or your budget).
- Cured Meats (2-3 types):
- Salami (hard or soft): A classic for a reason.
- Prosciutto: Thin, delicate, and oh-so-fancy.
- Capicola or Pepperoni: For a little kick! These are your fancy cold cuts, basically.
- Crackers & Bread (various textures):
- Assorted crackers: Water crackers, whole wheat, flavored—mix it up!
- Crusty baguette (sliced): A sturdy vehicle for all that cheesy goodness.
- Fresh Fruit (2-3 types):
- Grapes: Always a winner.
- Berries (strawberries, blueberries): A pop of color and sweetness.
- Apple or Pear slices: A crisp counterpoint. For a refreshing and healthy-ish vibe.
- Olives & Pickles:
- Mixed olives: Briny goodness.
- Cornichons or pickled veggies: That tangy zing every board craves.
- Nuts (1-2 types):
- Almonds, Walnuts, or Pecans: For that satisfying crunch factor!
- Spreads & Dips (1-2 types):
- Honey: Sweet drizzle for cheese.
- Fig jam or other fruit jam: Another sweet companion.
- Dijon mustard: For a savory punch with your meats. These are your secret weapons for extra flavor!
- Optional Garnish: Fresh rosemary sprigs, edible flowers, or a few mint leaves to make it look like you tried harder than you did.
Step-by-Step Instructions
- Grab Your Board: Any flat surface works—a clean cutting board, a fancy platter, even a clean baking sheet in a pinch. The bigger, the better if you’re feeding a crowd!
- Cheese First: Place your cheeses strategically around the board. Cut some into wedges, slice others, leave a block whole for guests to cut themselves. Don’t be afraid to get a little artsy here.
- Meat Mountains: Arrange your cured meats. You can fold them into “roses,” roll them into cylinders, or simply fan them out in little piles. Think “meat roses” if you’re feeling ambitious, or just “meat piles” if you’re feeling real.
- Cracker Corner: Now, artfully arrange your crackers and sliced bread around the cheese and meat. Don’t stack them too neatly; a little beautiful chaos looks more inviting.
- Fruit & Fun: Scatter grapes, berries, apple slices, olives, and pickles in the empty spaces. Fill ‘er up! Aim for splashes of color and texture to make the board pop.
- Sauce it Up: Place small bowls of honey, jams, or mustards directly on the board, nestled among the other items. Add a tiny spoon or knife to each for easy serving. Dip, dip, hooray!
- Nuts & Garnish: Fill in any remaining gaps with your nuts. Then, if you’re feeling extra fancy, tuck in a few sprigs of fresh rosemary or some mint leaves. This little touch makes it look like you actually know what you’re doing.
- Serve & Enjoy: Step back, admire your handiwork, and pat yourself on the back. You did it. Now eat!
Common Mistakes to Avoid
Even though this is super easy, there are a few rookie blunders you might accidentally stumble into. Don’t worry, I’ve got your back!
- Over-Stuffing: Trying to fit *everything* on one tiny board. Less is sometimes more, or better yet, get a bigger board, duh. A crowded board can look messy rather than abundant.
- Lack of Variety: Only picking one type of cheese or meat. Bor-ing! Mix it up, friend. Different textures and flavors are what make a charcuterie board exciting.
- Temperature Trauma: Leaving everything out for hours before serving. No one wants sweaty cheese or warm meat, trust me. Aim to assemble about 20-30 minutes before serving.
- Skipping the ‘Extras’: Thinking the fruit, nuts, or jams are optional. They tie the whole masterpiece together, adding crucial balance and flavor contrasts.
- Not Tasting as You Go: Okay, maybe not a “mistake” but definitely a missed opportunity to ensure everything is delicious. 😉
Alternatives & Substitutions
The beauty of a charcuterie board is its flexibility! Don’t have something on the list? No worries, get creative!
- Cheese Swaps: Not a fan of Brie? Try a creamy Burrata or a tangy Feta. Can’t find Gouda? Provolone or Havarti are great mild options. Honestly, whatever cheese makes your heart sing is fair game.
- Meat Alternatives: Think outside the salami box! Leftover roasted chicken slices, smoked salmon, or even some good quality pepperoni are fantastic. For a vegetarian board, skip the meat entirely or add some plant-based deli slices.
- Cracker Creativity: Pretzels, pita bread (toasted or soft), breadsticks, or even veggie sticks (cucumbers, carrots, bell peppers) are excellent alternatives. Gluten-free? There are tons of great GF cracker options out there!
- Fruit Fun: Dried apricots, figs, dates, or even small bowls of fruit preserves can work wonders if fresh fruit isn’t available or in season.
- Dip Diversity: Hummus, pesto, olive tapenade, or a creamy spinach dip can add another layer of flavor and texture. Your board, your rules!
- Theme Your Board: Feeling extra? Make it Italian with focaccia and olives, or Spanish with chorizo and Manchego. The possibilities are endless, my friend!
FAQ (Frequently Asked Questions)
Got questions? I’ve got answers (and probably a few jokes).
- How much should I buy for my board?
Rule of thumb: 2-3 ounces of cheese and meat per person if it’s an appetizer. But honestly, I always overbuy. More is more, right? You can always save leftovers for fancy sandwiches later. - Do I need a special charcuterie board?
Nah! A clean cutting board, a stylish platter, a large dinner plate, or even a sheet of parchment paper on a table works. It’s the contents that matter, not the vessel, my friend. - Can I prep this ahead of time?
Partially! You can pre-slice cheeses, wash and cut fruit, and arrange your dips in small bowls. But for peak freshness (and to avoid soggy crackers), assemble the meats, crackers, and nuts closer to serve time. Nobody wants soggy crackers, FYI. - What if my friends are picky eaters?
Include some ‘safe’ options like mild cheddar and plain crackers. But also, gently nudge them to try new things! It’s an adventure for their taste buds, and who knows, they might discover a new favorite. - Is this a meal or an appetizer?
That’s the beauty of it! It can be either. For a light, fun dinner, it’s perfect. For a party, it’s an excellent starter that encourages mingling. You decide what kind of culinary experience you’re going for! - Any budget-friendly tips for building a board?
Absolutely! Hit up the discount cheese bin at your grocery store, buy store-brand crackers, and focus on seasonal fruits. You can also make your own dips like hummus to save a few bucks. It doesn’t have to break the bank to look fancy! - Can I add sweet items to my charcuterie board?
Heck yeah! A small bowl of chocolate-covered nuts, some gourmet cookies, or even a few squares of dark chocolate can be a fun addition. Balance is key, but so is indulgence!
Final Thoughts
See? I told you it was easy! You just created a masterpiece without even turning on the stove. This isn’t just food; it’s an experience, a conversation starter, and frankly, a brilliant excuse to eat a little bit of everything. You’ve officially mastered the art of elegant laziness. So go ahead, pat yourself on the back. Now go impress someone—or yourself—with your new culinary skills. You’ve earned it, my friend!


