So you’re craving something tasty, packed with goodness, but you’re too lazy to spend an hour (or five) in the kitchen, huh? Same, friend, *same*. We’ve all been there: that post-workout hunger, the 3 PM slump, or just the pure, unadulterated need for a chocolate fix that also makes us feel like we’re being responsible adults. Fear not, my culinary-curious pal, because I’m about to drop the recipe for the easiest protein balls known to humanity. Get ready to have your mind (and stomach) blown!
Why This Recipe is Awesome
Let’s be real: this recipe is basically magic. First off, it’s a **no-bake wonder**. That means no oven preheating, no burnt fingers, and definitely no “did I leave the oven on?” panic attacks. Secondly, it comes together faster than you can say “protein power-up.” Seriously, we’re talking minutes, not hours. It’s so idiot-proof, even I didn’t mess it up, and my track record with anything more complex than toast is… spotty, to say the least. Plus, they’re packed with protein, customizable, and taste like a treat. What’s not to love?
Ingredients You’ll Need
Gather ’round, buttercups! Here’s what you’ll need to whip up these little spheres of deliciousness. Don’t worry, no obscure ingredients that require a quest to a distant specialty store.
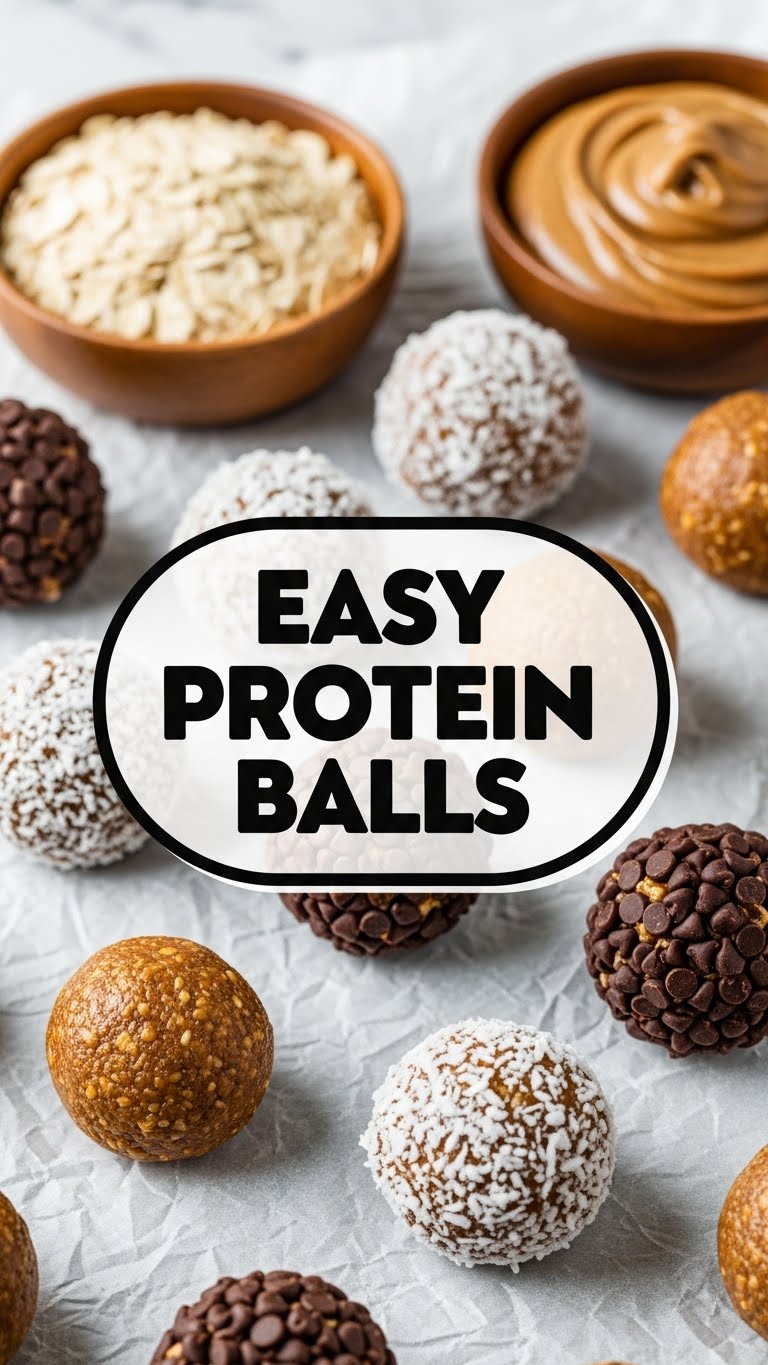
- 1 cup Rolled Oats: The base of our masterpiece. Don’t get fancy with instant oats unless you like your balls a bit mushy.
- ½ cup Peanut Butter: The sticky, glorious glue that holds it all together. Creamy is usually best for texture, but crunchy works if you like a little extra *oomph*.
- ½ cup Vanilla Protein Powder: Your muscle-building superstar! Any brand will do, but a good-tasting one makes a world of difference, **IMO**.
- ¼ cup Honey or Maple Syrup: The sweet stuff! Use whichever you prefer. Maple syrup gives a slightly different flavor profile, but both are excellent.
- ¼ cup Chocolate Chips (mini preferred!): Because life’s too short not to have chocolate. Mini chips disperse better, but regular ones are fine too. Or skip ’em if you’re feeling virtuous (but why?).
- 2-4 tablespoons Milk (any kind!): Your secret weapon for perfect consistency. Start with less and add more if needed.
- Pinch of Salt: Just to enhance all those lovely flavors. Don’t skip it!
Step-by-Step Instructions
Okay, put on your metaphorical chef’s hat (or just roll up your sleeves). This is going to be so easy, you’ll wonder why you ever bought those overpriced store-bought ones.
- Grab a Big Bowl: Seriously, get a decent-sized one. You’ll be mixing a lot of good stuff in there.
- Combine Dry Ingredients: Toss in the rolled oats, protein powder, and that pinch of salt. Give it a quick stir to get them acquainted.
- Add Wet Goodness: Now, add your peanut butter, honey (or maple syrup), and those glorious chocolate chips to the bowl.
- Mix, Mix, Mix! Start stirring everything together. It’s going to look a bit dry and crumbly at first. Don’t panic!
- Introduce the Milk: Add 2 tablespoons of milk. Mix thoroughly. If it still looks too dry or isn’t coming together into a dough-like consistency, add another tablespoon. Keep adding, one tablespoon at a time, until it forms a dough that you can easily roll into a ball without it crumbling apart. It should be sticky, but manageable.
- Roll ‘Em Up: Take small portions of the mixture (about a tablespoon each) and roll them between your palms into cute little balls. They should be roughly golf-ball sized, or whatever size your heart desires!
- Chill Out: Place your newly formed protein balls on a plate or baking sheet lined with parchment paper. Pop them into the fridge for at least 30 minutes. This helps them firm up and keeps them from turning into a sticky mess.
- Enjoy! Once chilled, grab one (or three, I’m not judging!). Store the rest in an airtight container in the fridge for up to a week.
Common Mistakes to Avoid
Even though this recipe is practically foolproof, there are a few rookie errors you can dodge to ensure peak protein ball perfection:
- Not Chilling Them Enough: Impatience is a virtue sometimes, but not here. **Don’t skip the chilling step!** If they’re too warm, they’ll be soft, sticky, and hard to handle.
- Adding Too Much Liquid Too Soon: Remember when I said add milk one tablespoon at a time? I meant it! Too much milk turns your beautiful dough into a sticky, unmanageable goo. It’ll still taste fine, but good luck rolling it!
- Ignoring the Pinch of Salt: A little salt seriously balances the sweetness and enhances the overall flavor. Leaving it out makes them taste a bit flat. Don’t be that person.
- Using the Wrong Protein Powder: While “any brand will do,” a really awful-tasting protein powder will make really awful-tasting protein balls. Choose wisely, young padawan.
Alternatives & Substitutions
Feeling adventurous? These balls are super forgiving! Here are some ideas to mix things up:
- Nut Butters: Not a peanut butter fan? Swap it for almond butter, cashew butter, or even sunflower seed butter for a nut-free option. The texture might vary slightly, but they’ll still be delicious.
- Sweeteners: Try agave nectar instead of honey or maple syrup. Just remember to adjust for sweetness as they all vary slightly.
- Protein Powder: Chocolate protein powder instead of vanilla? Go for it! Unflavored protein powder? You might want to add a little extra sweetener or a splash of vanilla extract.
- Mix-Ins Galore: This is where the fun really begins! Add shredded coconut, chia seeds, flax seeds, hemp seeds, dried cranberries, chopped nuts, a dash of cinnamon… the world is your protein ball oyster!
FAQ (Frequently Asked Questions)
- “Can I use instant oats instead of rolled oats?” Well, technically yes, but why hurt your texture like that? Instant oats soak up liquid faster and can make your balls a bit mushy. Stick to rolled for the best results, **FYI**.
- “How long do these last in the fridge?” In an airtight container, they’re good for about a week. If they last that long, that is! You can also freeze them for up to a month.
- “My mixture is too sticky, what do I do?” Add a little more rolled oats or protein powder, a tablespoon at a time, until it firms up. Or, if it’s too late, just embrace the sticky mess and eat it with a spoon. No judgment here!
- “Can I make these vegan?” Absolutely! Use a plant-based protein powder, maple syrup (not honey), and dairy-free chocolate chips. Boom, vegan protein balls!
- “What if I don’t have a specific ingredient, like chocolate chips?” Relax, it’s not the end of the world. These balls are super versatile. Leave ’em out, add something else, or just make a plain batch. They’ll still be tasty.
Final Thoughts
So there you have it, your new go-to recipe for when hunger strikes and time is short. These easy protein balls are a game-changer, whether you’re fueling up for a workout, needing a quick snack, or just want something sweet that doesn’t scream “sugar overload.” Now go impress someone—or yourself—with your new culinary skills. You’ve earned it! Seriously, go make ’em, you won’t regret it!


