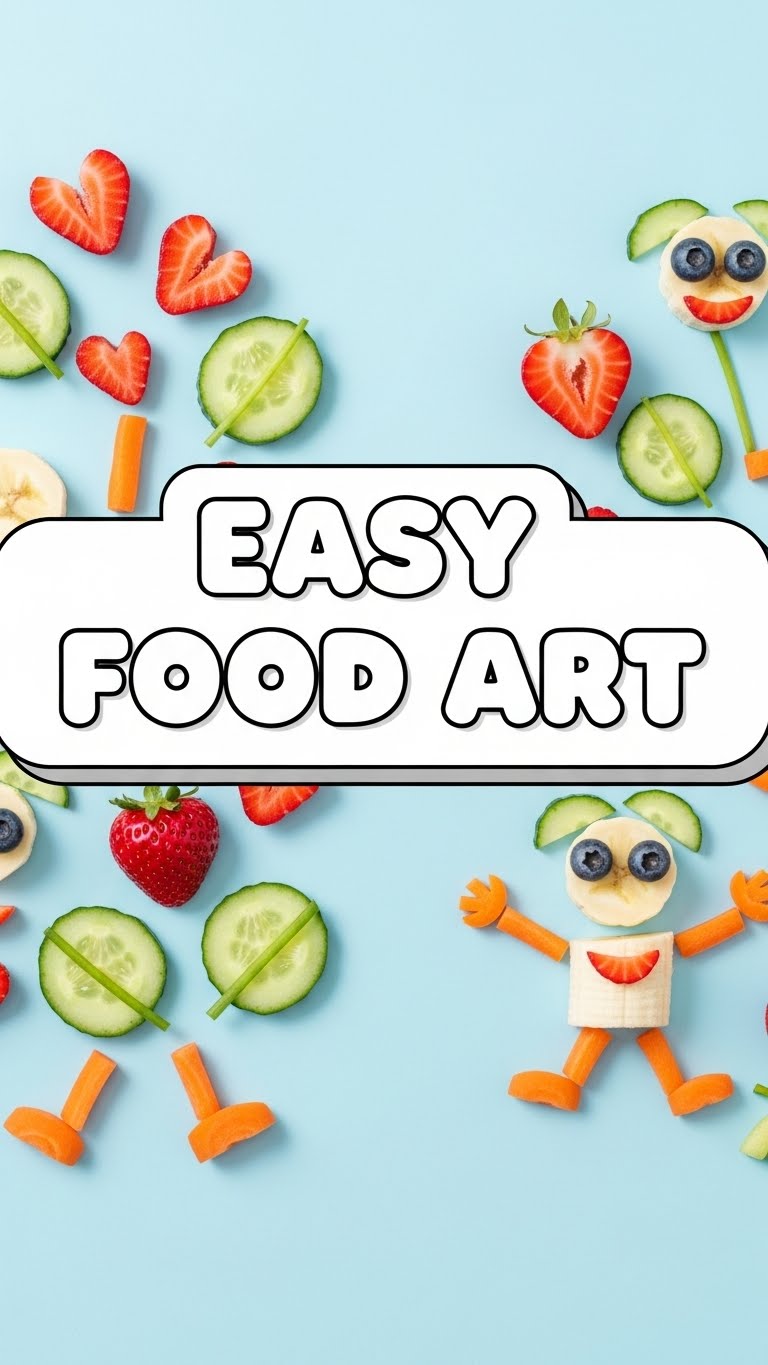
So you’re craving something tasty but too lazy to spend forever in the kitchen, huh? Same. What if I told you that you could make something super cute, totally delicious, and yet put in minimal effort? No, this isn’t a dream! We’re diving into the ridiculously fun world of Easy Food Art, where your food not only tastes great but also looks like it’s ready for its close-up on Instagram, without breaking a sweat. Prepare to have your mind (and taste buds) blown!
Why This Recipe is Awesome
Because let’s be real, sometimes you want to feel fancy without actually *being* fancy. This “recipe” (if you can even call it that – it’s more of an edible art prompt, IMO) is the ultimate cheat code. It’s so idiot-proof, even I didn’t mess it up, and my kitchen skills usually stop at “boil water without burning the house down.”
It’s fast, customizable, and a fantastic way to impress your friends, your kids, or just your own reflection in the toaster without doing any actual cooking. Plus, it’s a brilliant way to sneak some extra fruit into your day. Win-win-win!
Ingredients You’ll Need
Gather your edible art supplies! The beauty here is that you probably have most of this stuff lurking in your pantry already. No fancy trips to specialty stores needed, unless you *really* want those imported sprinkles. (No judgment here, go wild!)
- Your Canvas: Two slices of bread (any kind! White, wheat, sourdough, gluten-free, whatever floats your boat. Just make sure it’s not moldy, ew.)
- Your Paint: Spreads! Think peanut butter, almond butter, cream cheese, jam, Nutella, avocado smash (for the savory artists). Pick two contrasting colors/flavors for maximum impact.
- Your Embellishments: Fresh fruit! Berries (strawberries, blueberries, raspberries), banana slices, kiwi stars, mandarin orange segments. These are your edible jewels, so pick a few different colors and shapes.
- Your Sparkle (Optional but highly recommended): Sprinkles! Rainbow, chocolate, glitter – anything that screams “fun!”
- Your Soul (Also Optional, but hilarious): Edible googly eyes. Seriously, they exist and they make everything 1000% funnier.
Step-by-Step Instructions
Alright, artists, let’s get creating! This is less about precision and more about playful experimentation. Don’t overthink it, just have fun!
- Toast Your Canvas: Pop your bread into the toaster. Lightly toasted is usually best – you want some structural integrity but not a charred crisp.
- Spread the Base: Once toasted and slightly cooled (so your spreads don’t melt away), slather on your first spread. Cover the entire slice evenly. This is your background.
- Add Your Second Layer (Optional but Artistic): If you’re feeling bold, take your second spread and create a fun pattern. Maybe a swirl, stripes, or a big blob in the middle. Think abstract!
- Place Your Embellishments: Now for the fun part! Arrange your fruit on top. Make faces, create patterns, build a tiny edible landscape, or just sprinkle them randomly. The more varied the colors and shapes, the better your “art” will look!
- Sparkle and See: If using sprinkles, give your masterpiece a generous shower. If you have edible googly eyes, strategically place them to bring your fruit characters to life. You just created a hungry monster or a sleepy sun!
- Admire and Devour: Take a moment to appreciate your edible artwork. Snap a pic for proof, then proudly munch away. You earned it!
Common Mistakes to Avoid
Even in the world of easy food art, there are a few pitfalls to dodge. Learn from my tragically humorous misadventures!
- Overloading Your Canvas: More isn’t always better, especially when it comes to toast. Too many toppings, and your masterpiece turns into a soggy, collapsing mess. Keep it balanced!
- Using Soggy Fruit: Nobody wants sad, watery berries. Make sure your fruit is fresh and pat it dry if it looks a bit damp.
- Trying Too Hard for Perfection: This isn’t a Michelin-star restaurant, friend. It’s food art for fun! Embrace the quirks, the slightly wonky banana smile, the off-center blueberry eye. That’s part of its charm.
- Forgetting to Take a Picture: You put in all that “effort,” you might as well brag about it! Seriously though, it’s fun to look back at your creations.
- Ignoring Your Toaster Settings: Rookie mistake! Don’t just chuck the bread in and hope for the best. A medium toast usually works perfectly. Too light, and it’s floppy; too dark, and it’s a charcoal sketch.
Alternatives & Substitutions
Feeling adventurous? Or just out of blueberries? No problem! This concept is infinitely adaptable.
- Bread Swaps: Not feeling toast? Try rice cakes, bagels (mini ones are cute!), or even pancakes/waffles for a sweet breakfast art session. Mini pizzas for savory art? Genius!
- Spread Your Wings: Instead of the usual suspects, try avocado for a savory green base, hummus, cream cheese mixed with a little honey, or even Greek yogurt for a lighter option.
- Fruit Fantasia: Get creative with your fruit! Sliced kiwis make great “wheels,” thin apple slices can be “petals,” and small mango cubes can be “bricks.” FYI, cookie cutters work wonders for fruit shapes!
- Savory Scene: Ditch the sweet stuff entirely! Use cream cheese as a base, then top with cucumber slices, cherry tomato halves, bell pepper strips, and maybe a few capers. Tiny edible landscapes are born!
- Protein Punch: Add a thin slice of cheese (cut into shapes!), some deli meat (rolled up or cut), or a hard-boiled egg slice for extra oomph.
FAQ (Frequently Asked Questions)
Got questions? I’ve got (casual) answers!
- Can I make this ahead of time? Well, technically yes, but why hurt your art? It’s best enjoyed fresh! Toast gets soggy, fruit gets weird. Just a few minutes, promise.
- Do I need special art tools? Nope! Your hands, a butter knife, and maybe a small spoon are all you need. If you *want* to get fancy, a toothpick for detail or small cookie cutters for fruit shapes are fun, but not essential.
- Is this actually healthy? Depends on your choices, my friend! Load it up with veggies and whole-grain bread for healthy vibes, or go wild with Nutella and sprinkles for a delicious treat. You’re the artist, you decide the balance! (LOL.)
- My kids want to help, is this kid-friendly? Absolutely! This is basically a culinary playdate. Let them go wild with their own slices. Supervision recommended for sharp knives (if slicing fruit), but spreading and arranging is pure kid joy.
- What if my food art looks terrible? Does it taste good? That’s all that matters! Plus, “terrible” food art often just means “abstract” food art. You’re a pioneer!
- Can I use frozen fruit? I’d advise against it for this specific art project, as it tends to be watery and makes your toast soggy. Stick to fresh, chilled fruit for the best results.
Final Thoughts
See? Who knew being an “artist” could be this easy and delicious? You’ve officially graduated from basic toast maker to a culinary creative! This isn’t just about eating; it’s about playing with your food (in the best way possible). It’s a reminder that cooking (or assembling, in this case) should be fun, low-stress, and totally delicious.
So, go forth and spread some joy – literally! Impress your breakfast buddies, charm your kids, or just treat yourself to something that looks as good as it tastes. You’ve earned it, you magnificent food artist, you!

