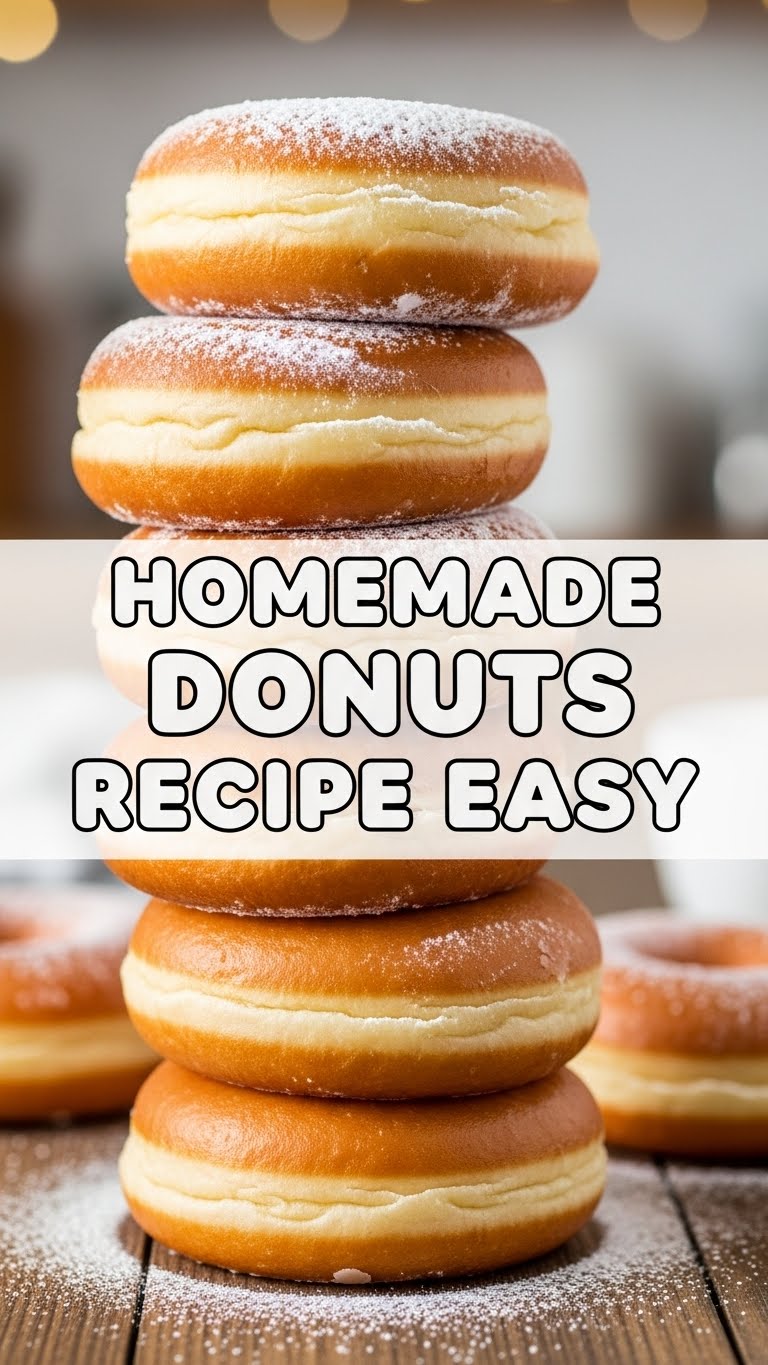
So you’re craving something tasty but too lazy to spend forever in the kitchen, huh? Same. And by “same,” I mean I’ve basically perfected the art of maximum deliciousness with minimum effort. Today, we’re tackling homemade donuts. Yeah, you heard right. Donuts. At home. Without the all-day commitment. Prepare to become a legend in your own kitchen.
Why This Recipe is Awesome
Okay, first off, it’s easy. Like, “can-do-it-with-one-eye-closed-while-binge-watching-your-favorite-show” easy. Seriously. This isn’t some fancy chef-level stuff that requires a degree in patisserie. It’s **idiot-proof**, even I didn’t mess it up, and my track record with yeast is… spotty, to say the least. Plus, fresh donuts? Warm? In your PJs? **Game changer.** Your house will smell like a bakery, and your friends will think you’re some kind of culinary wizard. Trust me on this one.
Ingredients You’ll Need
- All-Purpose Flour: About 2 cups. The basic building block of dreams. Don’t overthink it.
- Granulated Sugar: 1/4 cup. For sweetness, duh.
- Baking Powder: 1 tablespoon. Our little secret to fluffy donuts without the yeast fuss. Shhh.
- Salt: 1/2 teaspoon. Just a pinch to make everything taste better. It’s science.
- Milk: 1/2 cup. Any kind works, but whole milk makes them extra decadent. Live a little!
- Egg: 1 large. The binder that holds our dreams together.
- Melted Butter: 2 tablespoons. Because butter makes everything glorious. Seriously, don’t skimp.
- Vanilla Extract: 1 teaspoon. A dash of pure magic.
- Vegetable Oil (or similar high smoke point oil): For frying. Don’t even think about olive oil here unless you want smoky donuts. Ew.
Step-by-Step Instructions
- Whisk the Dry Stuff: In a large bowl, combine the flour, sugar, baking powder, and salt. Give it a good whisk until everything is friends. No lumps allowed.
- Combine the Wet Stuff: In a separate medium bowl, whisk together the milk, egg, melted butter, and vanilla extract. Get it all smooth and happy.
- Marry Them Up: Pour the wet ingredients into the dry ingredients. Mix with a spoon or spatula until *just combined*. **Do not overmix!** A few lumps are totally fine; overmixing makes tough donuts, and nobody wants that.
- Roll and Cut: Lightly flour a clean surface. Turn out your dough and gently knead it once or twice, just enough to bring it together. Roll it out to about 1/2-inch thickness. Now, grab a donut cutter (or two different-sized round cookie cutters) and cut out your donuts. Gather the scraps and re-roll once to get more donuts.
- Heat the Oil: Pour about 2-3 inches of oil into a large heavy-bottomed pot or Dutch oven. Heat it over medium heat until it reaches **350°F (175°C)**. If you don’t have a thermometer, drop a tiny piece of dough in—it should sizzle immediately and float to the top.
- Fry ‘Em Up: Carefully drop 2-3 donuts into the hot oil (don’t overcrowd the pot!). Fry for 1-2 minutes per side, until golden brown. Use a slotted spoon to flip them.
- Drain and Glaze: Remove the fried donuts and place them on a wire rack lined with paper towels to drain excess oil. While they’re still warm, you can dip them in your favorite glaze (powdered sugar + milk + vanilla is a classic!) or dust with cinnamon sugar.
Common Mistakes to Avoid
- Overmixing the Dough: This is like the cardinal sin of donut-making. **Seriously, don’t do it.** Overmixing develops the gluten too much, leading to dense, chewy, sad donuts. A few lumps are your friend.
- Oil Temperature is Key: Too cold, and your donuts will be greasy. Too hot, and they’ll burn outside and be raw inside. **Invest in a thermometer**, or at least do the little dough-sizzle test. This isn’t a guessing game, people!
- Overcrowding the Pot: You’re not making soup here. Give those donuts some space! Frying too many at once drops the oil temperature, leading back to greasy donuts. **Patience** is a virtue.
- Forgetting the Donut Holes: Those little center pieces? Fry them too! They’re like bonus mini-donuts. **Don’t let them go to waste!**
Alternatives & Substitutions
- No Milk? You can totally use buttermilk for a slightly tangier donut. Or, if you’re really in a pinch, any non-dairy milk (almond, soy, oat) works. Just be aware it might slightly change the flavor profile.
- No Butter? Vegetable oil or coconut oil (melted) can be a decent swap, but honestly, **butter adds so much flavor**. IMO, it’s worth the extra step.
- Flavor Boosts: Feeling fancy? Add a pinch of nutmeg to your dry ingredients for that classic bakery vibe. Or some lemon zest! Get creative, you culinary genius.
- Glaze Game: Beyond the simple powdered sugar glaze, try a chocolate glaze, a maple glaze, or just a simple dusting of cinnamon sugar. The world is your donut-glazing oyster!
FAQ (Frequently Asked Questions)
- Can I bake these instead of frying? Well, you *can*, but they won’t be proper fluffy donuts. They’ll be more like cakey donut-shaped muffins. Still tasty, but definitely not the same experience. **Frying is where the magic happens.**
- How long do homemade donuts last? Honestly? Not long, because you’ll eat them all. Kidding (mostly). They’re **best enjoyed fresh**, within a few hours. After that, they start to get a bit stale. Reheating briefly in a microwave can help, but fresh is king.
- Can I make the dough ahead of time? This specific recipe is a quick-mix, no-yeast situation, so it’s really best made fresh and fried immediately. If you try to chill it, it might get too stiff.
- What if I don’t have a donut cutter? No problem! Use two different-sized round cookie cutters, or even a drinking glass for the outer circle and a small bottle cap for the hole. **Resourcefulness is a chef’s best friend!**
- Why are my donuts greasy? Most likely, your oil wasn’t hot enough. Or you overcrowded the pot. **Go back and check that oil temp!**
- Can I freeze fried donuts? You *can*, but the texture won’t be quite the same when thawed. If you must, freeze them plain, then thaw and re-glaze. **But really, just eat them all now.**
Final Thoughts
See? I told you this was easy. You’ve just unlocked a new level of home-cooking awesomeness. No more sad, stale store-bought donuts for you! Now go impress someone—or yourself—with your new culinary skills. You’ve earned it, you donut-making maestro! Don’t forget to send me a picture of your glorious creations (and maybe a sample?). Happy frying!

