So you’re craving something tasty but too lazy to spend forever in the kitchen, huh? Same. We’ve all been there: that sudden, intense need for a warm, spicy, creamy slice of pumpkin pie, but the thought of a complicated recipe makes you want to just order takeout. Well, my friend, put down that phone! Because today, we’re making the **easiest, most gloriously simple pumpkin pie** you’ve ever whipped up. No stress, just pure, unadulterated autumn bliss (or any-season bliss, let’s be real). Get ready to impress yourself (and anyone else lucky enough to be around) without breaking a sweat.
Why This Recipe is Awesome
Okay, let’s cut to the chase: this isn’t just *easy*, it’s practically **idiot-proof**. And I say that with the utmost love and respect, because if *I* didn’t mess it up, you’re golden. Seriously, this recipe is your secret weapon for looking like a domestic goddess (or god) with minimal effort. Here’s why you’ll love it:
- It uses **store-bought pie crust**. Because life’s too short to roll pastry unless you actually enjoy it.
- **Minimal dishes.** Less washing means more pie-eating time. It’s simple math, really.
- The flavor is **unbeatable**. Seriously, it tastes like you slaved over it for hours, but you’ll know the truth (and that truth is pure, sweet freedom).
- It’s the perfect balance of sweet and spice. Not too much, not too little, just *chef’s kiss*.
Ingredients You’ll Need
Gather ’round, my fellow lazy gourmets! Here’s your ridiculously short shopping list. Most of this is probably lurking in your pantry already, you culinary genius, you.
- **1 (15-ounce) can pumpkin puree:** And I cannot stress this enough: **PUREE**, not pie filling! One is pumpkin; the other is pumpkin with a bunch of weird stuff already in it. Don’t confuse them, or your pie will be… an adventure.
- **1 (12-ounce) can evaporated milk:** The secret to that creamy, dreamy texture. Don’t skip it!
- **2 large eggs:** These guys are the glue that holds your pie dreams together.
- **¾ cup granulated sugar:** Or a little less if you don’t have a massive sweet tooth like me.
- **1 tablespoon pumpkin pie spice:** Your one-stop shop for all things spicy and nice.
- **½ teaspoon salt:** Trust me on this one. It balances the sweetness and makes everything pop.
- **1 teaspoon vanilla extract:** A little splash of magic.
- **1 (9-inch) unbaked pie crust:** Store-bought, refrigerated, ready to roll (or unroll, rather). No judgment here!
Step-by-Step Instructions
Alright, apron on (or not, who cares?), let’s get this pie show on the road! You’ll be amazed at how quickly this comes together.
- **Preheat Your Oven:** Set that baby to **425°F (220°C)**. This initial high heat helps set the crust and pie filling quickly.
- **Prep the Crust:** Unroll your store-bought pie crust into a 9-inch pie plate. Crimp the edges however you like – fancy, rustic, or just plain. No need to get art school on it.
- **Whisk the Wet Stuff:** In a large bowl, whisk together the pumpkin puree, evaporated milk, and eggs until smooth and thoroughly combined. Get those arm muscles working!
- **Add the Dry & Flavor:** Now, stir in the granulated sugar, pumpkin pie spice, salt, and vanilla extract. Mix until everything is beautifully blended and there are no dry spots. Give it a good sniff; smells good, right?
- **Pour & Bake (Initial High Heat):** Carefully pour your luscious pumpkin mixture into the prepared pie crust. Place it on a baking sheet (to catch any potential spills, because nobody likes a messy oven) and pop it into your preheated oven for **15 minutes**.
- **Reduce Heat & Continue Baking:** After 15 minutes, **reduce the oven temperature to 350°F (175°C)** without opening the door (if you can help it!). Continue baking for an additional **35-45 minutes**.
- **Check for Doneness:** Your pie is ready when the center is mostly set, but still has a slight jiggle. A knife inserted near the edge should come out clean. If the crust edges are browning too fast, you can cover them loosely with foil.
- **Cool It Down:** This is the hardest part, IMO. Take the pie out of the oven and let it cool completely on a wire rack for at least **2-3 hours**. Trust me, trying to cut a warm pumpkin pie is a recipe for a sloshy mess. **Patience is a virtue, especially with pie.**
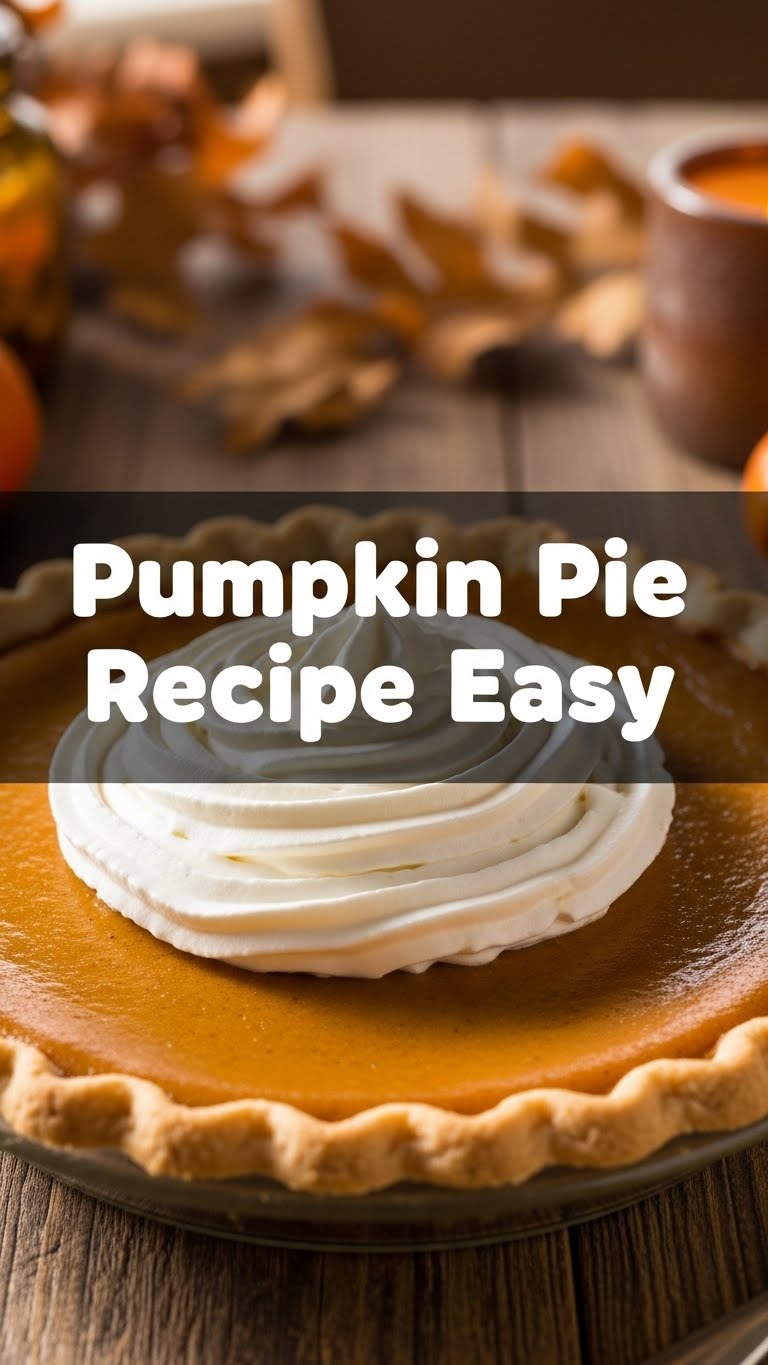
- **Serve & Enjoy:** Once it’s cool, slice it up! A dollop of whipped cream or a scoop of vanilla ice cream is highly encouraged.
Common Mistakes to Avoid
Don’t be that guy (or gal). Learn from the mistakes of others (and my past self, LOL). Here are a few pitfalls to steer clear of for perfect pie every time:
- **Using Pumpkin Pie Filling Instead of Puree:** I already warned you, but it bears repeating. **Seriously, don’t do it.** Your pie will be overly sweet and weirdly textured.
- **Not Preheating the Oven:** Rookie mistake! That initial blast of high heat is crucial for setting the crust and preventing a soggy bottom.
- **Overbaking:** A dry, cracked pumpkin pie is a sad sight. Keep an eye on it! A slight jiggle in the center is good. It will continue to set as it cools.
- **Cutting It Warm:** I know, the aroma is intoxicating. But warm pumpkin pie filling is too fluid. **Let it cool completely!** You’ll thank me when you get a clean slice.
- **Forgetting the Salt:** It seems counterintuitive in a dessert, but salt elevates all the other flavors. Don’t skip it!
Alternatives & Substitutions
Feeling a little rebellious? Want to make it your own? Here are some simple swaps you can make without turning your kitchen into a science experiment:
- **Crust Swap:** Not a fan of traditional pie crust? A **graham cracker crust** works wonderfully here too! You can buy them pre-made or whip one up easily.
- **Milk Options:** If evaporated milk isn’t your jam or you’re dairy-free, full-fat **coconut milk** (the canned kind, not the carton beverage) can be a fantastic substitute for a richer, slightly coconut-y flavor.
- **Spice It Up (or Down):** Don’t have pumpkin pie spice? No worries! You can make your own with ½ tsp cinnamon, ¼ tsp ground ginger, ⅛ tsp nutmeg, and a pinch of cloves. Adjust to your spice preference!
- **Sweetener Switch:** You could try **brown sugar** for a deeper molasses flavor, or even a mix of brown and granulated. Just stick to the total amount.
- **Add a Boozy Kick:** Want to get fancy? A splash of **brandy, rum, or bourbon** (about 1-2 tablespoons) added with the vanilla can give your pie a delightful grown-up twist. **FYI, this is highly recommended!**
FAQ (Frequently Asked Questions)
Got questions? I’ve got (casual) answers!
Q: Can I use fresh pumpkin instead of canned puree?
A: Absolutely! Just make sure it’s cooked and pureed super smooth. You’ll need about 2 cups of pureed fresh pumpkin for this recipe. It’s more effort, but if you’re feeling ambitious, go for it!
Q: How do I know when the pie is truly done?
A: The edges should be set, and a knife inserted about one inch from the edge should come out clean. The very center might still have a slight wobble, but it will firm up as it cools. If the center is still totally liquid, it needs more time!
Q: My pie cracked! What happened?
A: Oh, the dreaded crack! This usually happens if the pie is **overbaked** or if it cools too quickly. To avoid it, don’t overbake, and let it cool slowly on a wire rack, away from drafts.
Q: Can I make this pie ahead of time?
A: Yes, please do! Pumpkin pie is actually fantastic made a day or two in advance. Cover it loosely with plastic wrap and store it in the refrigerator. It even tastes better after the flavors have had a chance to meld.
Q: What’s the best way to store leftover pie?
A: Any leftovers (if such a magical thing exists) should be covered and refrigerated. It’ll stay delicious for about 3-4 days. Though, let’s be real, it probably won’t last that long.
Q: Can I use margarine instead of butter in the crust (if I were making one)?
A: Well, technically yes, but why hurt your soul like that? Stick to butter for the best flavor and texture. But since we’re using store-bought, you don’t even have to think about it! Winning!
Final Thoughts
See? That wasn’t so bad, was it? You just whipped up a glorious pumpkin pie with minimal fuss and maximum deliciousness. Now go impress someone—or yourself—with your new culinary skills. You’ve earned it! Grab a slice (or two, I’m not judging), kick back, and enjoy the fruits (or gourds?) of your super-easy labor. Happy baking, my friend!


