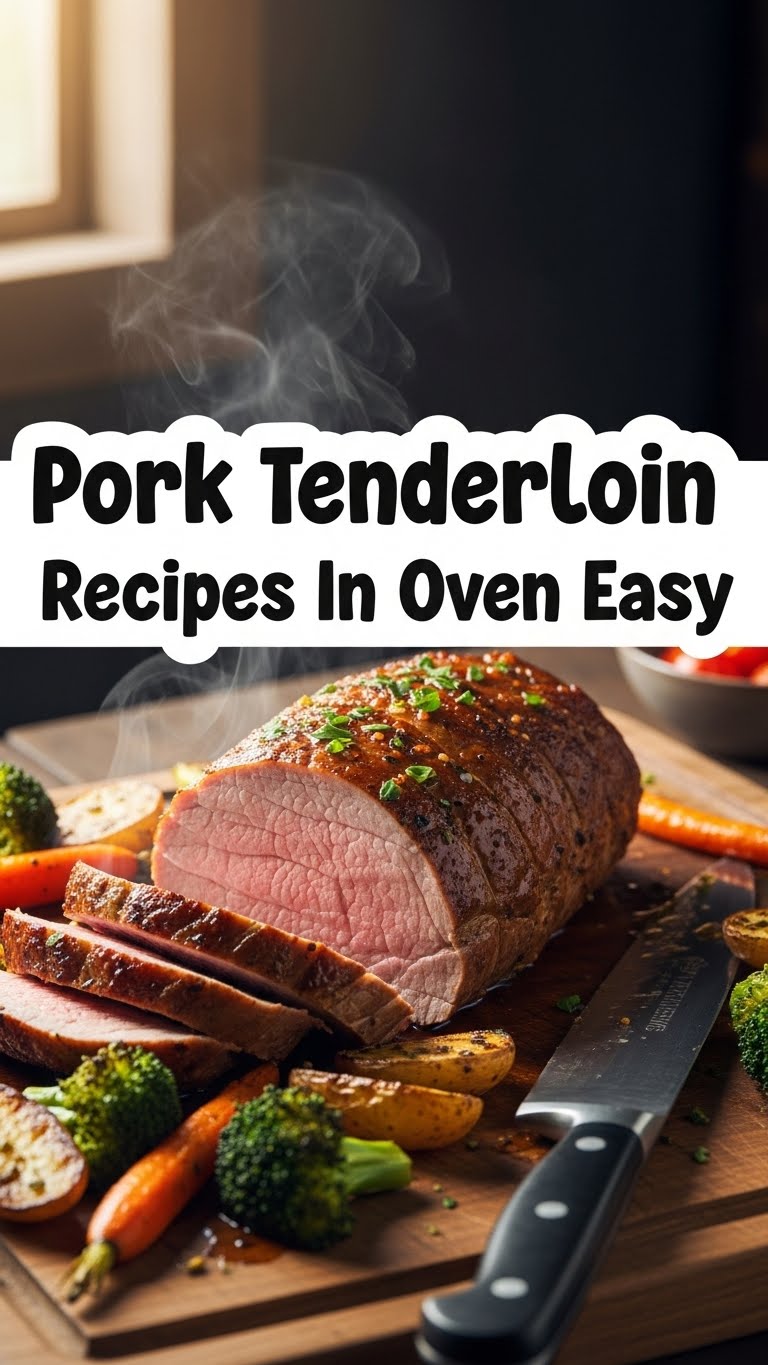
So you’re craving something tasty but too lazy to spend forever in the kitchen, huh? Same. You want something that looks fancy, tastes incredible, but secretly takes minimal effort. And pork tenderloin sounds like one of those “special occasion” meats, right? Wrong! My friend, you’re about to discover the absolute easiest, most foolproof way to get a juicy, flavorful pork tenderloin on your plate, straight from your oven. Get ready to impress yourself (and anyone else lucky enough to be around).
Why This Recipe is Awesome
Okay, let’s be real. This isn’t just a recipe; it’s a magic trick. Here’s why you’re going to be obsessed:
- It’s practically **idiot-proof**. Seriously, if I can do it without burning the kitchen down, so can you.
- It requires minimal prep. We’re talking 10-15 minutes max before it hits the oven.
- The oven does all the heavy lifting. You can binge-watch your favorite show while dinner cooks itself. Win-win!
- Pork tenderloin is lean, delicious, and cooks up super fast. No dry, sad meat here, nope!
- You’ll look like a culinary genius without actually breaking a sweat. Your secret’s safe with me.
Ingredients You’ll Need
Gather ’round, fellow food adventurer! Here’s your shopping list. Most of this is probably already lurking in your pantry.
- 1-1.5 lb Pork Tenderloin: The star of our show, obviously. Don’t confuse it with pork loin – they’re different beasts! Tenderloin is long and thin.
- 1-2 tbsp Olive Oil: Your trusty sidekick for rubbing down that pork.
- 1 tsp Salt: Don’t be shy!
- ½ tsp Black Pepper: Freshly ground if you’re feeling fancy.
- 1 tsp Garlic Powder: Because mincing fresh garlic is sometimes too much commitment.
- ½ tsp Onion Powder: Team garlic-onion, assemble!
- ½ tsp Dried Herbs: Thyme, rosemary, or a good Italian blend. For that “I know what I’m doing” vibe.
- Optional Glaze/Flavor Boosters:
- 1 tbsp Butter (melted): For extra richness.
- 1 tbsp Honey or Maple Syrup: A little sweet kick.
- 1 tsp Dijon Mustard: Adds a lovely tang.
Step-by-Step Instructions
Alright, apron on (optional, but makes you feel legit). Let’s get cooking!
- Preheat Your Oven (Duh!): Crank that baby up to 400°F (200°C). You want it hot and ready. While it preheats, line a baking sheet with foil for easy cleanup. You’re welcome.
- Prep the Pork: Unpack your tenderloin. See that silvery membrane (aka “silver skin”) on one side? You’ll want to **trim that off** with a sharp knife. It gets tough when cooked. Also, pat the whole thing super dry with paper towels. This helps with browning!
- Season Like a Pro: Drizzle the olive oil all over the tenderloin and rub it in. Then, mix your salt, pepper, garlic powder, onion powder, and dried herbs in a small bowl. Sprinkle this magical mix generously over the entire tenderloin, rubbing it in gently. Like giving it a tiny, delicious massage.
- Sear for Sizzle (Optional, but Recommended!): Heat a skillet (cast iron is amazing here) over medium-high heat with a little more olive oil until it’s shimmering. Sear the tenderloin for **1-2 minutes per side** until it’s golden brown all over. This creates a fantastic crust and locks in juices. If you’re skipping this step (no judgment!), just go straight to the next one.
- Roast Away: Transfer the seared tenderloin to your prepared baking sheet. If you’re doing a glaze, brush it on now. Pop it into the preheated oven and roast for **15-25 minutes**. The cooking time depends on the thickness of your tenderloin and your oven.
- Check for Doneness: Here’s the most important part: use a meat thermometer! You’re looking for an internal temperature of **145°F (63°C)** in the thickest part. The USDA recommends this for pork. It might look a tiny bit pink in the middle, and that’s perfectly safe and juicy! Don’t overcook it unless you like shoe leather.
- The Crucial Rest: Once it hits 145°F, take it out of the oven. Transfer it to a cutting board and **tent it loosely with foil**. Let it rest for **5-10 minutes**. This allows the juices to redistribute throughout the meat, keeping it incredibly tender and moist. **Seriously, do not skip this step!**
- Slice and Serve: After resting, slice the tenderloin into ½-inch thick medallions. Arrange them beautifully on a platter. Bask in the glory.
Common Mistakes to Avoid
Nobody’s perfect, but we can avoid some common culinary face-palms with this recipe!
- Not Trimming the Silver Skin: Rookie mistake! That silver skin turns into a tough, chewy strip. Just take a few extra minutes to slice it off. Your jaw will thank you.
- Not Patting It Dry: If the surface is wet, it’ll steam instead of sear or roast properly. Hello, bland, pale pork. **Pat it dry!**
- Skipping the Preheat: Thinking you don’t need to preheat the oven? You’re basically guessing then, aren’t you? A hot oven ensures even cooking and a beautiful crust.
- Overcooking: This is the cardinal sin of pork tenderloin. It’s lean, so it dries out easily. **Invest in a meat thermometer**, please! It’s like $10 and will save you from so much sadness.
- Not Letting It Rest: You just worked so hard to cook it perfectly, don’t let all those delicious juices leak out onto your cutting board! Give it a chill break under foil.
Alternatives & Substitutions
Feeling adventurous? Or just working with what you’ve got? No worries, we’ve got options!
- Herb Swaps: Don’t have thyme? Rosemary, sage, or even dried oregano works great. Fresh herbs are amazing too; just use about three times the amount of dried.
- Spice Blends: Get creative! Cajun seasoning, smoked paprika, chili powder, or even a pre-made “pork rub” would be fantastic.
- Glaze Game: Instead of honey/Dijon, try a balsamic glaze (just reduce balsamic vinegar until syrupy), a peach or apricot preserve glaze, or even a little BBQ sauce.
- Veggies in the Pan: Want a one-pan wonder? Toss some chopped potatoes, carrots, or asparagus with olive oil and seasonings on the same baking sheet as your tenderloin. Just make sure they have enough space so they don’t steam. Add them to the oven for the last 20-30 minutes, or longer if they need more time before the pork goes in.
- No Sear Option: Can’t be bothered with the skillet? Totally fine! Just put the seasoned tenderloin straight into the hot oven. You’ll miss out on that crispy, golden crust, but it will still be delicious and juicy.
FAQ (Frequently Asked Questions)
Let’s tackle some burning questions, shall we?
- “Can I skip searing the tenderloin?”
You *can*, yes. But why would you want to miss out on that gorgeous, flavorful crust? Searing locks in flavor and creates a beautiful exterior. If you’re in a hurry, it’s okay, but FYI, it’s worth the extra few minutes.
- “How do I know when it’s perfectly cooked?”
A meat thermometer is your best friend here! Insert it into the thickest part. You’re aiming for **145°F (63°C)**. It will continue to cook a bit while it rests, reaching optimal juiciness. Seriously, don’t eyeball it!
- “My tenderloin has two pieces in the package. Should I cook them separately?”
Often, tenderloins come in packs of two smaller pieces. Cook them both! Just remember they might cook at slightly different rates, so check each with your thermometer. Two tenderloins means double the deliciousness, IMO!
- “Can I use frozen pork tenderloin?”
Please, for the love of all that is delicious, **thaw it completely first!** Cooking from frozen will result in uneven cooking, dry spots, and a generally unhappy eating experience. Plan ahead, friend.
- “What if my tenderloin is much thicker/thinner than usual?”
Adjust your cooking time accordingly! A thicker piece will need a bit more time, and a thinner one less. Always rely on that meat thermometer, not just the clock.
- “What should I serve with this?”
Oh, the possibilities! Roasted vegetables (carrots, asparagus, Brussels sprouts), mashed potatoes, a fresh green salad, or even some couscous would be fabulous. It’s versatile!
Final Thoughts
See? Told you it was easy! You just whipped up a restaurant-worthy meal with minimal fuss and maximum flavor. Now go impress someone—or yourself—with your new culinary skills. You’ve earned it! Enjoy your perfectly juicy, tender pork tenderloin. You’re basically a kitchen wizard now. Don’t forget to pat yourself on the back!


