So you’re craving something tasty but too lazy to spend forever in the kitchen, huh? Same, friend, same. We’ve all been there: scrolling through gorgeous food pics, drooling a little, then sighing dramatically because making anything from scratch seems like a full-time job. But what if I told you there’s a world where you can make fluffy, dreamy doughnuts without needing a culinary degree or a week off work? A world where *you* are the hero, and the reward is pure, unadulterated fried dough happiness? Welcome to that world, because we’re about to make **Easy Doughnuts**!
Why This Recipe is Awesome
Okay, let’s be real. Most doughnut recipes look intimidating. They involve proofing, kneading, precise temperatures, and sometimes a commitment that rivals a marriage proposal. Not this one. This recipe is your best friend on a Saturday morning when you want something sweet but also want to keep your energy reserves for, you know, existing. It’s so straightforward, it’s practically idiot-proof. Seriously, I made these, and if I didn’t burn down the kitchen, you’re golden. You don’t need fancy equipment, just some basic kitchen stuff and a willingness to get a little floury. Plus, the satisfaction of biting into a homemade doughnut? Priceless. Your tastebuds will thank you, and your ego will get a lovely little boost. Win-win!
Ingredients You’ll Need
Gather ’round, pantry explorers! Here’s what you’ll need for your doughnut adventure. Nothing too wild, I promise.
- 1 cup Warm Milk: Not hot, not cold. Think bathwater warm. This is crucial for your yeast, unless you want it to stage a protest.
- 2 ¼ teaspoons Active Dry Yeast: That’s one standard packet, for those of us who hate measuring tiny amounts.
- ¼ cup Granulated Sugar: To sweeten the deal and feed your yeast.
- 1 large Egg: Room temp is best, but if you’re like me and forget until the last minute, a quick warm water bath helps.
- ¼ cup Melted Butter: Unsalted, please! Or salted, if you like a little rebellious kick. But typically unsalted.
- ½ teaspoon Salt: Just a pinch to balance all that sweetness.
- 3 cups All-Purpose Flour: Because who has time for “specialty” flour, am I right?
- Vegetable Oil (or other neutral oil) for Frying: You’ll need about 4-6 cups, depending on your pot size. Think canola, sunflower, or peanut oil.
- For the Glaze (optional, but highly recommended):
- 1 ½ cups Powdered Sugar: The finer, the better.
- 2-3 tablespoons Milk or Cream: To thin it out to perfection.
- ½ teaspoon Vanilla Extract: For that classic doughnut shop aroma.
Step-by-Step Instructions
- **Activate the Yeast:** In a large bowl, pour your warm milk. Sprinkle the yeast and a tablespoon of the sugar over it. Give it a gentle stir and let it sit for about 5-10 minutes. It should get frothy and bubbly. If it doesn’t, your yeast is probably dead. Sad, but true. Start over!
- **Mix the Wet Stuff:** Once your yeast is happy and foamy, whisk in the remaining sugar, egg, melted butter, and salt. Make sure everything is well combined.
- **Add the Flour:** Gradually add the flour, about a cup at a time, mixing with a wooden spoon or a stand mixer with a dough hook until a shaggy dough forms.
- **Knead (Lightly!):** Turn the dough out onto a lightly floured surface. Knead it for about 5-7 minutes until it’s smooth and elastic. Don’t overdo it! We’re not training for a bread-making marathon here.
- **First Rise:** Lightly grease your mixing bowl with a tiny bit of oil. Pop your dough back in, cover it with plastic wrap or a damp towel, and let it rise in a warm spot for about 1-1.5 hours, or until it has doubled in size. This is where patience pays off.
- **Shape ‘Em Up:** Once risen, gently punch down the dough to release the air. Turn it out onto a lightly floured surface and roll it out to about ½-inch thickness. Now, grab a doughnut cutter (or two different-sized round cookie cutters for the hole in the middle) and cut out your doughnuts. Re-roll scraps and cut more.
- **Second Rise:** Place your cut doughnuts on a baking sheet lined with parchment paper. Leave some space between them! Cover loosely and let them rise again for another 30-45 minutes. They should look puffy and happy.
- **Fry Time!** In a large, heavy-bottomed pot or Dutch oven, heat about 3-4 inches of vegetable oil to **350°F (175°C)**. Use a candy thermometer! This is a non-negotiable step for perfectly cooked doughnuts.
- **Cook ‘Em Good:** Carefully lower 2-3 doughnuts into the hot oil (don’t overcrowd the pot!). Fry for 1-2 minutes per side, until golden brown. Use a slotted spoon to flip them and remove them, draining any excess oil on a wire rack over paper towels.
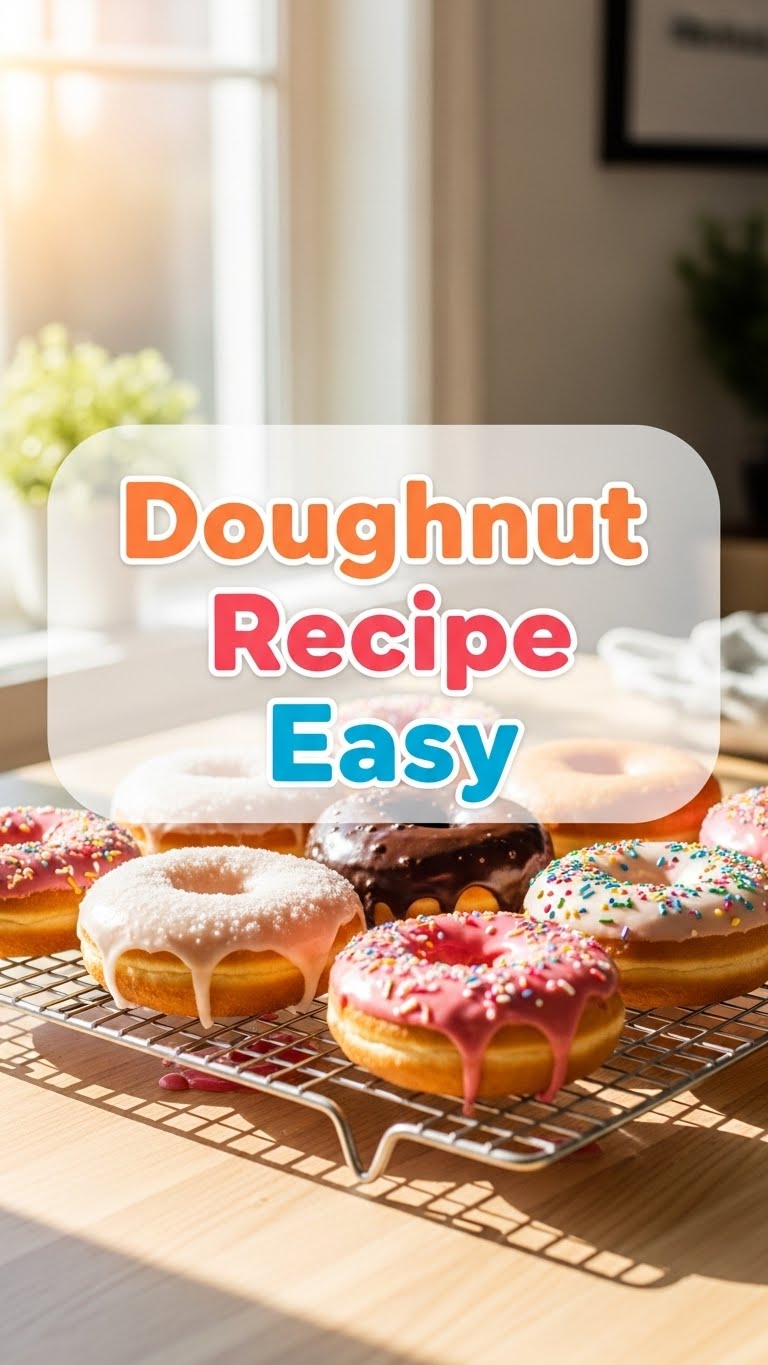
- **Glaze It Up (Optional):** While your doughnuts are still warm (but not scalding hot), dip them into your prepared glaze. To make the glaze, whisk together powdered sugar, milk/cream, and vanilla extract until smooth. You can also just toss them in cinnamon sugar if that’s more your vibe!
- **Devour:** Try not to eat them all in one sitting. Or do. I’m not judging.
Common Mistakes to Avoid
Nobody’s perfect, especially in the kitchen. But we can learn from past mishaps, right?
- **Oil Temperature is Key!** Too cold, and your doughnuts will be greasy sponges. Too hot, and they’ll burn outside before cooking inside. **Invest in a thermometer!** Seriously, it’s worth it.
- **Over-Kneading:** You’ll end up with tough, chewy doughnuts. We want light and fluffy, not a jaw workout. Stop when the dough is smooth and elastic.
- **Not Letting the Dough Rise Enough:** Rushing the rise times means dense, sad doughnuts. Give your yeast time to do its magic. Patience, grasshopper.
- **Overcrowding the Pot:** This drops the oil temperature and makes for unevenly cooked doughnuts. Give them space to swim! Fry in batches.
- **Skipping the Second Rise:** The second rise (proofing) is what gives your doughnuts that airy, light texture. Don’t skip it, or they’ll be flat and boring.
Alternatives & Substitutions
Feeling creative? Or just missing an ingredient? No stress, we’ve got options!
- **Dairy-Free Doughnuts:** Swap the milk for a non-dairy alternative like almond or oat milk, and use a plant-based butter (like Miyoko’s or Earth Balance). Easy peasy.
- **Baked, Not Fried:** If frying sounds like too much drama, you *can* bake these. Place them on a lined baking sheet and bake at 375°F (190°C) for 8-10 minutes, flipping halfway. They won’t have the same fried texture (obviously), but they’ll still be delicious!
- **Glaze Variations:**
- **Chocolate Glaze:** Melt some chocolate chips with a splash of milk or cream and a tiny bit of butter. Dip and enjoy!
- **Cinnamon Sugar:** Toss warm doughnuts in a mix of granulated sugar and cinnamon. Classic for a reason!
- **Lemon Glaze:** Add a teaspoon of lemon zest and a tablespoon of lemon juice to your powdered sugar glaze instead of vanilla. Zing!
- **Flour Power:** While all-purpose is great, you *could* use bread flour for a chewier doughnut. But for easy, all-purpose wins.
FAQ (Frequently Asked Questions)
Got questions? I probably had them too, so let’s get you some answers!
- **Can I make these ahead of time?** You bet! You can prepare the dough the night before, let it do its first rise in the fridge overnight, then punch it down and proceed with shaping and the second rise in the morning. **FYI**, cold dough is often easier to handle!
- **What if I don’t have a doughnut cutter?** No problem! Use a large cookie cutter or the rim of a glass for the main doughnut, and then a smaller round cutter (like a piping tip or a bottle cap) for the hole. Resourcefulness for the win!
- **My dough isn’t rising, what went wrong?** Usually, it’s the yeast. Either your milk was too hot (killed it) or too cold (put it to sleep), or the yeast was old/expired. Always check the expiration date!
- **What’s the best oil for frying?** A neutral oil with a high smoke point is your best friend. Canola, vegetable, sunflower, or peanut oil are all excellent choices.
- **How do I store leftover doughnuts?** These are definitely best eaten fresh (like, within an hour fresh). But if you have leftovers, store them in an airtight container at room temperature for up to 2 days. They’ll lose a little fluffiness, but they’ll still be tasty.
- **Can I use margarine instead of butter?** Well, technically yes, but why hurt your soul like that? Butter just tastes better. IMO, it’s worth the real deal here.
Final Thoughts
So there you have it, your ticket to homemade doughnut heaven! See? I told you it wasn’t scary. This recipe proves that even the most “intimidating” treats can be totally approachable and fun. Now go impress someone—or yourself—with your new culinary skills. You’ve earned it!


