So you’re craving something tasty but too lazy to spend forever in the kitchen, huh? Same. And maybe you (or someone you know, *wink wink*) are obsessed with Minecraft and want to whip up that iconic pixelated cake without needing a master’s degree in baking? Honey, you’ve come to the right place. We’re about to make an Easy Minecraft Cake that’ll make you feel like a crafting wizard without breaking a sweat.
Why This Recipe is Awesome
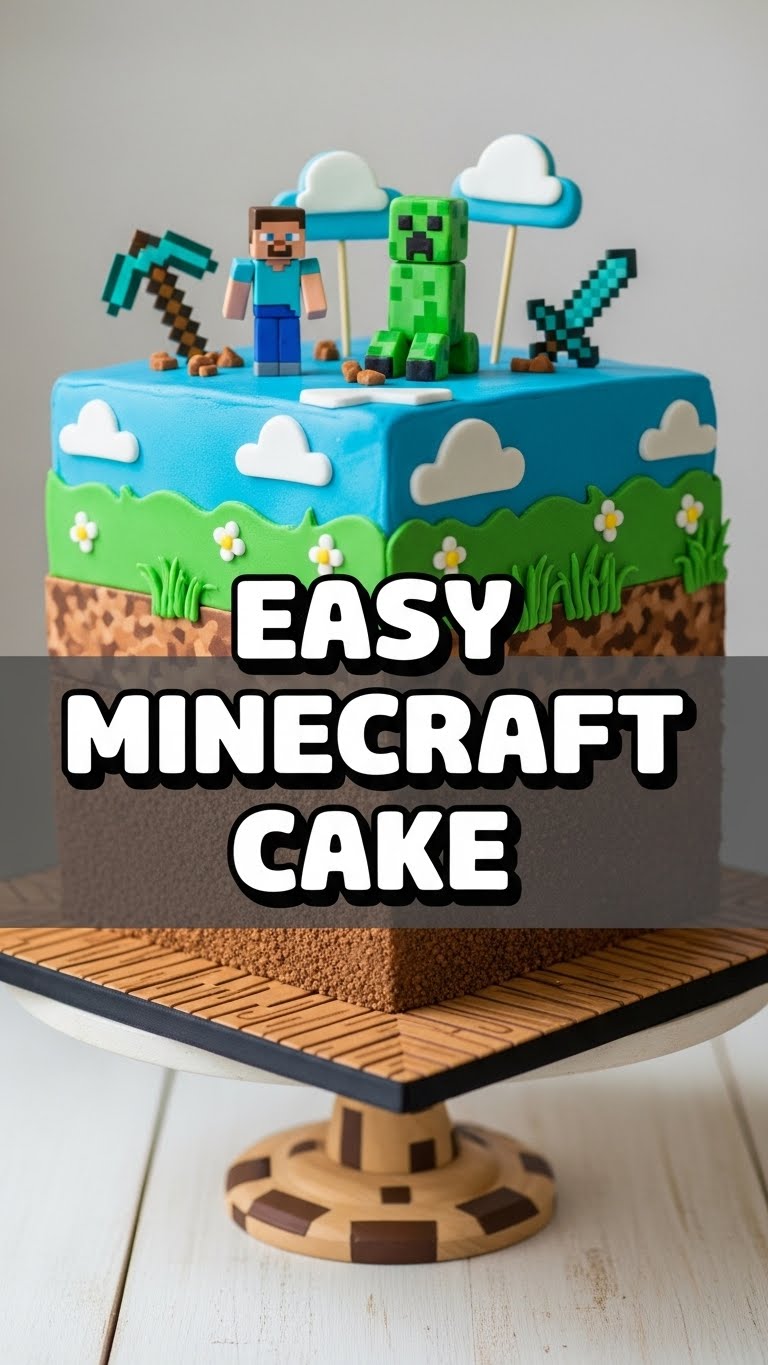
Let’s be real, this isn’t just *any* cake recipe. This is the one you pull out when you want maximum deliciousness with minimum effort. Here’s why it’s about to become your new best friend:
- It’s practically **idiot-proof**. Seriously, if I can do it without setting off the smoke alarm, anyone can.
- No fancy equipment needed. You don’t need a stand mixer or a culinary degree. Just basic kitchen stuff.
- It looks impressive, tastes even better, and will totally score you points with any Minecraft enthusiast.
- Relatively quick clean-up (mostly, depends on your baking style, TBH).
Ingredients You’ll Need
Gather your supplies! We’re not mining diamonds here, just deliciousness.
- All-purpose flour: 1 ½ cups (The basic stuff, no need for artisanal ancient grain flour, unless you’re feeling *extra*.)
- Granulated sugar: 1 cup (The sweet stuff, duh.)
- Baking powder: 1 ½ teaspoons (Our little rising fairy dust.)
- Salt: ½ teaspoon (Just a pinch, don’t go full Salt Bae.)
- Whole milk: ½ cup (Or whatever milk you have, we’re not judging. But whole milk makes it extra tender.)
- Unsalted butter, softened: ½ cup (1 stick). **This is key**, don’t use rock-hard butter unless you enjoy struggling.
- Large eggs: 2 (Room temp is **best** for fluffy cakes, FYI.)
- Vanilla extract: 1 teaspoon (The MVP of flavor. Don’t skimp!)
- Red food coloring: A few drops (For that iconic Minecraft red! Gel coloring works best for vibrant hues.)
- White frosting: 1 can (16 oz) (Store-bought is totally acceptable. Let’s be real, we’re here for easy.)
Step-by-Step Instructions
Alright, let’s get crafting! Follow these steps and you’ll have cake in no time.
Preheat & Prep: Get that oven to 350°F (175°C). Then, grab an 8×8 inch square baking pan. Grease it up and flour it, or line it with parchment paper for easy removal. Don’t skip this, unless you enjoy archaeological digs for stuck cake.
Dry Mix Magic: In a medium bowl, whisk together your flour, granulated sugar, baking powder, and salt. Give it a good whisk to make sure everything is evenly distributed. Easy peasy.
Wet Mix Wonders: In a separate, larger bowl, cream together your softened butter and the remaining granulated sugar until it’s light and fluffy. This usually takes about 2-3 minutes with an electric mixer. Then, add your eggs one at a time, mixing well after each addition. Stir in the vanilla extract.
Combine Forces: Gradually add the dry ingredients to the wet ingredients, alternating with the milk. Start and end with the dry ingredients. **Don’t overmix!** Mix until just combined and you no longer see streaks of flour. Overmixing makes for a tough cake, and nobody wants that.
Divide & Color: Now for the fun part! Take about 1/3 of your batter and scoop it into a separate small bowl. Add a few drops of red food coloring to this smaller portion and mix until you get a nice vibrant red. The rest of your batter stays white.
Layer Up: Pour the white batter evenly into your prepared square pan. Then, carefully dollop spoonfuls of the red batter on top of the white, covering about one-third of the cake surface. Think of it like you’re creating the red pixels on the top of the Minecraft cake. No need for perfection, it’s rustic!
Bake It Off: Pop your cake into the preheated oven for 25-30 minutes, or until a toothpick inserted into the center comes out clean. Every oven is a unique snowflake, so keep an eye on it!
Cool & Frost: Once baked, let your masterpiece cool completely in the pan on a wire rack before you even *think* about frosting it. Patience is a virtue, especially when frosting. Once it’s completely cool, slather on that white frosting, making it as chunky or smooth as you like. You can even pipe on a little red cross if you’re feeling extra fancy, but not required!
Common Mistakes to Avoid
We all make mistakes, but let’s try to learn from mine, shall we?
- Overmixing the Batter: This is probably the number one sin in cake baking. It develops the gluten too much, giving you a tough, rubbery cake. Mix until *just* combined, then stop. Seriously.
- Not Preheating the Oven: Rookie mistake. Your cake needs a warm, welcoming home to rise properly. Otherwise, it might bake unevenly or not rise at all.
- Opening the Oven Door Too Early: Every baker’s nemesis. Don’t peek until at least 20 minutes in, or your cake might collapse in despair. Let it do its thing!
- Frosting a Warm Cake: Unless you want a soupy, melted mess dripping everywhere, **let it cool completely**. I’ve learned this the hard way more times than I care to admit.
Alternatives & Substitutions
Life happens, and sometimes you don’t have exactly what the recipe calls for. Don’t panic!
- Milk: Any milk works, honestly. Almond, oat, soy – go nuts (or not, if you have an allergy). Whole milk just gives it a richer taste, IMO. But use what you have!
- Butter: Margarine can work in a pinch, but the flavor won’t be as rich. Why hurt your soul like that? Stick to real butter if you can for the best taste and texture.
- Frosting: Homemade buttercream is awesome if you have the time and energy, but store-bought is zero-judgment here. You could even use cream cheese frosting for a tangier vibe, or chocolate if you want a dirt block cake (just kidding, mostly).
- Food Coloring: Don’t have red? Skip it! It’ll still be a delicious, albeit less pixelated, cake. Or use green for a Creeper cake, if you’re feeling evil and want to scare your guests.
FAQ (Frequently Asked Questions)
Got questions? I’ve got (casual) answers!
- Can I make this gluten-free? Absolutely! Just swap out the all-purpose flour for a 1:1 gluten-free baking blend. You might need to add an extra minute or two to the baking time, but it usually works like a charm.
- My cake sank in the middle, what happened? Oh no! You probably opened the oven door too early, or it wasn’t fully baked. Or you live in a high-altitude area and didn’t adjust the recipe (but let’s be real, who does that for a casual cake?).
- How long does this cake last? Covered tightly at room temperature, it’s good for 3-4 days. In the fridge, maybe a bit longer, but honestly, it rarely lasts that long!
- Do I *have* to use a square pan? Nope, a round pan works too! It just won’t be quite as “Minecraft-y,” but it’ll still be delicious.
- Can I double the recipe? Yes! Just use a larger pan (like a 9×13 inch) or split it into two 8×8 pans. Adjust baking time accordingly – usually a bit longer for a larger cake.
- Is this cake good for kids? Uh, it’s cake. Of course it is! But maybe limit their sugar intake afterward, just a thought.
Final Thoughts
See? I told you it was easy! Now you’ve got yourself a totally awesome, pixel-perfect (or perfectly imperfect, which is also awesome) Minecraft cake. Go on, impress your friends, your family, or just yourself with your newfound baking prowess. You’ve earned those sugar-fueled bragging rights. Now, if you’ll excuse me, I hear a slice calling my name…


