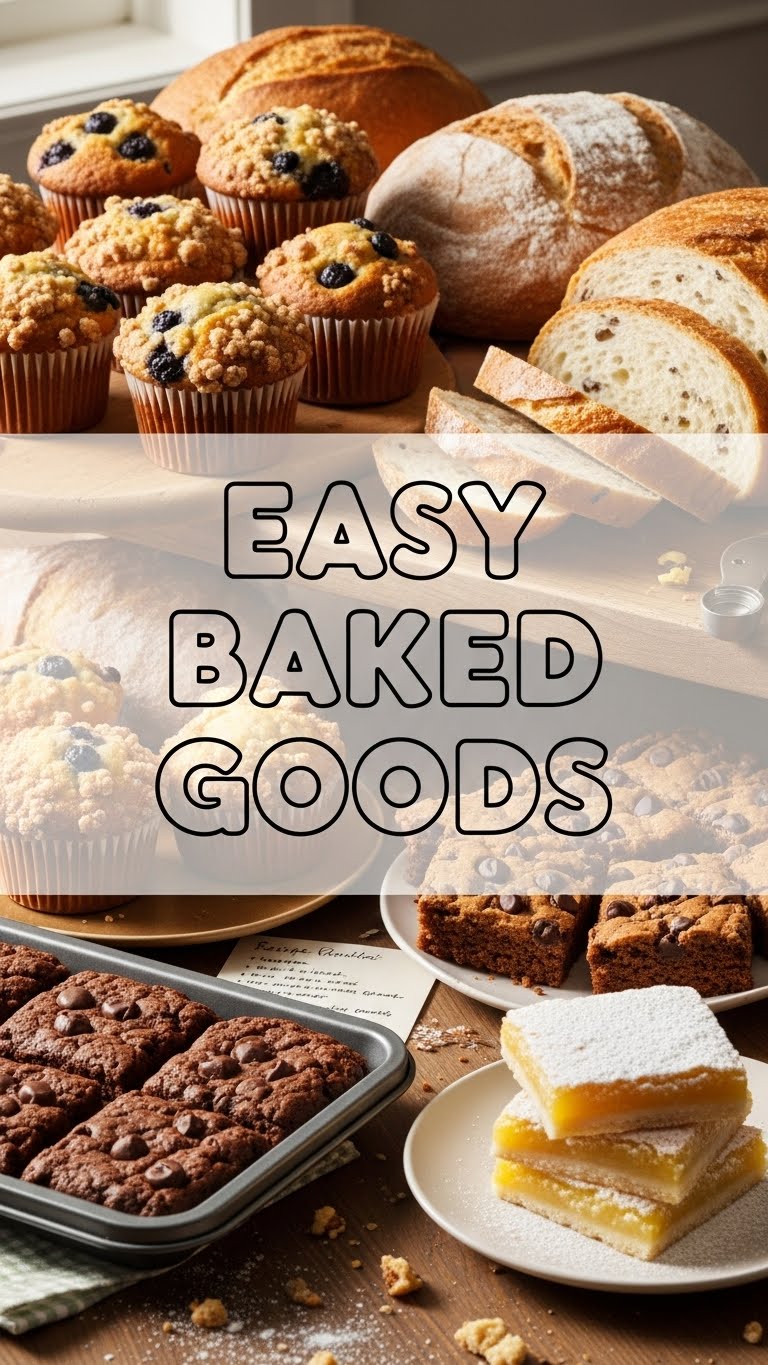
So you’re craving something warm, gooey, and utterly delicious but the thought of spending hours in the kitchen makes you want to curl up with a bag of chips instead, huh? Same, friend, same. Well, dust off that apron (or just wipe your hands on your jeans, no judgment here) because today we’re tackling the Everest of easy baked goods: **No-Fuss Chocolate Chip Cookies!** Seriously, these are so simple, you might just wonder if you accidentally swapped your baking flour for magic fairy dust.
Why This Recipe is Awesome
Let’s be real, life’s too short for complicated recipes that require a culinary degree and a stand mixer the size of a small car. This one? It’s the ultimate “I need a win” recipe. It’s **idiot-proof**, I swear, even *I* didn’t mess it up (and my track record with anything requiring precision is… questionable). You’ll be in and out of the kitchen faster than you can say “more chocolate, please!” Plus, the house will smell divine, making everyone think you’re some kind of domestic goddess/god. Win-win, if you ask me.
Ingredients You’ll Need
Get ready for a shocker: you probably have most of this stuff lurking in your pantry already. No obscure ingredients with unpronounceable names here!
- 1/2 cup (113g) unsalted butter, softened. Because who wants hard butter? Make sure it’s soft enough to indent with your finger, but not melted. That’s a crucial tip, FYI!
- 1/2 cup (100g) granulated sugar. The white stuff. Don’t overthink it.
- 1/4 cup (50g) packed light brown sugar. This is where the magic (and chewiness) happens. Pack it down like you’re building a tiny sandcastle.
- 1 large egg. Fresh from a happy chicken, hopefully.
- 1 teaspoon vanilla extract. A little splash for that “bakery smell.”
- 1 1/4 cups (150g) all-purpose flour. The glue that holds it all together.
- 1/2 teaspoon baking soda. To make them puffy and perfect, not flat as a pancake.
- 1/4 teaspoon salt. Don’t skip this! It enhances the chocolate flavor like a secret superpower.
- 1 cup (170g) chocolate chips. Your choice! Semi-sweet, milk, dark – live your best life. Or mix ’em up for extra fun.
Step-by-Step Instructions
- **Preheat Power-Up:** First things first, get that oven fired up to **375°F (190°C)**. Line a baking sheet with parchment paper or a silicone mat. This step is non-negotiable, trust me.
- **Cream Dream:** In a medium bowl, cream together the softened butter, granulated sugar, and brown sugar until it’s light and fluffy. Use an electric mixer if you have one, or get a good arm workout with a whisk.
- **Egg-cellent Addition:** Beat in the egg until fully combined, then stir in the vanilla extract. Scrape down the sides of the bowl to make sure everything gets acquainted.
- **Dry Team Assembled:** In a separate, smaller bowl, whisk together the flour, baking soda, and salt. This ensures even distribution and prevents weird pockets of baking soda (yuck).
- **Combine & Conquer:** Gradually add the dry ingredients to the wet ingredients, mixing on low speed (or by hand) until just combined. **Don’t overmix!** That’s how you get tough cookies, and nobody wants a tough cookie.
- **Chocolate Time!** Fold in those glorious chocolate chips until they’re evenly distributed throughout the dough.
- **Scoop ’em Up:** Drop rounded tablespoons of dough onto your prepared baking sheet, leaving a couple of inches between each one for spreading. If you want bigger cookies, make bigger scoops. Go wild!
- **Bake Away!** Pop them into your preheated oven and bake for **9-11 minutes**, or until the edges are golden brown and the centers still look slightly soft.
- **Cool Down:** Let them cool on the baking sheet for a few minutes before transferring them to a wire rack to cool completely (if you can resist that long, that is!).
Common Mistakes to Avoid
- **Ignoring the Preheat:** Thinking you don’t need to preheat the oven—rookie mistake! A cold oven means weirdly cooked cookies.
- **Overmixing the Dough:** Seriously, just mix until the flour streaks disappear. Overmixing develops the gluten too much, leading to hockey pucks instead of soft cookies.
- **Using Cold Butter:** If your butter is straight from the fridge, it won’t cream properly, and your cookies will suffer. Plan ahead or learn the “microwave for 10 seconds at a time” trick.
- **No Parchment Paper/Silicone Mat:** Unless you *enjoy* scraping stuck cookies off a pan, use one of these. It’s a game-changer, trust me.
- **Not Chilling the Dough (Sometimes):** While this recipe is designed to be quick, a 30-minute chill in the fridge can **prevent spreading** and deepen the flavor. If your cookies spread too much, this might be your culprit.
Alternatives & Substitutions
Feeling adventurous? Or just missing an ingredient? No worries, we can totally roll with it!
- **Different Chips:** Not a fan of semi-sweet? Swap them for milk chocolate, dark chocolate, white chocolate, butterscotch chips, or even peanut butter chips! Or, my personal fave, a mix!
- **Add-ins:** Feeling fancy? Toss in 1/2 cup of chopped nuts (walnuts, pecans), shredded coconut, or even a sprinkle of sea salt on top before baking for a gourmet touch.
- **Gluten-Free Flour:** You can totally use a 1:1 gluten-free baking flour blend. Just make sure it includes xanthan gum. The texture might be slightly different, but still delish.
- **Butter Alternatives:** **Can I use margarine instead of butter?** Well, technically yes, but why hurt your soul like that? Butter just tastes better, IMO. For a dairy-free option, use a good quality plant-based butter alternative.
- **No Brown Sugar?** You *can* use all granulated sugar, but your cookies will be less chewy and have a different flavor profile. The brown sugar adds moisture and that distinct caramel-y note.
FAQ (Frequently Asked Questions)
Got questions? I’ve got answers (and a bit of sass, naturally).
- Do I really have to chill the dough? For this recipe, it’s optional but highly recommended if your kitchen is warm or if you find your cookies spreading too much. A quick 30-minute nap in the fridge can do wonders for flavor and texture.
- My cookies are too flat! What did I do wrong? Likely culprits: butter was too warm/melted, not enough flour, old baking soda, or your oven temperature is off. Try chilling the dough next time, or adding a tablespoon or two more flour.
- Can I make the dough ahead of time? Absolutely! You can keep the dough in an airtight container in the fridge for up to 3 days. Just let it come closer to room temp before scooping and baking.
- Can I freeze the cookie dough? Heck yes! Roll the dough into balls, place them on a baking sheet, and freeze until solid. Then transfer to a freezer-safe bag for up to 3 months. When cravings strike, bake from frozen, adding a minute or two to the baking time. Pure genius!
- What kind of chocolate chips are best? Honestly, it’s personal preference. Semi-sweet is classic, milk chocolate is for sweet tooths, and dark chocolate adds a nice bitterness. Mix ’em up for a party in your mouth!
Final Thoughts
See? You just whipped up a batch of glorious, warm, chocolatey goodness without breaking a sweat (or a complicated instruction manual). You’re practically a pastry chef! Now go impress someone—or yourself—with your new culinary skills. You’ve earned those cookies (and the compliments). Maybe even share one… or two. Enjoy!


