So, your sweet tooth is doing a happy dance, but your motivation to actually *bake* something is still in bed, hitting snooze? Been there, done that, bought the T-shirt. And frankly, the only thing getting ‘dumped’ around here should be ingredients into a pan. Enter: the Peach Dump Cake. Your new best friend, your culinary therapist, your dessert-on-demand superhero. Get ready to impress everyone (including yourself) with minimal effort and maximum deliciousness.
Why This Recipe is Awesome
Let’s be real. Life is busy. Sometimes you want a warm, gooey, ‘tastes-like-you-slaved-for-hours’ kind of dessert without, you know, actually slaving for hours. This peach dump cake? It’s basically a magic trick, but edible. Here’s why it’ll become your go-to:
- It’s practically idiot-proof. Seriously, if I can do it without setting off the smoke detector, you can too.
- Minimal dishes. One pan. That’s it. Your future self will thank you.
- Pantry staples FTW! You probably have most of these ingredients chilling in your kitchen right now.
- The flavor-to-effort ratio is off the charts. It tastes like a warm hug, a sunny afternoon, and pure joy all baked into one.
Ingredients You’ll Need
Gather ’round, my lazy-gourmet friends. Here’s what you need for this masterpiece. Nothing fancy, just pure goodness.
- 2 cans (15 oz each) Sliced Peaches in Heavy Syrup: These are the stars of the show. Don’t drain them! The syrup is part of the magic. (No, seriously, don’t you dare drain them. It’s crucial!)
- 1 box (15.25 oz) Yellow Cake Mix: Any brand works. We’re not making a cake, we’re doing something even better.
- 1 cup (2 sticks) Unsalted Butter: Cold, cut into thin slices. Because butter makes everything better, duh.
- Optional additions (but highly recommended for extra oomph):
- 1 teaspoon Ground Cinnamon
- ½ teaspoon Ground Nutmeg
- ¼ cup Chopped Pecans or Walnuts (for a little crunch!)
Step-by-Step Instructions
Get ready for the easiest baking experience of your life. This is so simple, you might wonder if you missed a step. You didn’t. That’s the beauty of it!
- Preheat Your Oven: Set it to 350°F (175°C). Consider this your one major “active” step before the real fun begins.
- Dump the Peaches: Open those cans of peaches (with their glorious syrup!) and pour them evenly into a 9×13 inch baking dish. Don’t spread them too thin, but make sure they cover the bottom.
- Sprinkle the Cake Mix: Evenly sprinkle the entire box of dry cake mix over the peaches. Try to get a nice, even layer across the whole dish. Do NOT stir it in! This is key, trust me. If you’re adding cinnamon and nutmeg, sprinkle them over the cake mix now.
- Arrange the Butter: Take your thin slices of cold butter and place them evenly over the dry cake mix. You want to cover as much surface as possible. Think of it like a delicious butter blanket. If adding nuts, sprinkle them over the butter.
- Bake Until Golden: Pop that beauty into your preheated oven. Bake for 45-55 minutes, or until the top is golden brown and bubbly around the edges. The peaches should be soft, and the cake mix will have magically transformed into a lovely crust.
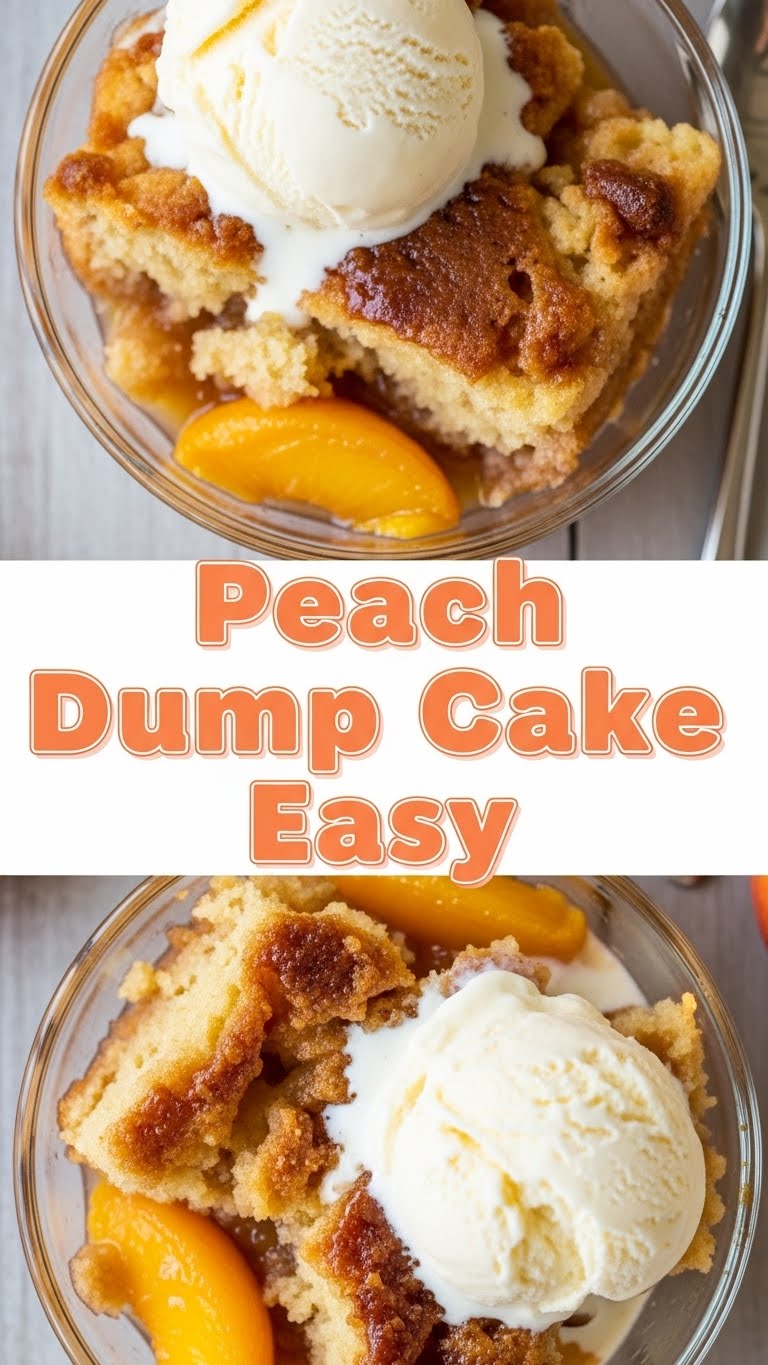
- Serve It Up: Let it cool for a few minutes (if you can resist!) and then scoop it out. It’s glorious on its own, but even better with a scoop of vanilla ice cream or a dollop of whipped cream. You’ve earned this, chef!
Common Mistakes to Avoid
Look, even simple recipes have their pitfalls. Don’t worry, I’ve made them all so you don’t have to. Avoid these rookie blunders:
- Thinking you don’t need to preheat the oven: It’s not a suggestion, friend. A hot oven helps everything bake evenly and get that perfect crust.
- Draining the peaches: I cannot stress this enough. The syrup is essential for the cake mix to get moist and form that delicious crust. If you drain them, you’ll end up with a dry, dusty disaster. Seriously, do not drain them!
- Stirring the cake mix: This is a DUMP cake, not a “mix-until-your-arm-hurts” cake. Let the magic happen. Stirring will ruin the distinct layers and the crust formation.
- Using warm or melted butter: Cold, sliced butter is important. It melts slowly and evenly, creating that wonderful streusel-like topping.
- Using diet fruit or sugar-free cake mix: While you *can*, why would you hurt your soul like that? This is a treat, live a little!
Alternatives & Substitutions
Feeling adventurous? Or maybe you just have different stuff in your pantry? No problem! This recipe is super flexible.
- Fruit Swaps: Not a peach fan? Or just want variety? This recipe works beautifully with other canned fruit pie fillings! Try cherry pie filling, apple pie filling, crushed pineapple, or even mixed berries. Just make sure it’s a fruit in syrup or pie filling.
- Cake Mix Magic: Yellow cake mix is classic, but a white cake mix works just fine. Feeling spicy? Try a spice cake mix, especially with apple or pumpkin pie filling. Chocolate cake mix with cherries? Oh, honey, yes.
- Add-ins Galore: Want more texture? Sprinkle some shredded coconut over the butter, or add a handful of mini chocolate chips. A drizzle of caramel sauce after baking? You’re practically a pastry chef!
- Butter Boost: A little extra butter never hurt anyone, but sticking to the 1 cup (2 sticks) is usually perfect.
FAQ (Frequently Asked Questions)
Got questions? I’ve got answers! (Mostly, and usually with a side of sass.)
- Can I use fresh peaches instead of canned?
Well, technically yes, but then it stops being a “dump cake” and starts being a “peel, slice, sugar, and hope-for-the-best” cake. The convenience of canned peaches (and their glorious syrup!) is key to the easy factor here. But if you’re feeling ambitious, go for it! You’ll likely need to add some sugar and liquid.
- Can I use margarine instead of butter?
You *can*, but why hurt your soul like that? Butter just tastes better, period. It gives it that rich, irresistible flavor and helps the topping crisp up perfectly.
- My dump cake is too dry/too wet. What happened?
Too dry? You probably drained the peaches (tsk, tsk!) or didn’t use enough butter. Too wet? Maybe your peaches were extra juicy, or your butter slices weren’t distributed evenly. Next time, ensure those butter slices are covering as much surface as possible!
- How do I know when it’s done?
It’s done when the top is beautifully golden brown, and you can see the fruit mixture bubbling up around the edges. The topping should look set and slightly crispy. A little jiggly is okay, it will set more as it cools.
- Can I make this ahead of time?
You totally can! It’s fantastic served warm, but it’s also delicious at room temperature or even chilled. Store any leftovers (if there *are* any!) covered in the fridge for up to 3-4 days.
- What if I don’t have a 9×13 inch pan?
A similar sized oven-safe dish will work, but you might need to adjust baking time slightly. A 9×9 inch pan would make it thicker, so you’d bake it longer. Just keep an eye on it!
- Is this really a “cake”?
It’s more like a glorious hybrid of a cobbler, a crumble, and a gooey dessert bar. It might not be a traditional layered cake, but it’s definitely a cake for your soul. And that’s what matters, right?
Final Thoughts
There you have it, folks! You just mastered a dessert that requires practically no effort but delivers maximum satisfaction. Pat yourself on the back, give yourself a high-five, and bask in the glory of your culinary genius. This peach dump cake is your new secret weapon for potlucks, last-minute cravings, or just a Tuesday night when you deserve something sweet.
Now go impress someone—or yourself—with your new culinary skills. You’ve earned it!


