So, you’re craving something that looks super fancy but doesn’t require a culinary degree or, like, an entire weekend locked in the kitchen, huh? Same, friend, same. We’re talking about that ultimate dessert that screams “I tried!” but secretly whispers, “I whipped this up while binging Netflix.” Enter the legend, the myth, the utterly delightful **Moist Marble Cake Dessert**.
Why This Recipe is Awesome
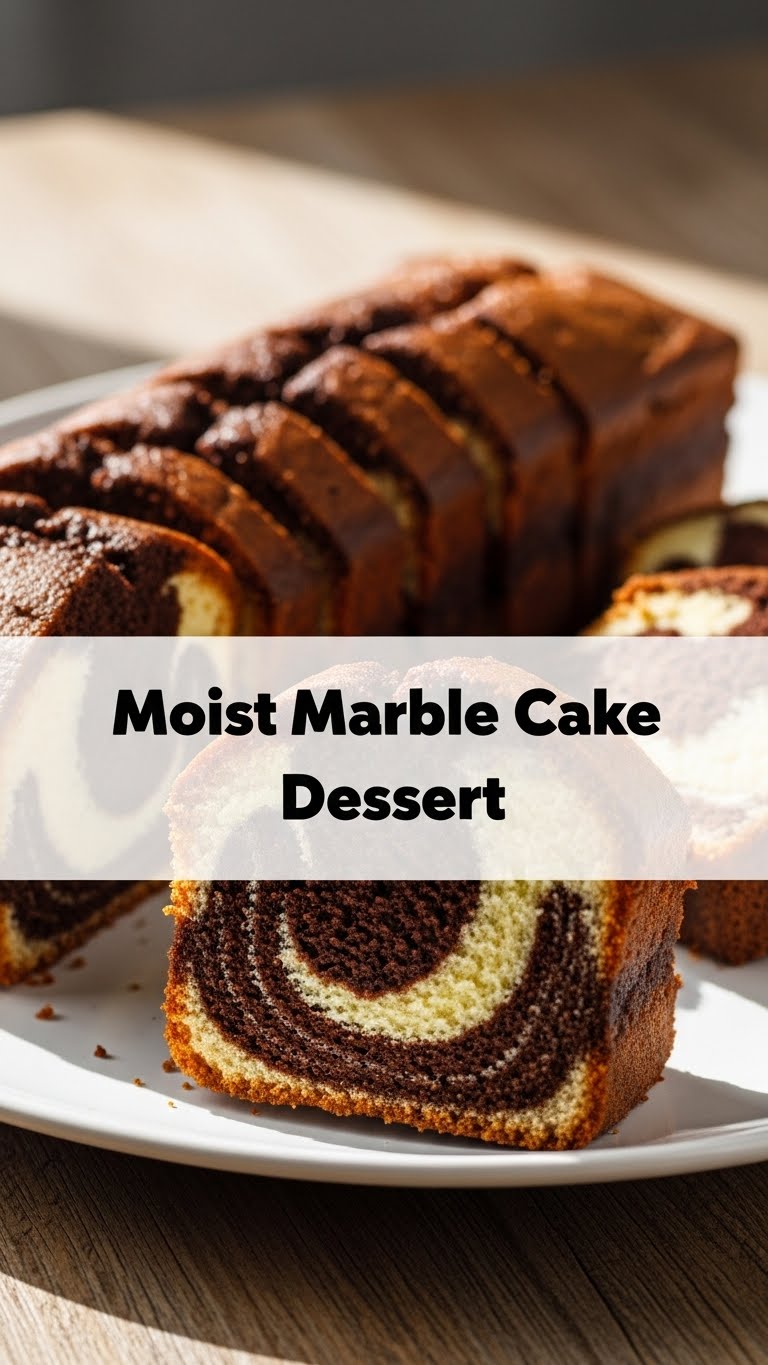
Okay, let’s be real. We all want to impress, but sometimes our ambition outweighs our actual patience. This marble cake? It’s your secret weapon. First off, it’s *moist*. Like, ridiculously, melt-in-your-mouth moist. No dry, crumbly sadness here, thank you very much. Secondly, that swirl! It looks like you spent hours crafting a masterpiece, when in reality, it’s pretty much a happy accident you guide along. **It’s practically idiot-proof**, even I managed it without setting off the smoke alarm. Plus, it’s the perfect blend of vanilla and chocolate, so no one has to choose. Peace in the dessert world, people!
Ingredients You’ll Need
Gather ’round, my baking comrades! Here’s your hit list. Most of this stuff is probably already chilling in your pantry, waiting for its moment to shine.
- **All-Purpose Flour:** 2 ½ cups. The good old reliable kind.
- **Granulated Sugar:** 2 cups. Because happiness is sweet.
- **Unsalted Butter:** 1 cup (2 sticks), softened. The good stuff, room temperature is key!
- **Large Eggs:** 4, also at room temperature. They just play nicer that way, trust me.
- **Whole Milk:** 1 cup, room temperature. For that extra richness.
- **Baking Powder:** 2 teaspoons. Our lift-off agent!
- **Baking Soda:** ½ teaspoon. Another leavening buddy.
- **Salt:** ½ teaspoon. Just a pinch to wake up all those flavors.
- **Vanilla Extract:** 2 teaspoons. Don’t skimp on this golden liquid!
- **Unsweetened Cocoa Powder:** ¼ cup. For the dark, mysterious swirl.
- **Hot Water or Coffee:** 2 tablespoons. To bloom that cocoa and intensify its flavor.
Step-by-Step Instructions
- **Prep Your Pan:** Preheat your oven to 350°F (175°C). Grease and flour a 9×13 inch baking pan. Or, if you’re feeling fancy, line it with parchment paper. Smart move!
- **Cream it Up:** In a large bowl, or your stand mixer, cream together the softened butter and granulated sugar until it’s light and fluffy. We’re talking 3-5 minutes here. This is where the magic starts.
- **Egg-cellent Addition:** Add the eggs one at a time, beating well after each addition. Scrape down the sides of the bowl to make sure everything gets acquainted.
- **Dry Mix Fun:** In a separate medium bowl, whisk together the flour, baking powder, baking soda, and salt. Give it a good swirl so it’s all evenly distributed.
- **Alternate & Combine:** Now, with your mixer on low, gradually add the dry ingredients to the wet ingredients, alternating with the milk. Start and end with the flour mixture. **Don’t overmix!** Mix until just combined.
- **Vanilla Time:** Stir in the vanilla extract. Give it a quick taste (just kidding, mostly).
- **Split the Batter:** Divide your beautiful vanilla batter in half. Eyeball it; we’re not performing surgery here.
- **Chocolate Dream:** In a small bowl, combine the cocoa powder with the hot water (or coffee). Mix until it forms a smooth, thick paste. Add this glorious chocolate paste to one half of your batter and mix until it’s a uniform chocolatey color.
- **The Swirl Reveal:** Drop spoonfuls of vanilla and chocolate batter alternately into your prepared baking pan. Once it’s all in, take a knife or a skewer and gently swirl through the batter a few times to create that iconic marble effect. **Resist the urge to over-swirl!** Less is more for that distinct pattern.
- **Bake Away:** Pop that masterpiece into your preheated oven. Bake for 30-35 minutes, or until a wooden skewer inserted into the center comes out clean.
- **Cool Down:** Let the cake cool in the pan for about 10-15 minutes before transferring it to a wire rack to cool completely. Patience is a virtue, especially when cake is involved.
Common Mistakes to Avoid
Listen up, buttercups! We all make mistakes, but let’s try to avoid these rookie blunders:
- **Ignoring Room Temperature Ingredients:** Seriously, it’s not a suggestion. Cold ingredients don’t emulsify as well, leading to a denser cake. **Let your butter and eggs hang out on the counter for a bit.**
- **Overmixing the Batter:** This is a biggie! Overmixing develops gluten too much, making your cake tough. Mix until just combined, then step away from the mixer!
- **Opening the Oven Door Too Early:** Curiosity killed the cake! Opening the door before the cake is set can cause it to sink. Give it at least 25 minutes before you peek.
- **Forgetting to Grease the Pan:** Unless you enjoy chiseling cake out of a pan, don’t skip this step. Or, you know, use parchment paper. Your future self will thank you.
- **Over-swirling:** It’s called marble, not mud puddle! A few gentle swirls are all you need for that beautiful pattern.
Alternatives & Substitutions
Feeling a little rebellious? Here are some ways to shake things up:
- **Flavor Swap:** Not a fan of chocolate? Try making one half a lemon batter (add lemon zest and a touch of lemon juice) and the other half vanilla. Or even a strawberry swirl using puréed strawberries.
- **Dairy-Free Dream:** You can totally use your favorite plant-based milk (almond, soy, oat) and a good quality dairy-free butter alternative. Just make sure they’re at room temp!
- **Extra Chocolatey:** Throw in a handful of mini chocolate chips into the chocolate batter for an extra textural surprise. Because, why not?
- **Different Pan:** No 9×13? You can use two 8 or 9-inch round cake pans for a layered cake, or even a Bundt pan! Adjust baking time accordingly.
FAQ (Frequently Asked Questions)
- **Can I use oil instead of butter?** Well, technically yes, but why hurt your soul like that? Butter provides a richer flavor and superior texture. If you must, use a neutral oil, but be warned, it might change the flavor profile.
- **How do I get a really defined marble swirl?** The trick is to swirl *gently* with a knife or skewer, just a few times. Don’t go crazy! Less is often more for that beautiful contrast.
- **My cake sank in the middle! What happened?** Usually, this means it was underbaked, or you opened the oven door too early, or perhaps you put too much leavening. Check your oven temperature and baking time next go-round!
- **How long does this cake last?** Covered tightly at room temperature, it’ll be delightful for 3-4 days. In the fridge, maybe a bit longer, but it’s best eaten fresh for that ultimate moistness.
- **Can I freeze marble cake?** Absolutely! Wrap cooled slices (or the whole cake) tightly in plastic wrap, then foil. It’ll keep for up to 3 months. Thaw at room temperature.
- **Can I add frosting?** Duh! A simple vanilla buttercream or a chocolate ganache would be divine. Or just a dusting of powdered sugar if you’re feeling minimalist (or lazy).
Final Thoughts
So there you have it, folks! Your new favorite recipe for a stunningly moist, perfectly swirled marble cake. It’s the kind of dessert that gets oohs and aahs, but only you and I know how truly effortless it was. Now go impress someone—or yourself—with your new culinary skills. You’ve earned those bragging rights (and that delicious slice)! Enjoy!


