So, you’re craving something ridiculously tasty but also kinda want to pretend you’re a sophisticated baker without, you know, actually *being* one? Or maybe your sweet tooth just sent an urgent, all-caps memo? Same, friend, same. Get ready to have your chocolate-loving, citrus-craving mind blown by a cake so moist, so rich, so perfectly balanced, it’ll make you question all your previous life choices that *didn’t* involve this cake.
Why This Recipe is Awesome
Listen up, buttercup. This isn’t just *any* chocolate orange cake. This is THE chocolate orange cake. Why? Because:
- It’s ridiculously **moist**. Like, shockingly so. No dry crumbly sadness here.
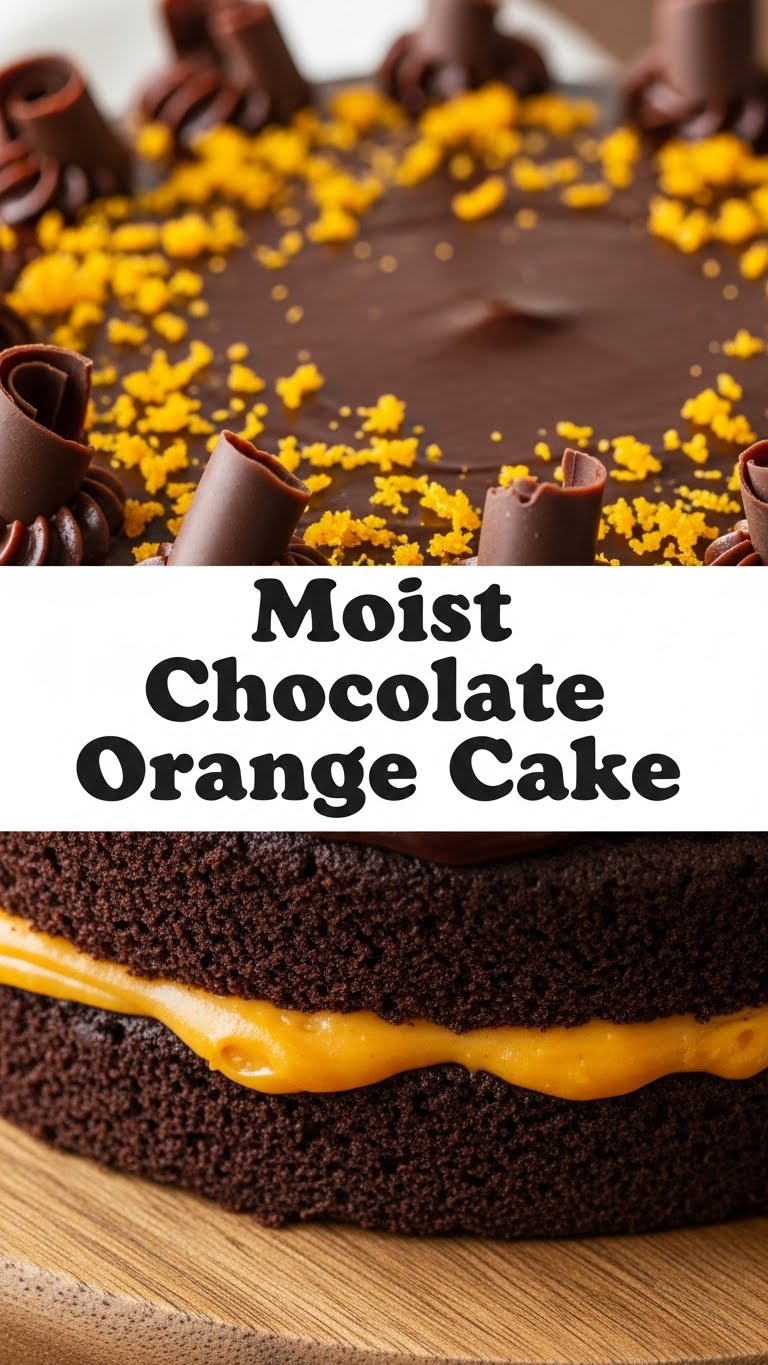
- The chocolate and orange combo is a match made in culinary heaven. It’s like a sophisticated Terry’s Chocolate Orange, but better because YOU made it.
- It’s surprisingly **simple**. Seriously, it’s almost idiot-proof. Even I, notorious for burning toast, managed not to mess this up.
- It looks impressive with minimal effort. Hello, dinner party hero! Or, you know, Tuesday night couch snack. Your call.
- It makes your kitchen smell like happiness and magic. FYI, that’s a scientifically proven fact.
Ingredients You’ll Need
Time to gather your edible arsenal. Don’t worry, nothing too fancy here, just good honest ingredients ready to party.
- 175g Unsalted Butter: The good stuff. Let it soften a bit, don’t be a monster and use it straight from the fridge.
- 175g Caster Sugar: The fine stuff. Granulated works too, but caster plays nicer.
- 2 Large Eggs: Happy eggs, preferably. Room temperature is key!
- 150g Self-Raising Flour: Because who has time for separate baking powder and soda? (If you only have plain, add 1.5 tsp baking powder).
- 25g Good Quality Cocoa Powder: This is where the chocolate magic starts. Don’t skimp!
- 100g Dark Chocolate: We’re talking 70% cocoa solids minimum. Chop it up, or use chips. The better the chocolate, the happier your taste buds.
- Zest of 1 Large Orange: The superstar for that vibrant citrus kick. Don’t skip this!
- Juice of ½ Large Orange: Just enough to keep things zesty and moist.
- 100ml Milk: Whole milk if you want ultimate creaminess, but any milk will do the job.
- Pinch of Salt: Every sweet needs a little salt to make it sing!
For the Glaze (Optional, but highly recommended because YOLO)
- 50g Dark Chocolate: Again, good quality.
- 50ml Double Cream: Or heavy cream, for that silky smooth finish.
- A tiny extra bit of orange zest: For garnish and extra zing!
Step-by-Step Instructions
- **Preheat & Prep:** Get that oven heated to 170°C (150°C fan/325°F/Gas Mark 3). Grease and line a 20cm (8-inch) round cake tin. Don’t skip the lining, trust me.
- **Butter & Sugar Tango:** In a large bowl, cream together the softened butter and caster sugar until it’s light, fluffy, and looks like happy clouds.
- **Egg-cellent Addition:** Beat in the eggs one at a time, making sure each is fully incorporated before adding the next. If it looks a little curdled, don’t panic! A tablespoon of flour usually fixes it.
- **Zest it Up:** Stir in the gorgeous orange zest. Take a moment to sniff it – pure joy, right?
- **Dry Team Assemble:** Sift the self-raising flour, cocoa powder, and salt into a separate bowl. Give it a good whisk to combine.
- **Melt the Magic:** Gently melt your 100g of dark chocolate. You can do this in a microwave (short bursts, stir often) or over a Bain Marie. Don’t let it burn!
- **Combine & Conquer:** Add half of the dry ingredients to your wet mixture, along with half the milk and the orange juice. Fold gently until just combined. Then add the remaining dry ingredients, milk, and the melted chocolate. **Fold, don’t beat!** We want a light cake, not a dense brick.
- **Into the Tin:** Pour the luscious batter into your prepared cake tin. Smooth the top with a spatula.
- **Bake Away:** Pop it into the preheated oven for 30-35 minutes. How do you know it’s done? A skewer inserted into the center should come out clean.
- **Cool Down:** Let the cake cool in the tin for 10 minutes before turning it out onto a wire rack to cool completely. Patience is a virtue, especially when cake is involved.
For the Glaze (because you deserve it):
- **Heat the Cream:** Gently heat the double cream in a small saucepan until it’s just simmering.
- **Melt the Chocolate:** Take it off the heat and stir in the 50g of chopped dark chocolate until it’s completely melted and smooth.
- **Drizzle & Decorate:** Once your cake is fully cooled, pour the glaze over the top, letting it drip artfully down the sides. Sprinkle with that extra orange zest. Ta-da!
Common Mistakes to Avoid
Nobody’s perfect, but we can avoid some classic blunders. Learn from my mistakes, so you don’t have to!
- **Not Preheating the Oven:** Rookie mistake! Your cake won’t rise properly if it goes into a cold oven. **Always preheat!**
- **Overmixing the Batter:** This is the quickest way to a tough, dense cake. Once you add the flour, **fold gently** until just combined. Lumps are okay!
- **Opening the Oven Door Too Soon:** Resist the urge to peek during the first 20 minutes. You’ll let out all the heat, and your cake will collapse like a deflated balloon.
- **Skipping the Orange Zest:** The juice adds moisture, but the zest is where all the intense, beautiful orange flavor lives. **Do not omit the zest!**
- **Not Cooling Completely Before Glazing:** If your cake is still warm, your beautiful glaze will just melt into a messy puddle. **Patience, young padawan.**
Alternatives & Substitutions
Feeling a bit adventurous, or missing an ingredient? No worries, we’ve got options!
- **Chocolate Swap:** Not a fan of dark chocolate? You can use milk chocolate for a sweeter, milder flavor, but IMO, dark chocolate really makes the orange pop.
- **Dairy-Free:** For a dairy-free version, use a plant-based butter alternative and plant milk (almond or oat milk work great). Just make sure your dark chocolate is also dairy-free.
- **Gluten-Free:** Swap the self-raising flour for a good quality gluten-free self-raising flour blend (often includes xanthan gum).
- **Extra Orange Kick:** For adults only (wink wink), add a tablespoon of Grand Marnier or Cointreau to the batter or the glaze for an extra boozy orange punch.
- **Different Glaze:** If you’re out of cream for the ganache, a simple icing sugar glaze (icing sugar + a tiny bit of orange juice) is also delicious and super easy.
FAQ (Frequently Asked Questions)
Got questions? I probably have snarky, yet helpful, answers!
- **Can I use orange extract instead of fresh orange?** Well, technically you *could*, but why hurt your soul like that? Fresh zest and juice give an unparalleled natural flavor that extract just can’t match. Don’t be a stranger to real oranges!
- **My cake is dry! What went wrong?** Oh no! Most likely, you overbaked it. Ovens vary, so start checking earlier than the recipe suggests. It could also be from overmixing or too little liquid.
- **Can I make this in a loaf pan?** Absolutely! Baking time will be a bit longer (around 45-55 minutes), but keep an eye on it.
- **How far in advance can I make this cake?** This cake actually tastes even better the next day as the flavors meld! It’ll keep well in an airtight container at room temperature for 3-4 days.
- **Can I freeze this cake?** Yes, you can! Wrap the cooled, unglazed cake tightly in plastic wrap and foil. It’ll keep in the freezer for up to a month. Thaw at room temperature and then glaze.
- **What if I don’t have self-raising flour?** No drama! Use plain (all-purpose) flour and add 1.5 teaspoons of baking powder and a pinch of salt per 150g of flour. Easy peasy.
- **My glaze is too thick/thin! Help!** If it’s too thick, add a tiny bit more warm cream or milk. Too thin? Stir in a little more finely chopped chocolate or icing sugar. Problem solved!
Final Thoughts
Phew! You made it. You’re now armed with the knowledge and power to create a truly spectacular Moist Chocolate Orange Cake. Go forth and bake glorious chocolate orange wonders! This cake is seriously impressive for how little fuss it is. So, whether you’re impressing friends, family, or just your Netflix queue, you’ve totally got this. Now go impress someone—or yourself—with your new culinary skills. You’ve earned it!


