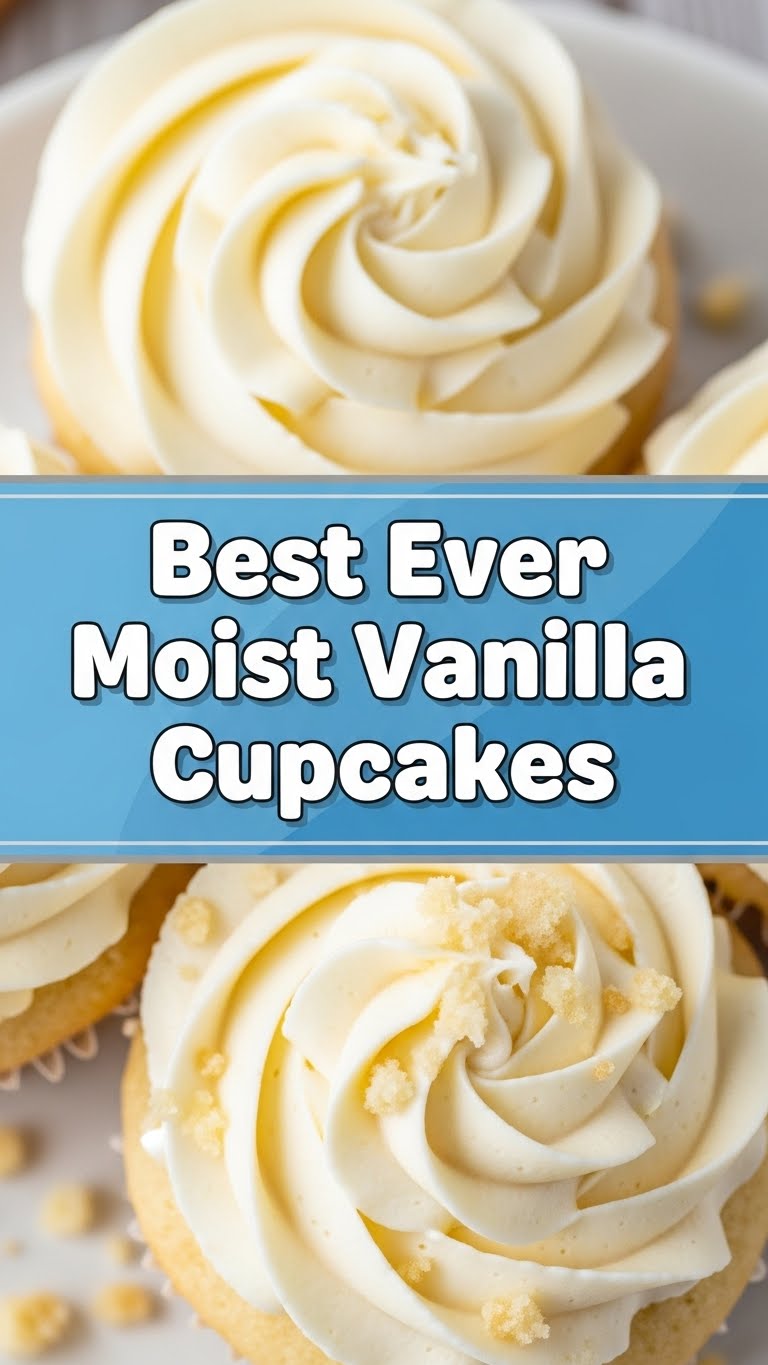
So you’re craving something tasty but too lazy to spend forever in the kitchen, huh? Same. We’ve all been there, staring into the abyss of an empty fridge, dreaming of something sweet, pillowy, and utterly vanilla. Well, my friend, today is your lucky day! We’re diving headfirst into the glorious world of **the Best Ever Moist Vanilla Cupcakes**. Get ready to impress yourself, your significant other, or just your cat with these little bites of heaven.
Why This Recipe is Awesome
Let’s be real, there are a million vanilla cupcake recipes out there. So what makes this one the crème de la crème? First off, it’s ridiculously easy. Seriously, if I can do it without setting off the smoke alarm, you can too. It’s practically **idiot-proof**. The cupcakes come out perfectly moist every single time, with a delicate crumb that just melts in your mouth. No dry, crumbly hockey pucks here, folks! Plus, the vanilla flavor really shines through, making it a perfect canvas for any frosting you fancy. It’s the kind of recipe that makes people ask for the secret, and you can just casually shrug, “Oh, this old thing?”
Ingredients You’ll Need
Gather ’round, bakers (and aspiring bakers)! Here’s your shopping list for cupcake glory. Remember, quality ingredients make a difference, especially when vanilla is the star!
- 1 ½ cups (190g) All-Purpose Flour: The usual suspect. Don’t go for anything fancy unless you know what you’re doing.
- 1 ½ teaspoons Baking Powder: For that glorious lift! Make sure it’s fresh, or your cupcakes might stage a rebellion.
- ½ teaspoon Salt: Balances all that sweetness, like a good therapist. Don’t skip it!
- ½ cup (113g) Unsalted Butter: **Room temperature is key**, people! Softened, not melted, unless you want greasy flat cakes.
- 1 cup (200g) Granulated Sugar: Sweet stuff, obvs.
- 2 Large Eggs: Also **room temperature**. Seriously, they behave better when they’re not shivering.
- 1 teaspoon Pure Vanilla Extract: The absolute star of the show. Get the good stuff, not that imitation wannabe. Your taste buds will thank you.
- ¾ cup (180ml) Whole Milk: Whole milk for maximum richness and a tender crumb. Skim milk? Nah, not today, Satan.
Step-by-Step Instructions
Alright, apron on, good vibes only! Let’s get baking. These steps are super straightforward, I promise.
- Prep Your Pan: Preheat your oven to **350°F (175°C)**. Line a 12-cup muffin tin with paper liners. This prevents sticking and makes cleanup a breeze.
- Whisk the Dry Squad: In a medium bowl, whisk together the flour, baking powder, and salt. Give it a good whisk to make sure everything’s evenly distributed. Set aside.
- Cream the Dream Team: In a large bowl, using an electric mixer (or some serious arm power), cream together the softened butter and granulated sugar until it’s light and fluffy. This usually takes about 2-3 minutes. Don’t rush this step!
- Egg-cellent Addition: Add the eggs one at a time, mixing well after each addition. Scrape down the sides of the bowl to make sure everything is incorporated. Follow with the vanilla extract and mix until just combined.
- Alternate Dry & Wet: Now, for the magic! With the mixer on low speed, alternately add the dry ingredients and the milk to the wet ingredients, starting and ending with the dry. Add about a third of the flour mixture, mix until just combined, then half the milk, mix, another third of the flour, mix, the rest of the milk, mix, and finally the last third of the flour. **Do NOT overmix!** Mix only until no streaks of flour remain.
- Scoop ‘Em Up: Divide the batter evenly among the prepared muffin cups, filling each about **two-thirds full**. This is important for perfect domes!
- Bake ‘Em Pretty: Bake for 18-22 minutes, or until a wooden skewer inserted into the center of a cupcake comes out clean. The tops should be lightly golden and spring back when gently touched.
- Cool Down: Let the cupcakes cool in the muffin tin for about 5 minutes before transferring them to a wire rack to cool completely. **Patience is a virtue here!** Don’t even *think* about frosting them until they’re totally cool.
Common Mistakes to Avoid
We all make mistakes, especially when deliciousness is on the line. Here are a few common pitfalls to sidestep for cupcake perfection:
- Overmixing the Batter: This is the cardinal sin! Mixing too much develops the gluten in the flour, leading to tough, dense cupcakes. Mix until *just* combined, then stop. Seriously.
- Using Cold Ingredients: Those room temperature ingredients aren’t just for show! Cold butter and eggs don’t emulsify properly with the sugar, resulting in a lumpy batter and a less tender crumb. Plan ahead, friend!
- Overfilling the Muffin Cups: Think you’ll get bigger cupcakes? Nope, you’ll get mushroom-top monstrosities that spill over. Stick to two-thirds full for beautifully domed cupcakes.
- Opening the Oven Door Too Early: Resist the urge to peek! Opening the oven door too soon lets cold air in, which can cause your cupcakes to sink in the middle. Give them at least 15 minutes before you even think about looking.
- Frosting Warm Cupcakes: Rookie mistake! Your frosting will melt into a sad, sugary puddle, and your beautiful cupcakes will look like they cried. Chill out, let them cool completely.
Alternatives & Substitutions
Feeling a little adventurous, or just missing an ingredient? Here are a few tweaks you can make:
- Milk Swap: Don’t have whole milk? You can use 2% milk, but whole really gives the best texture. For an extra tang and even more tender crumb, substitute the whole milk with buttermilk (or make your own by adding a teaspoon of lemon juice or white vinegar to regular milk and letting it sit for 5 minutes).
- Flavor Boost: Want a different vibe? Swap half a teaspoon of the vanilla extract for almond extract for a subtle, nutty twist. Or add a tablespoon of lemon zest to the batter for a bright, citrusy note.
- Flour Power: For an even lighter, more delicate crumb, you can substitute the all-purpose flour with cake flour. Just use the same amount!
- Butter Substitute: While butter is king here for flavor, in a pinch, you *could* use shortening for the fat. But frankly, the flavor won’t be as rich, so I’d say stick with butter if you can.
FAQ (Frequently Asked Questions)
Got questions? I’ve got answers! (Mostly.)
- **Can I use margarine instead of butter?** Well, technically yes, but why hurt your soul like that? Butter provides a richer flavor and better texture. IMO, it’s non-negotiable for “Best Ever.”
- **What happens if I overmix the batter?** You’ll end up with tough, dense cupcakes instead of light and airy ones. They’ll still taste good (probably), but the texture won’t be ideal.
- **My cupcakes sank in the middle! What went wrong?** Usually, this is due to opening the oven door too early, inaccurate oven temperature, or too much leavening. Make sure your baking powder isn’t expired!
- **How long do these cupcakes last?** If they’re unfrosted and stored in an airtight container at room temperature, about 2-3 days. Frosted, they’re best consumed within 1-2 days. Honestly, they rarely last that long in my house, FYI.
- **Can I make these ahead of time?** Absolutely! Bake the cupcakes, let them cool completely, then store them unfrosted in an airtight container at room temperature until you’re ready to frost and serve.
- **What’s the best frosting for these?** A classic vanilla buttercream or a tangy cream cheese frosting would be divine. Anything that lets that vanilla cupcake flavor shine!
- **My batter looks a little lumpy after adding the dry ingredients. Is that okay?** A few small lumps are perfectly fine, as long as there are no streaks of dry flour. That’s a sign you *haven’t* overmixed!
Final Thoughts
So there you have it, folks! Your new go-to recipe for the most delightful, moist vanilla cupcakes you’ll ever bake. These aren’t just cupcakes; they’re little bundles of joy, perfectly crafted to bring a smile to anyone’s face. Now go forth and conquer that kitchen! Impress your friends, dazzle your family, or just hoard them all for yourself (no judgment here!). You’ve earned these culinary bragging rights. Happy baking, superstar!

