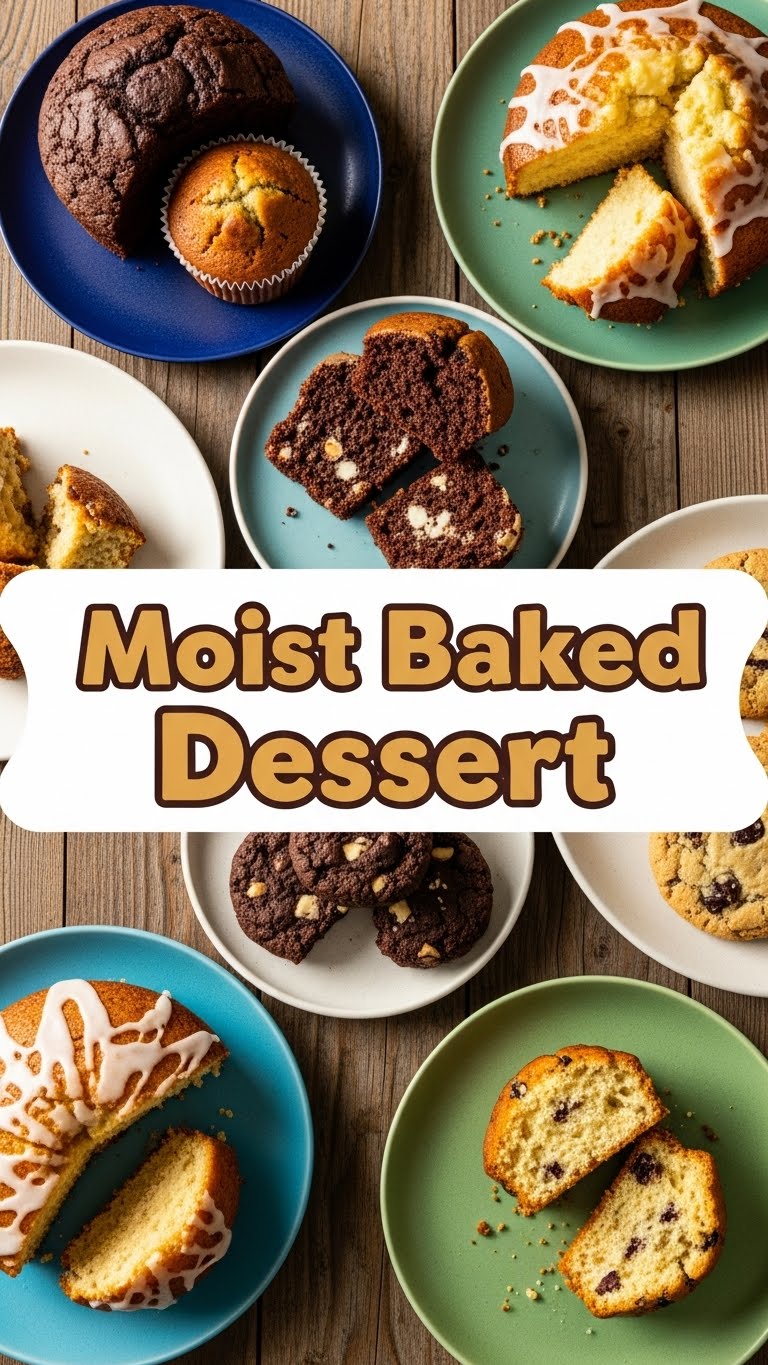
So you’re craving something tasty but too lazy to spend forever in the kitchen, huh? Same. We’ve all been there: that deep, primal urge for a dessert that feels like a warm hug, but without the drama of a 12-step recipe or a sink full of dishes. Good news, my friend! I’ve got just the thing that’ll make your taste buds sing and your lazybones happy. Prepare yourself for the **”I-Can’t-Believe-It’s-This-Easy Super Moist Chocolate Loaf Cake.”** Yeah, it’s a mouthful, but so is the cake, literally!
Why This Recipe is Awesome
Let’s be real, life is too short for dry cake. This recipe? It laughs in the face of dryness. It practically oozes moistness (sorry, not sorry for that word!). But beyond its glorious texture, here’s why this bad boy is about to become your new best friend:
- **It’s Idiot-Proof:** Seriously. If you can measure and stir, you can make this. I even managed it after a particularly long Monday, which is saying something.
- **Quick & Dirty (in the best way):** Minimal prep, maximum payoff. We’re talking mix, bake, devour.
- **Chocolate Fix Guaranteed:** It’s rich, it’s fudgy, it’s everything your cocoa-loving heart desires without needing a complicated ganache or a pastry degree.
- **Pantry Staples:** You probably have most of these ingredients already. No frantic grocery store runs required!
Ingredients You’ll Need
Gather your troops! No fancy-pants stuff here, just good old basics ready to transform into pure bliss. Measurements are key, so don’t eyeball it unless you’re a baking wizard (and if you are, why are you reading this?).
- **1 ½ cups All-Purpose Flour:** The foundation of our glorious structure. Don’t use self-rising, unless you want an unexpected science experiment.
- **1 ½ cups Granulated Sugar:** Sweetness! Because life’s better with sugar, IMO.
- **¾ cup Unsweetened Cocoa Powder:** The darker, the better for that deep chocolate flavor. This isn’t the time for Hershey’s syrup, friend.
- **1 ½ tsp Baking Soda:** Our leavening agent. It’s what makes it fluffy and not a dense brick.
- **¾ tsp Salt:** Don’t skip this! It enhances the chocolate and balances the sweetness. Trust me.
- **1 cup Milk:** Whole milk works best for richness, but 2% is fine. Dairy-free milk? See alternatives!
- **½ cup Vegetable Oil:** Or canola, or any neutral oil. This is our moisture secret weapon!
- **2 Large Eggs:** Room temperature if you’re feeling fancy, but straight from the fridge works too, for us normal folks.
- **1 tsp Vanilla Extract:** The unsung hero that makes everything taste better.
- **¾ cup Boiling Water (or hot coffee):** This really makes the chocolate sing and keeps things ridiculously moist. Coffee enhances chocolate flavor without making it taste like coffee. Mind blown, right?
Step-by-Step Instructions
Ready? Set? Bake! Follow these simple steps and you’ll be in dessert heaven before you know it.
- **Preheat Power-Up:** First things first, get that oven to **350°F (175°C)**. While it’s heating, grease and flour a 9×5 inch loaf pan. Or, if you’re like me and love shortcuts, use a non-stick spray with flour. Genius, right?
- **Dry Mix Magic:** In a large bowl, whisk together your flour, sugar, cocoa powder, baking soda, and salt. Make sure there are no lumpy bits of cocoa. We want smooth sailing!
- **Wet Mix Wonders:** In a separate, medium bowl, whisk together the milk, oil, eggs, and vanilla extract until well combined.
- **Combine & Conquer:** Pour the wet ingredients into the dry ingredients. Mix with a spatula or spoon until *just* combined. **Do NOT overmix!** A few lumps are okay.
- **Hot Liquid Boost:** Carefully pour the boiling water (or hot coffee) into the batter. Whisk gently until smooth. The batter will be quite thin – don’t panic, that’s what makes it so moist!
- **Pan It Up:** Pour your beautiful, thin batter into your prepared loaf pan. Give it a gentle tap on the counter to release any big air bubbles.
- **Bake Away!** Pop that pan into your preheated oven and bake for **45-55 minutes**, or until a wooden skewer or toothpick inserted into the center comes out with moist crumbs, but not wet batter.
- **Cool Down:** Let the loaf cool in the pan for about 10-15 minutes before carefully inverting it onto a wire rack to cool completely. Or, you know, eat it warm with a scoop of ice cream. Who am I to judge?
Common Mistakes to Avoid
Even the simplest recipes have traps for the unwary. Steer clear of these rookie blunders!
- **Forgetting to Preheat the Oven:** This isn’t a suggestion, it’s a command! A cold oven equals uneven baking and a sad, dense cake.
- **Overmixing:** This is probably the biggest cake killer. Overmixing develops the gluten in the flour, making your cake tough and chewy instead of tender and moist. Mix until *just* combined, then stop.
- **Opening the Oven Door Too Soon:** Resist the urge! Opening the door, especially in the first 30 minutes, can cause your cake to collapse. Think of it as peeking at a present before it’s ready.
- **Not Greasing Your Pan Properly:** Nothing is more frustrating than a beautiful cake stuck to the pan. Take the extra 30 seconds to grease and flour thoroughly.
- **Overbaking:** This is the archenemy of moistness. Keep an eye on your cake and pull it out as soon as the toothpick test passes. A minute or two too long can make all the difference.
Alternatives & Substitutions
Feeling adventurous? Or just realized you’re missing an ingredient? No stress, we can totally hack this.
- **Milk:** Out of regular milk? Buttermilk or even plain yogurt (thinned with a little water) can be used for an even more tender crumb. Dairy-free? Almond or soy milk works beautifully!
- **Oil:** Melted butter can be substituted, but for maximum moisture, I always lean towards oil in this recipe. It keeps things super soft!
- **Chocolate Chips:** Feeling extra? Fold in ½ cup of chocolate chips (semi-sweet or dark) with your dry ingredients before adding the wet. Because more chocolate is always a good idea.
- **Add-ins:** A handful of chopped walnuts or pecans could be nice if you like a little crunch. Just fold them in with the chocolate chips!
- **Gluten-Free Flour:** I haven’t personally tested this with a 1:1 gluten-free flour blend, but many readers have had success. Just be aware the texture might be slightly different.
FAQ (Frequently Asked Questions)
Got questions? I’ve got answers, probably.
- **Can I use margarine instead of butter?** Well, technically yes, but why hurt your soul like that? Stick with butter for better flavor and texture if you’re not using oil.
- **My cake sank in the middle! What happened?** Usually, this means you opened the oven door too early, or it wasn’t quite done in the center. Don’t fret, it still tastes delicious!
- **How long does this cake last?** Wrapped tightly at room temperature, it’s usually good for 3-4 days. But let’s be honest, it probably won’t last that long.
- **Can I freeze this cake?** Absolutely! Once completely cooled, wrap it tightly in plastic wrap and then foil. It’ll keep for up to 2-3 months. Thaw at room temp.
- **Is this really that moist?** Darling, if it wasn’t, I wouldn’t have subjected you to the word “moist” this many times. It’s practically a sponge bath for your mouth.
- **Can I make this into cupcakes?** You betcha! Reduce the baking time to about 20-25 minutes. Keep an eye on them!
Final Thoughts
There you have it, folks! A ridiculously easy, unbelievably moist chocolate loaf cake that’s perfect for a weeknight treat, a potluck, or just because you deserve something delicious. It’s the kind of dessert that makes you look like a kitchen superstar with minimal effort. Now go impress someone—or yourself—with your new culinary skills. You’ve earned it!


